

Learn Every Filter In ON1 Effects
I have used ON1 Effects in my photography for years. It continues to be an important part of my photo editing process. The specialty filters in ON1 Effects coupled with its powerful masking tools make complex edits easy and approachable. On this page you’ll find an index of video tutorials for every filter in ON1 Effects. Every tutorial is FREE.
If you are trying ON Effects or other ON1 products, please consider using my affiliate link. There is no extra cost to you and it helps support ON1 tutorials like these. Use the offer code SDP20 at checkout and SAVE 20%!
Recent ON1 Effects Tutorials


ON1 Training


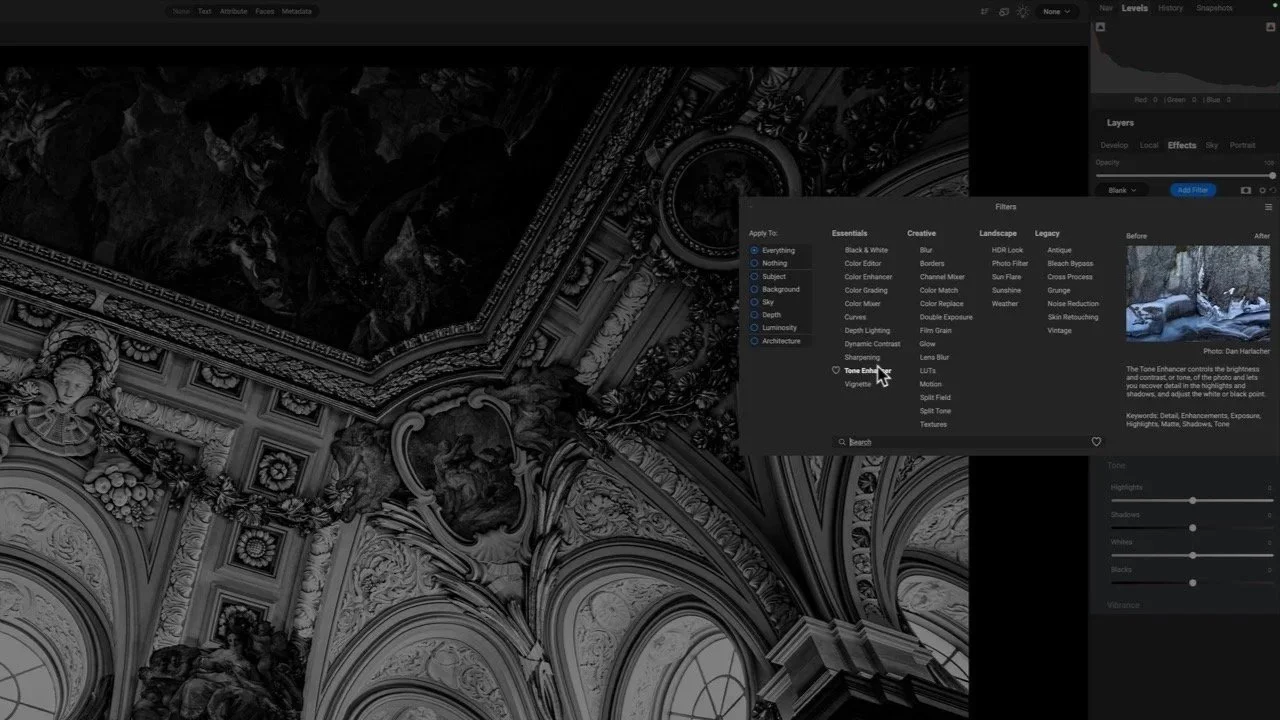
ON1 Effects Filter School
ON1 Tutorial Series
Blending Mode Mini-Series


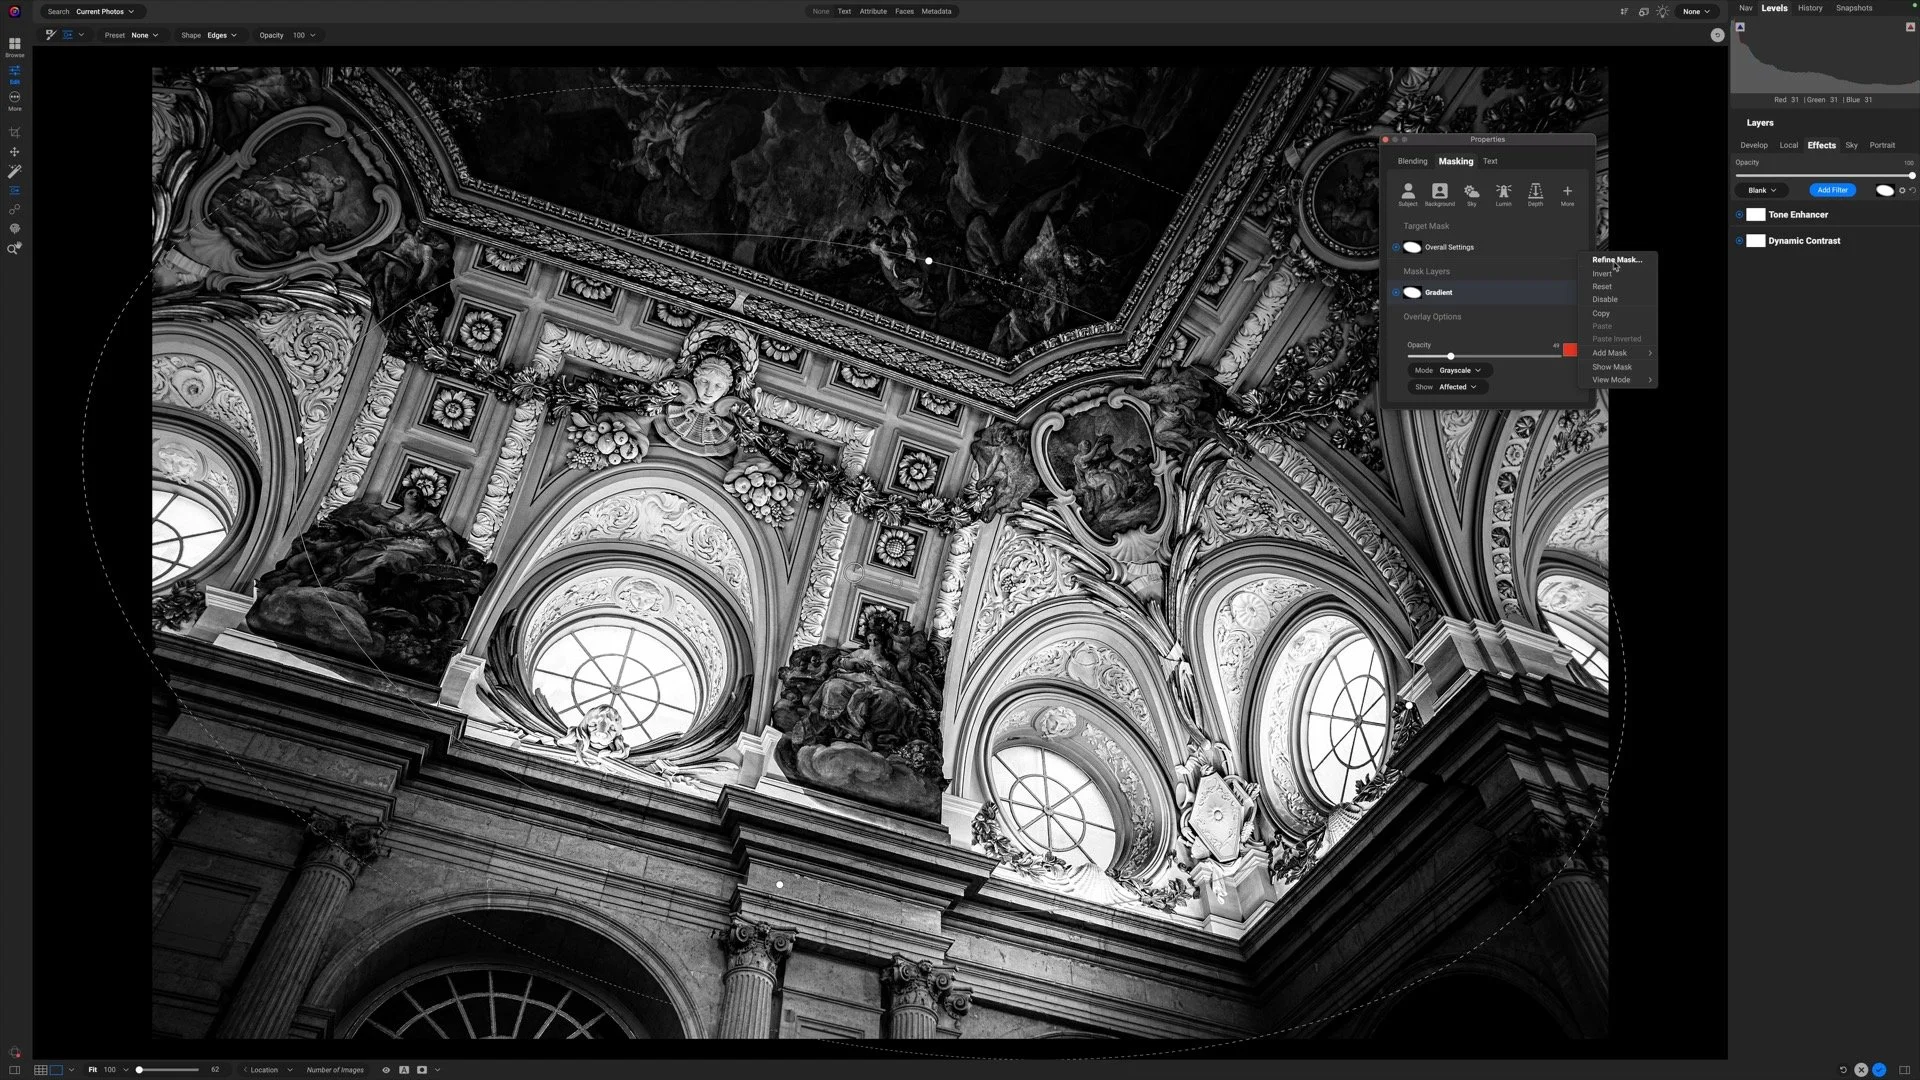
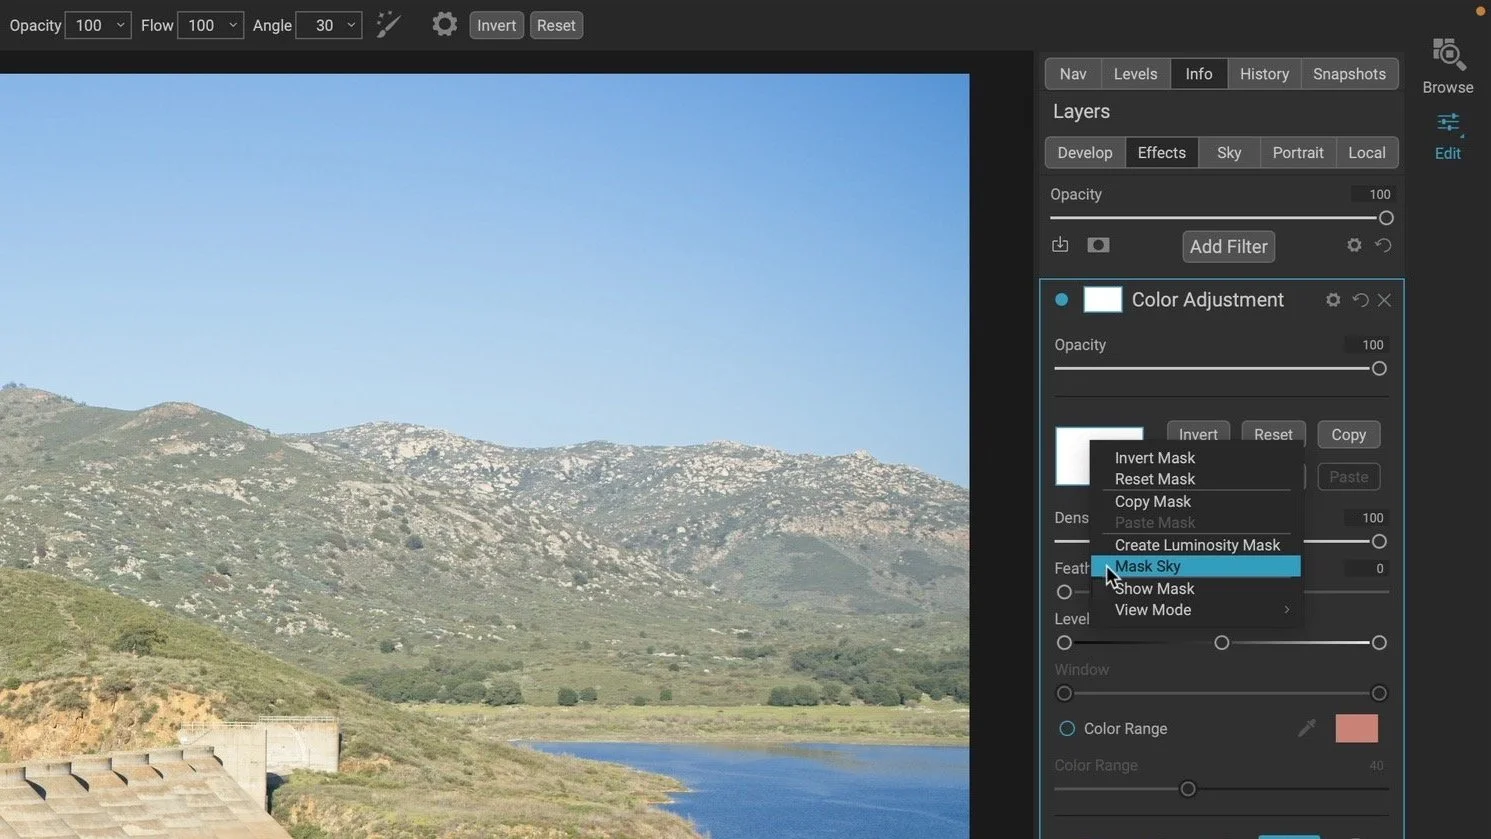
Masking Mini-Series
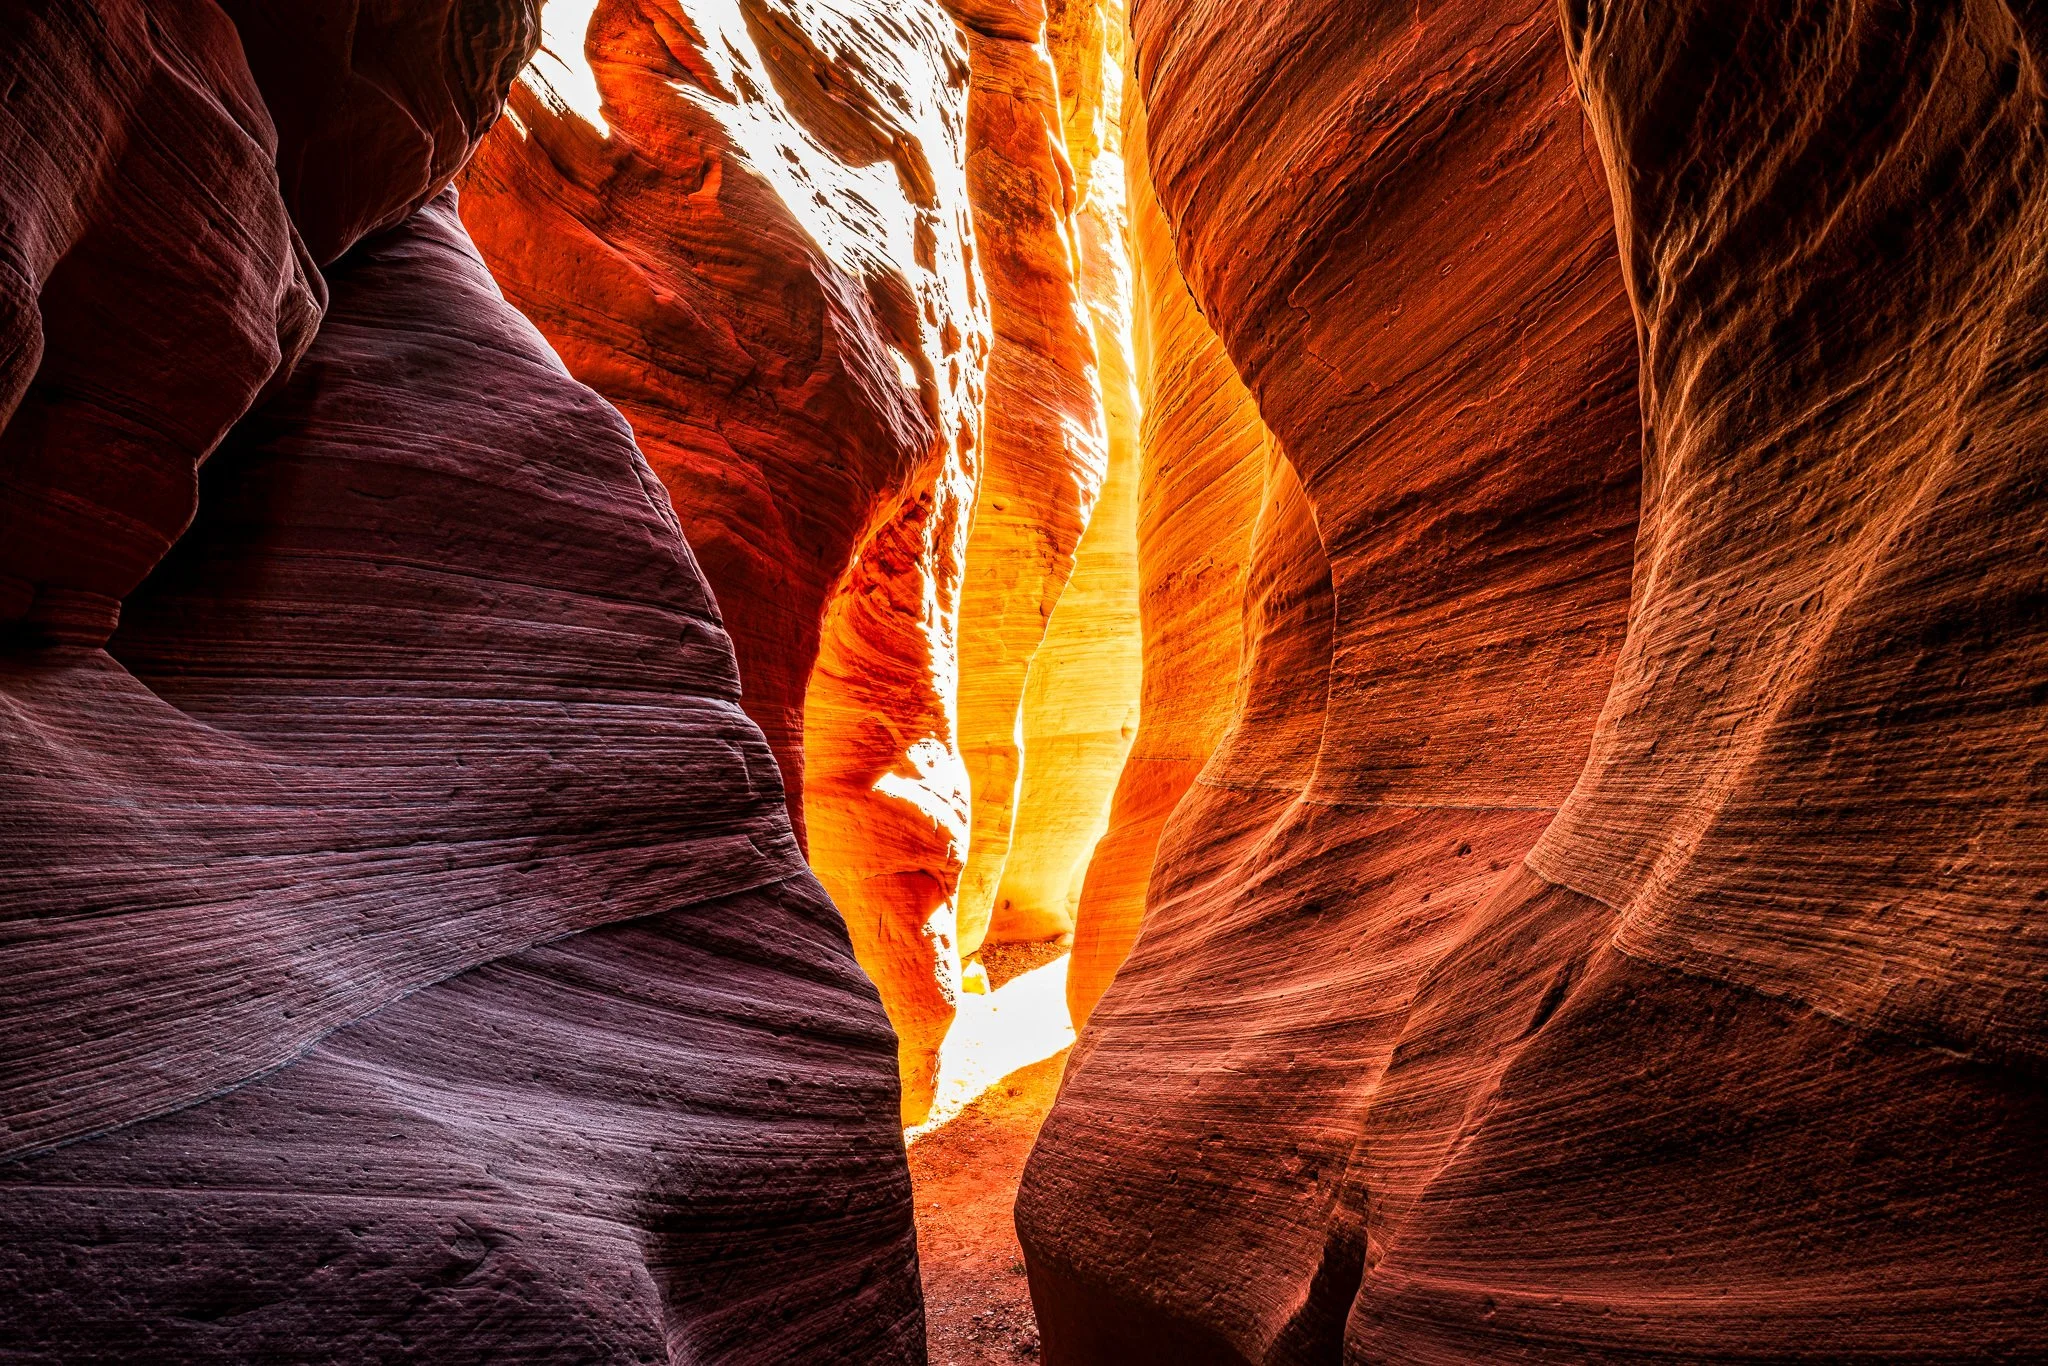


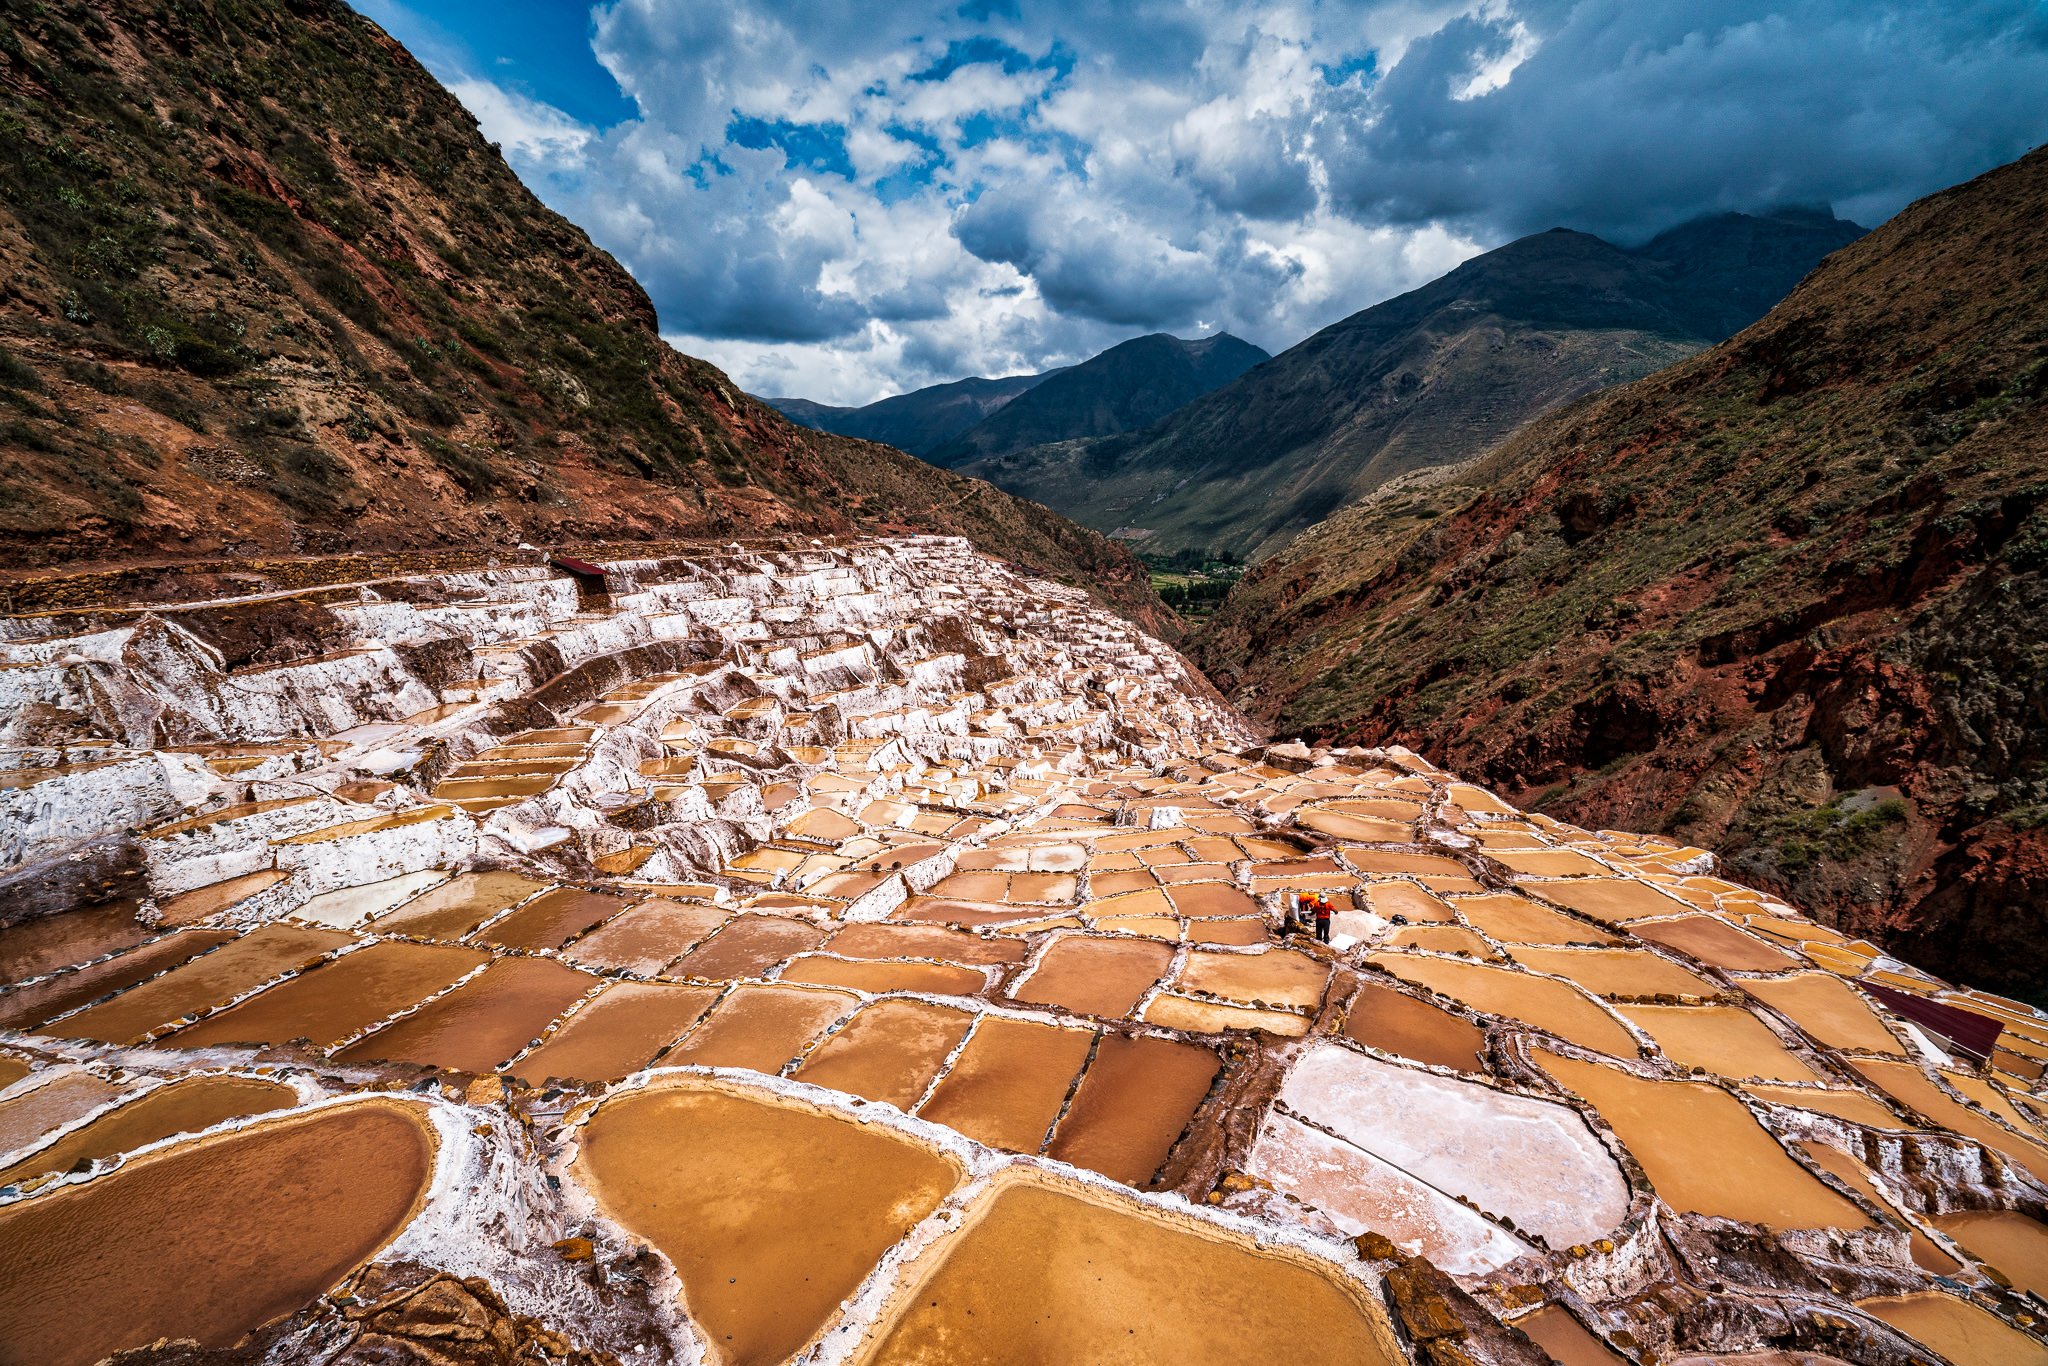
Want to edit foreground and background separately without brushing? In this video, I show how ON1’s Depth Mask lets you apply contrast up close and glow in the distance using a single slider—perfect for deep scenes like slot canyons.