What Are Blending Modes In ON1?
If you are trying ON1 Photo RAW, the ON1 plug-ins like ON1 Effects or ON1 HDR, or upgrading your ON1 software to a newer version, please consider using my affiliate link. There is no extra cost to you and it helps support ON1 tutorials like this one. Ready to buy? Use the offer code SDP20 at checkout and SAVE 20%!
This article is the first in a mini-series about the blending modes in ON1 Photo RAW and ON1 Effects.
Introduction
In this series of articles, I will explain what blending modes are and in what scenarios I use them in my photography. I will not spend time explaining the mathematics that make blending modes work. There are plenty of other articles on the web that explain the math. And while academically interesting, a scientific explanation of how the pixel modifications are done - at least for me - doesn’t help me create more compelling images.
Blending modes can be challenging because they are not as predictable as more classic adjustments or layering techniques. Sometimes results are reasonably predictable, and other times they are not. This series of articles will give you the practical knowledge of the general characteristics of a blending mode and when to consider using it in your image creation. I will spend time on the blending modes I find most useful (hint, hint … it’s not all of them, though that doesn’t mean a mode I don’t cover can’t be useful to you).
What Is A Blending Mode?
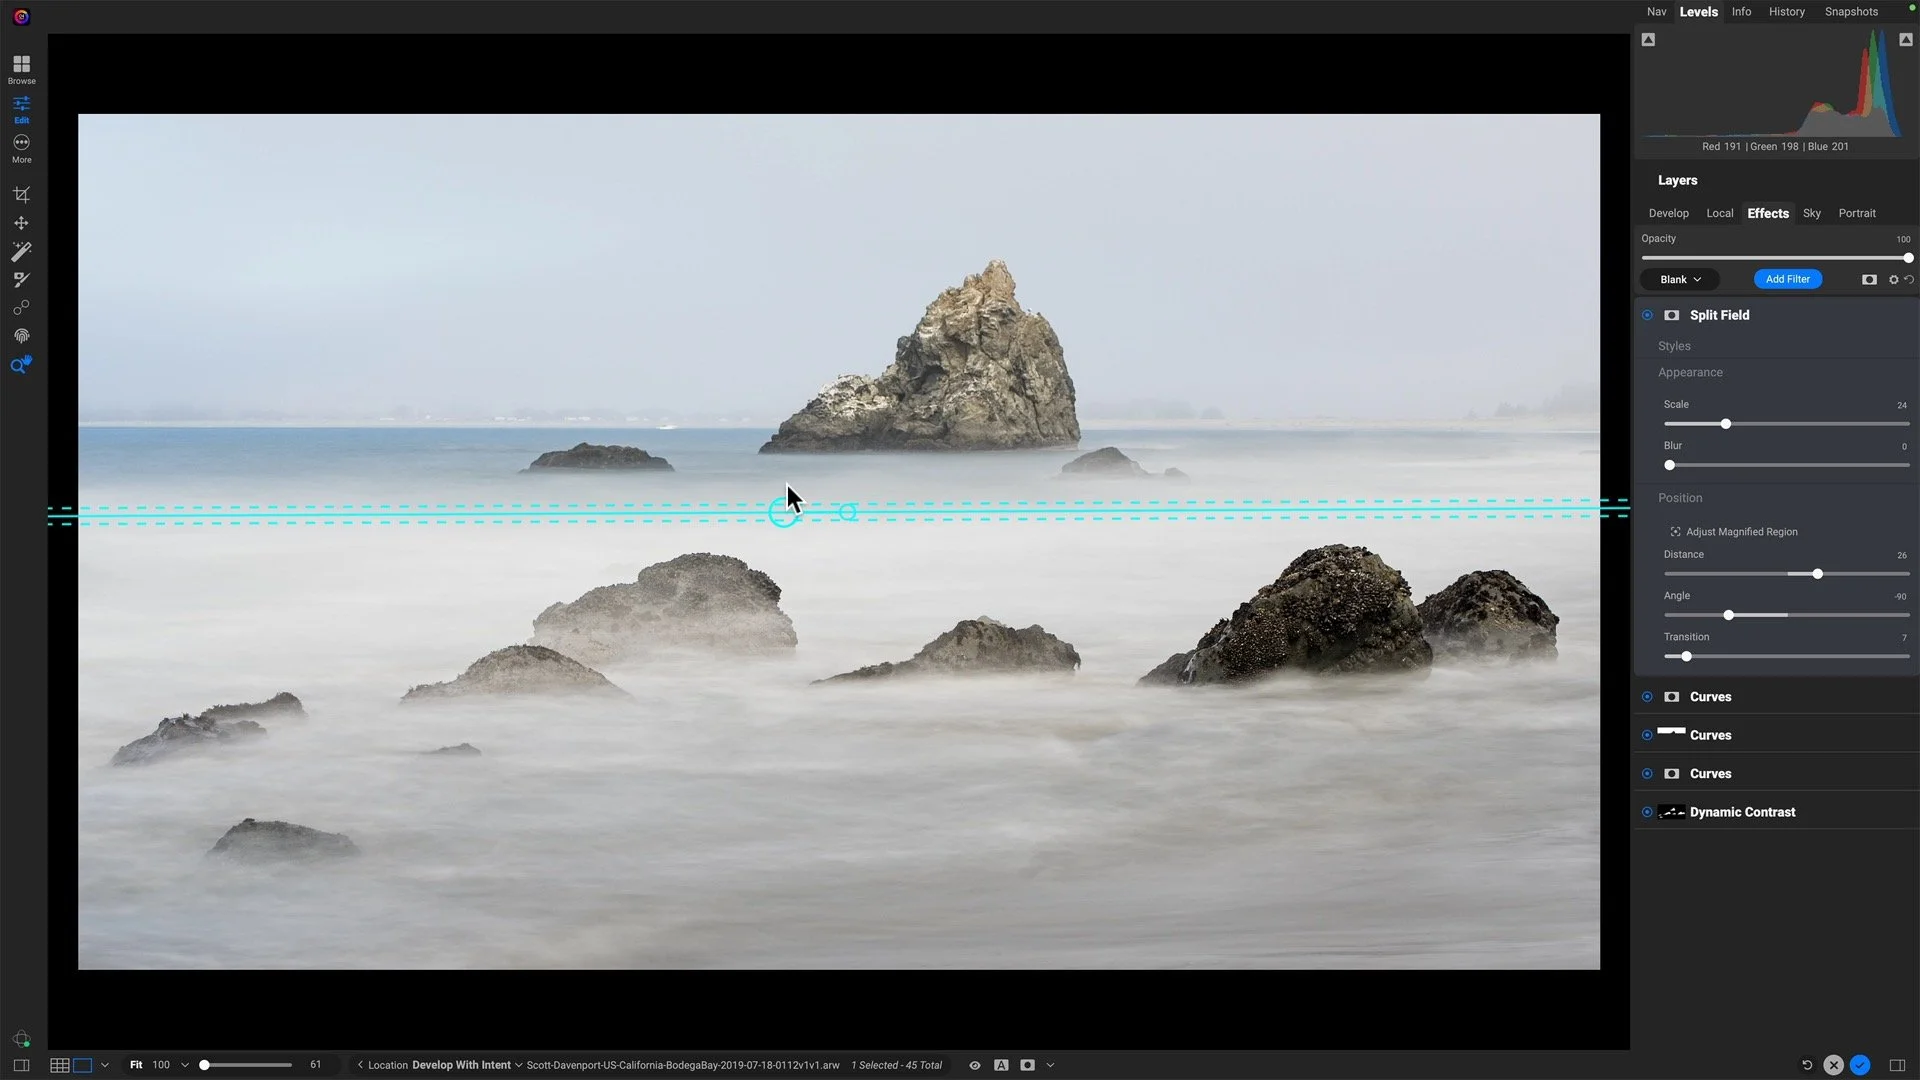
In short, a blending mode changes the way a filter or layer interacts at the pixel layer. I know… that’s a dry explanation. Let’s unpack that. Consider an ON1 Effects stack of filters. Each filter is an adjustment made to your photo. The adjustments are applied in order, from the bottom of the stack to the top of the stack. It’s like an assembly line or a conveyer belt. The modified pixels from one filter are fed into the next filter in the stack. A blending mode is an additional level of change applied to an adjustment. Layered workflows operate similarly. Changing the blending mode on a layer alters how it interacts - or blends - with the layer beneath it.
Where Do I Find Blending Modes In ON1?
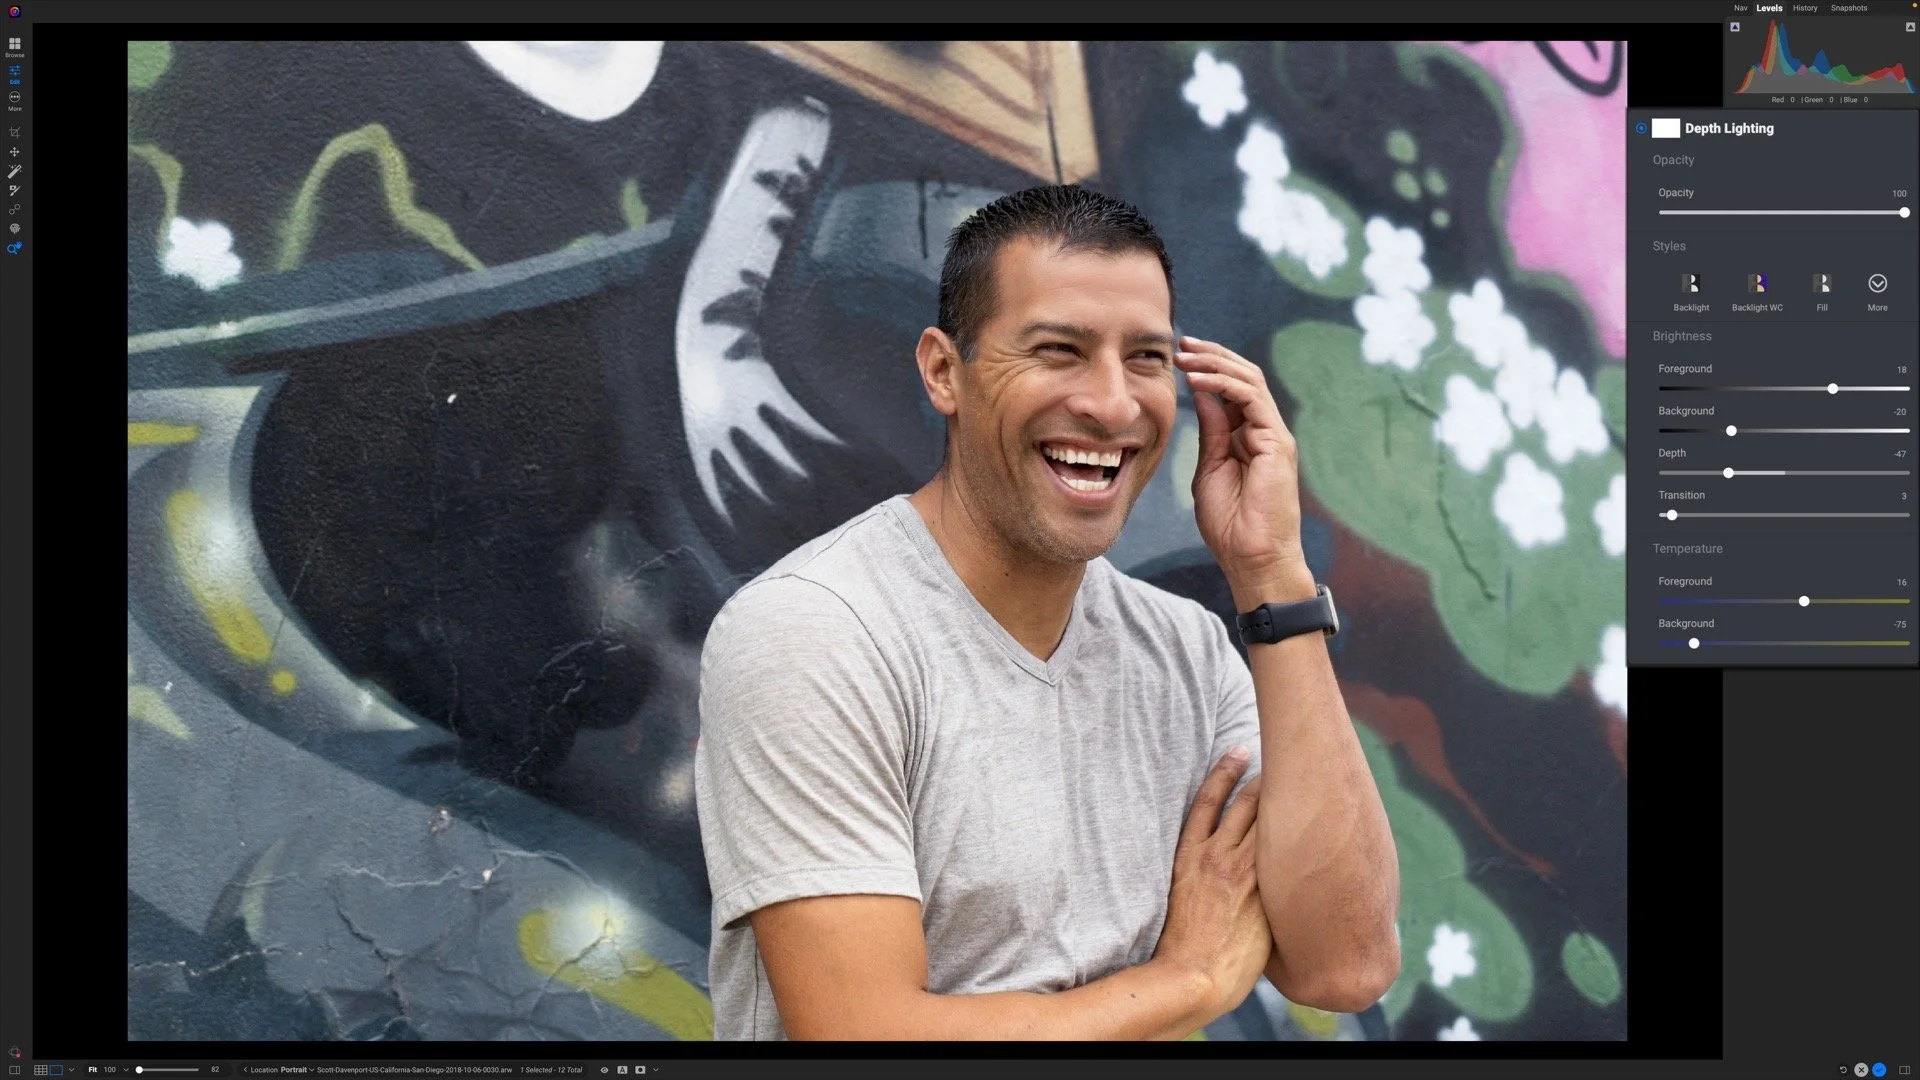
Blending modes are available in many places in ON1 Photo RAW and ON1 Effects. The rule of thumb - if an adjustment has a gear menu, it has a blending mode setting. This includes:
Individual layers
Individual Effects filters
The entire Effects filter stack
Local Adjustments
I tend to use blending modes with Layers and Effects filters, occasionally with a Local Adjustment. I have not found the need to use a blending mode for the entire filter stack.
Everywhere there is a gear menu you’ll find a blending mode option in ON1 Photo RAW and ON1 Effects.
Some Effects filters, like Glow and Textures, inherently use blending modes and make them directly available in the filter controls.
ON1 has 24 blending modes. In addition to the Normal (default) mode, the blending options are loosely grouped into modes that darken an image, lighten an image, adjust contrast, and address specialty needs.
What Are The Types Of Blending Modes?
ON1 has 24 blending modes available. In addition to the Normal (default) mode, the blending options are loosely grouped based on how they modify pixels.
Darken an image: The Darken, Multiply, Color Burn, Linear Burn, and Darker Color modes
Lighten an image: The Lighten, Screen, Color Dodge, Linear Dodge (Add), and Lighter Color modes
Adjust contrast: Overlay, Soft Light, Hard Light, Vivid Light, Linear Light, Pin Light, and Hard Mix modes
Specialty needs: Difference, Exclusion, Hue, Saturation, Color, Luminosity
Yes, that’s a lot of modes! I think of them by their broad categories I’ve noted above. Each has a place, and some I find are much more useful than others. This series will build on that premise.
When Do I Use A Blending Mode?
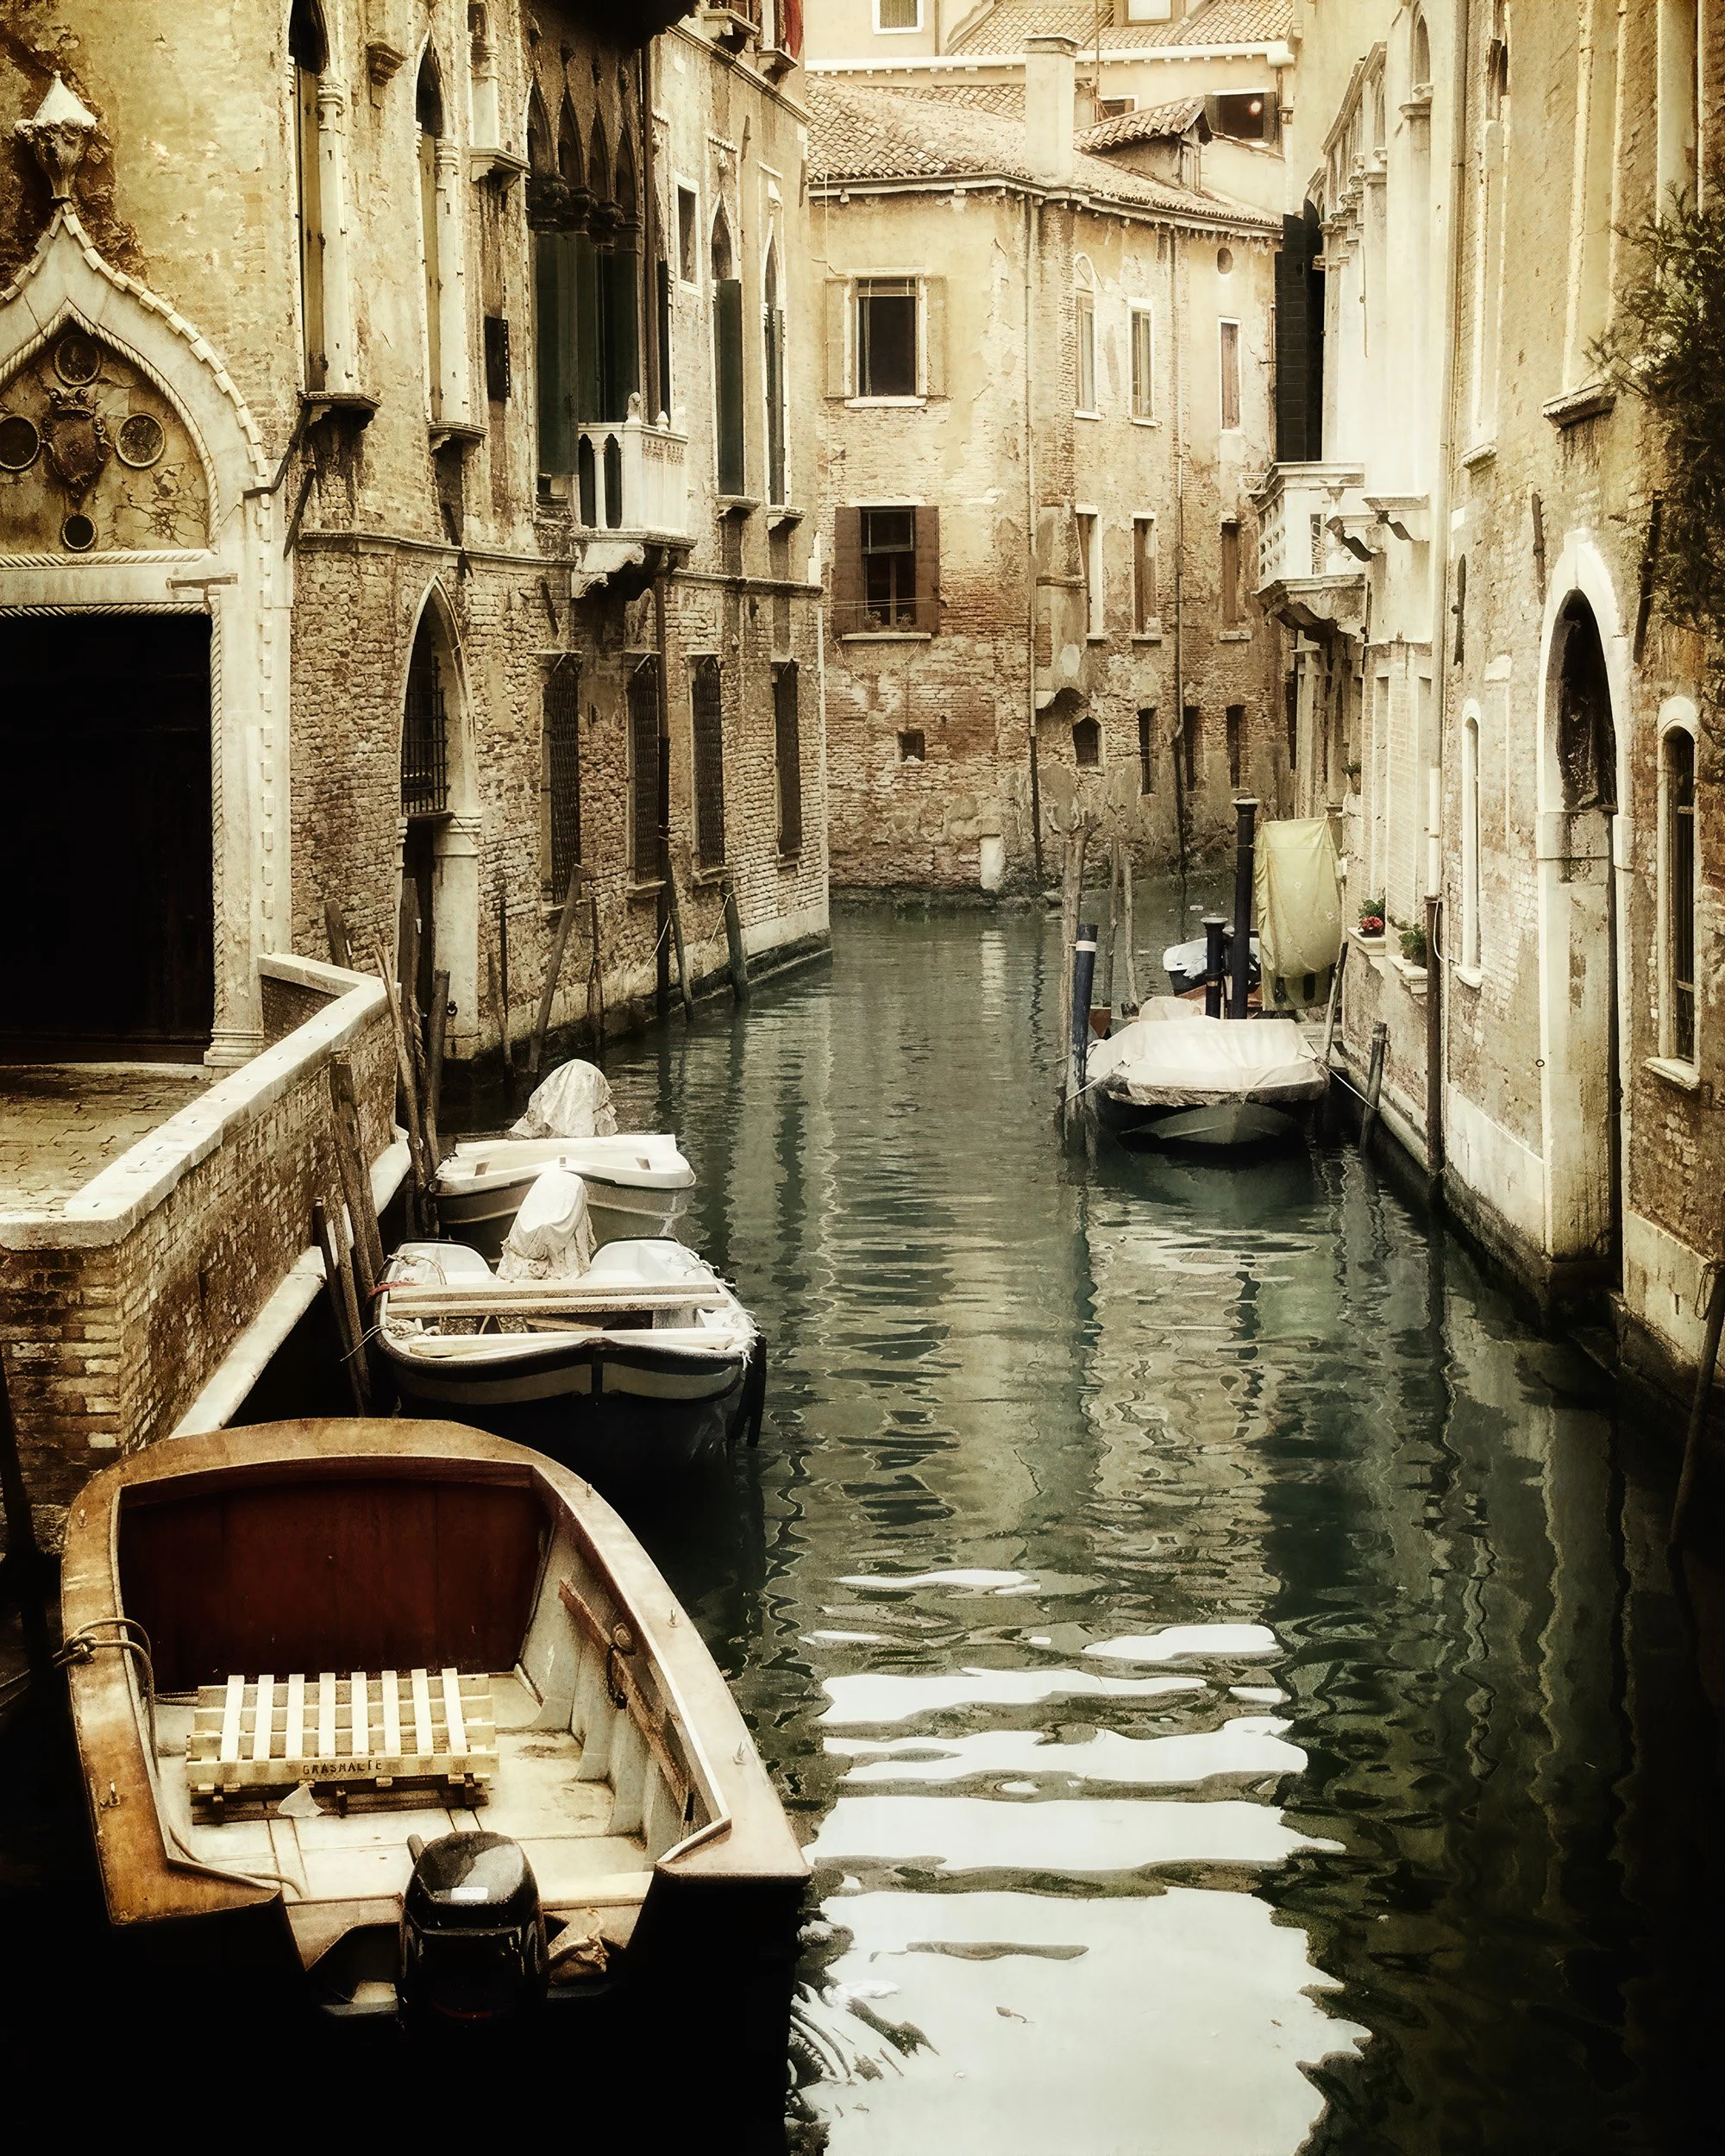
In general, blending modes are more often used in layered workflows. Most of the blending modes are useful for texture blending. Others are helpful for composite work, creating double-exposure looks, and creative color adjustments. While there is a Textures filter in ON1 Effects, I prefer to do my texture blending in layers and use the blending modes to refine the way a texture interacts with my base image.
However, the blending modes are also accessible and useful in a straight-up set of Effects filter adjustments. I will leverage blending modes for an extra pop of contrast and color grading. You’ll see examples of both of these using several different blending modes in this series.
Up Next
The first blending mode we explore is the default mode of Normal.
Breezy Tree Abstracta
Contact Scott to commission a print or license this image.
