The Normal Blending Mode In ON1
If you are trying ON1 Photo RAW, the ON1 plug-ins like ON1 Effects or ON1 HDR, or upgrading your ON1 software to a newer version, please consider using my affiliate link. There is no extra cost to you and it helps support ON1 tutorials like this one. Ready to buy? Use the offer code SDP20 at checkout and SAVE 20%!
This article is part of a mini-series about the blending modes in ON1 Photo RAW and ON1 Effects.
What Is The Normal Blending Mode?
The Normal blending mode is the default mode for a layer or Effects filter. It is the blending mode you have been using all along if you never knew about blending modes before reading this article. The Normal mode does not make any additional changes to the pixels. It is the show-me-all-the-pixels blending mode.
The Normal blending mode is most useful in a layered workflow. I use it in two scenarios, creating double-exposures and blending exposures into a composite scene.
Create A Double Exposure With The Lighten Blending Mode
The Normal blending mode lends itself to double exposure looks.
Load two or more photos into layers.
Select the top layer. Do any masking to isolate a subject or area you want to include in the double exposure.
Lower the Opacity of the top layer to taste
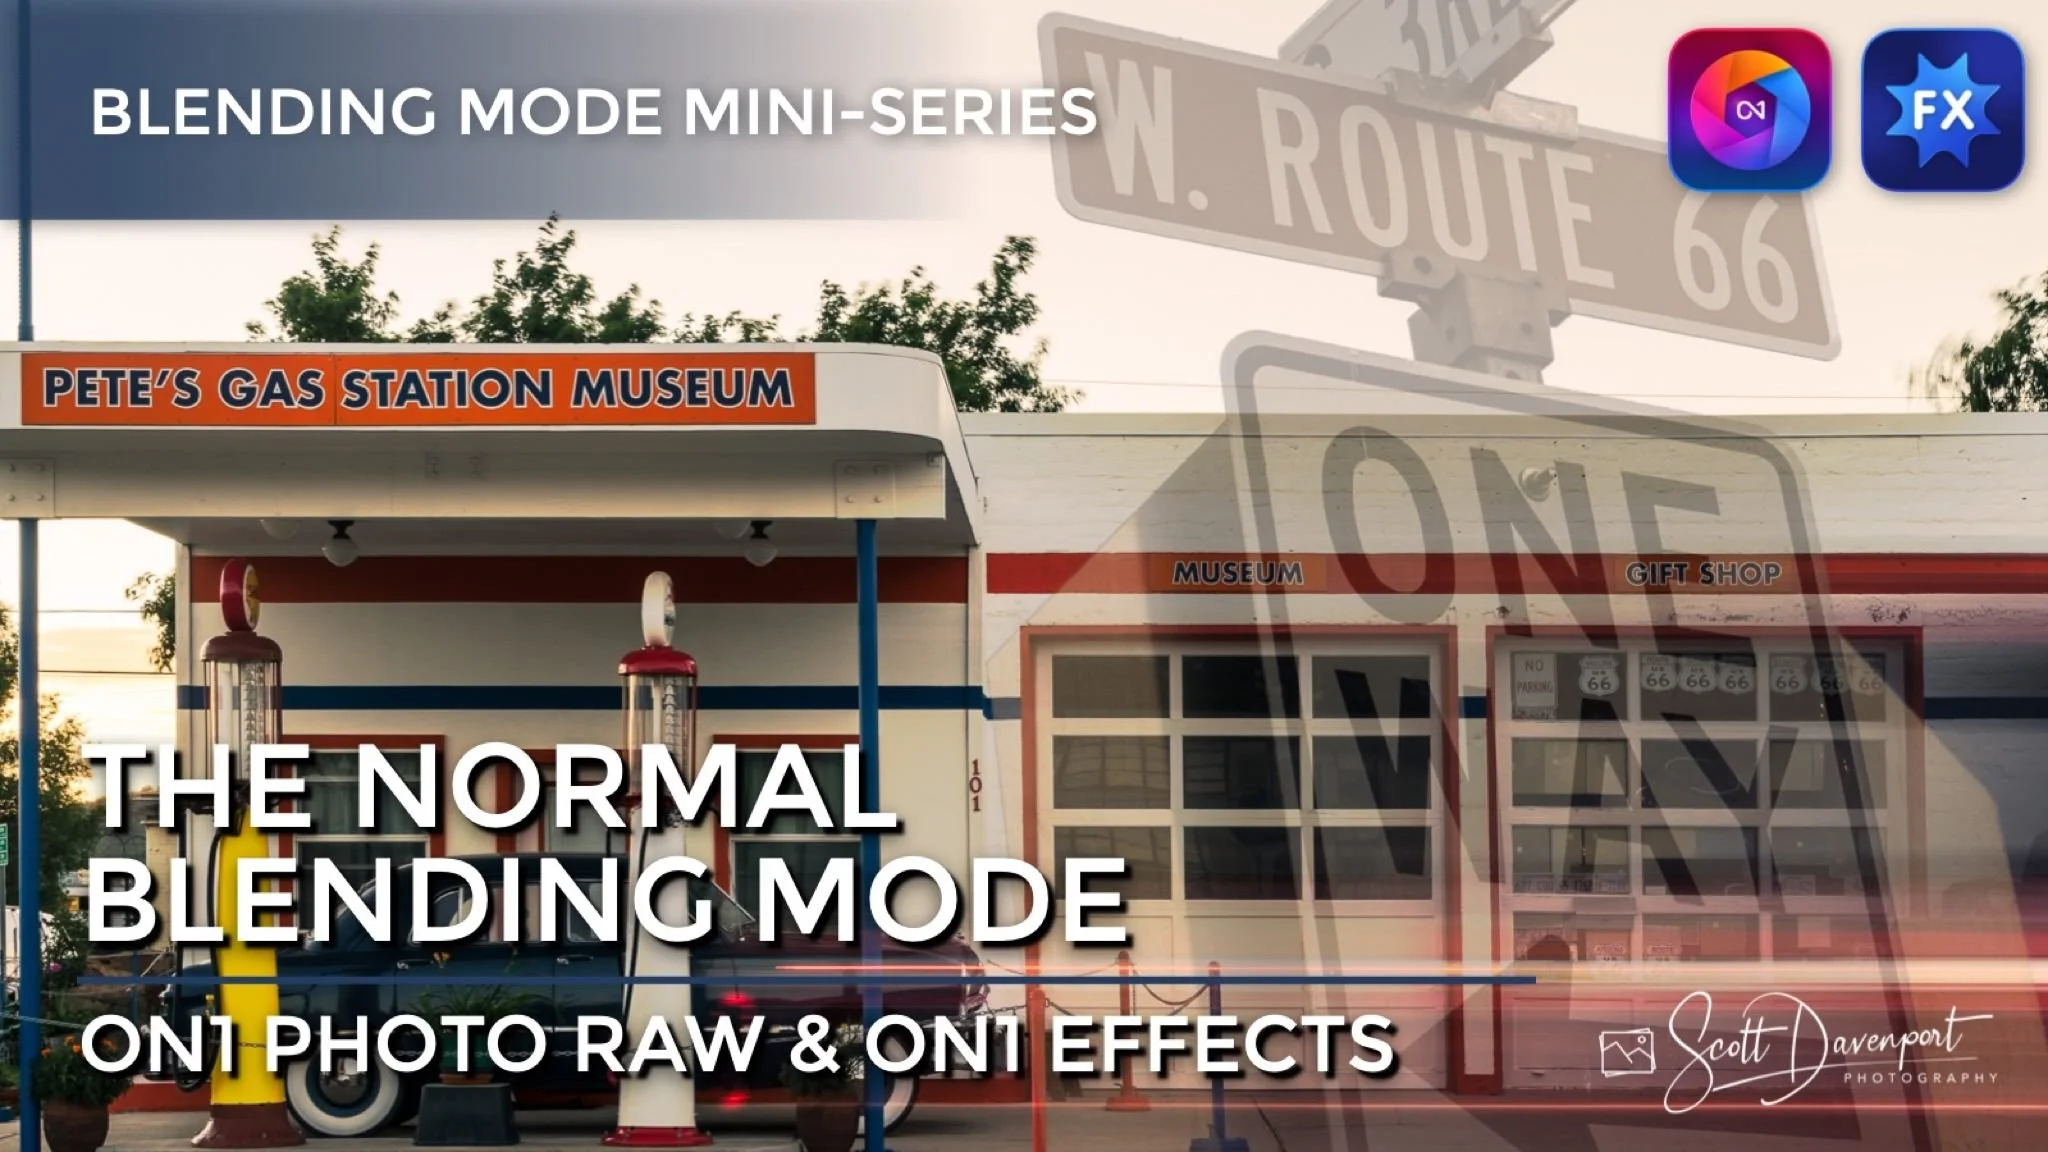
In the example here, I masked a street sign and layered it on top of a vintage style gas station. The lower opacity of the street sign creates the double exposure look.
Create a double exposure look with the Normal blending mode and an Opacity adjustment in Layers.


Blending Exposures Into A Composite
Another great use case for the Normal blending mode is to create a composite of several exposures that were all taken in close proximity. When you capture a few images of the same scene and want portions of each capture to be part of a composite. The Normal mode will show all the pixels, and with light masking in layers, you pick and choose the portions of each frame to combine.
I do this often with seascapes, although the technique works for other scenes, too.
The image on the left has pleasing water action in the midground and background, but is missing whitewash in the foreground. The righthand image has the whitewash in the foreground.
Masking in the foreground using the Normal blending mode fills in the foreground.
Up Next
The next article in this series explores the Lighten blending mode.
Pete’s Gas Station Route 66
Contact Scott to commission a print or license this image.


