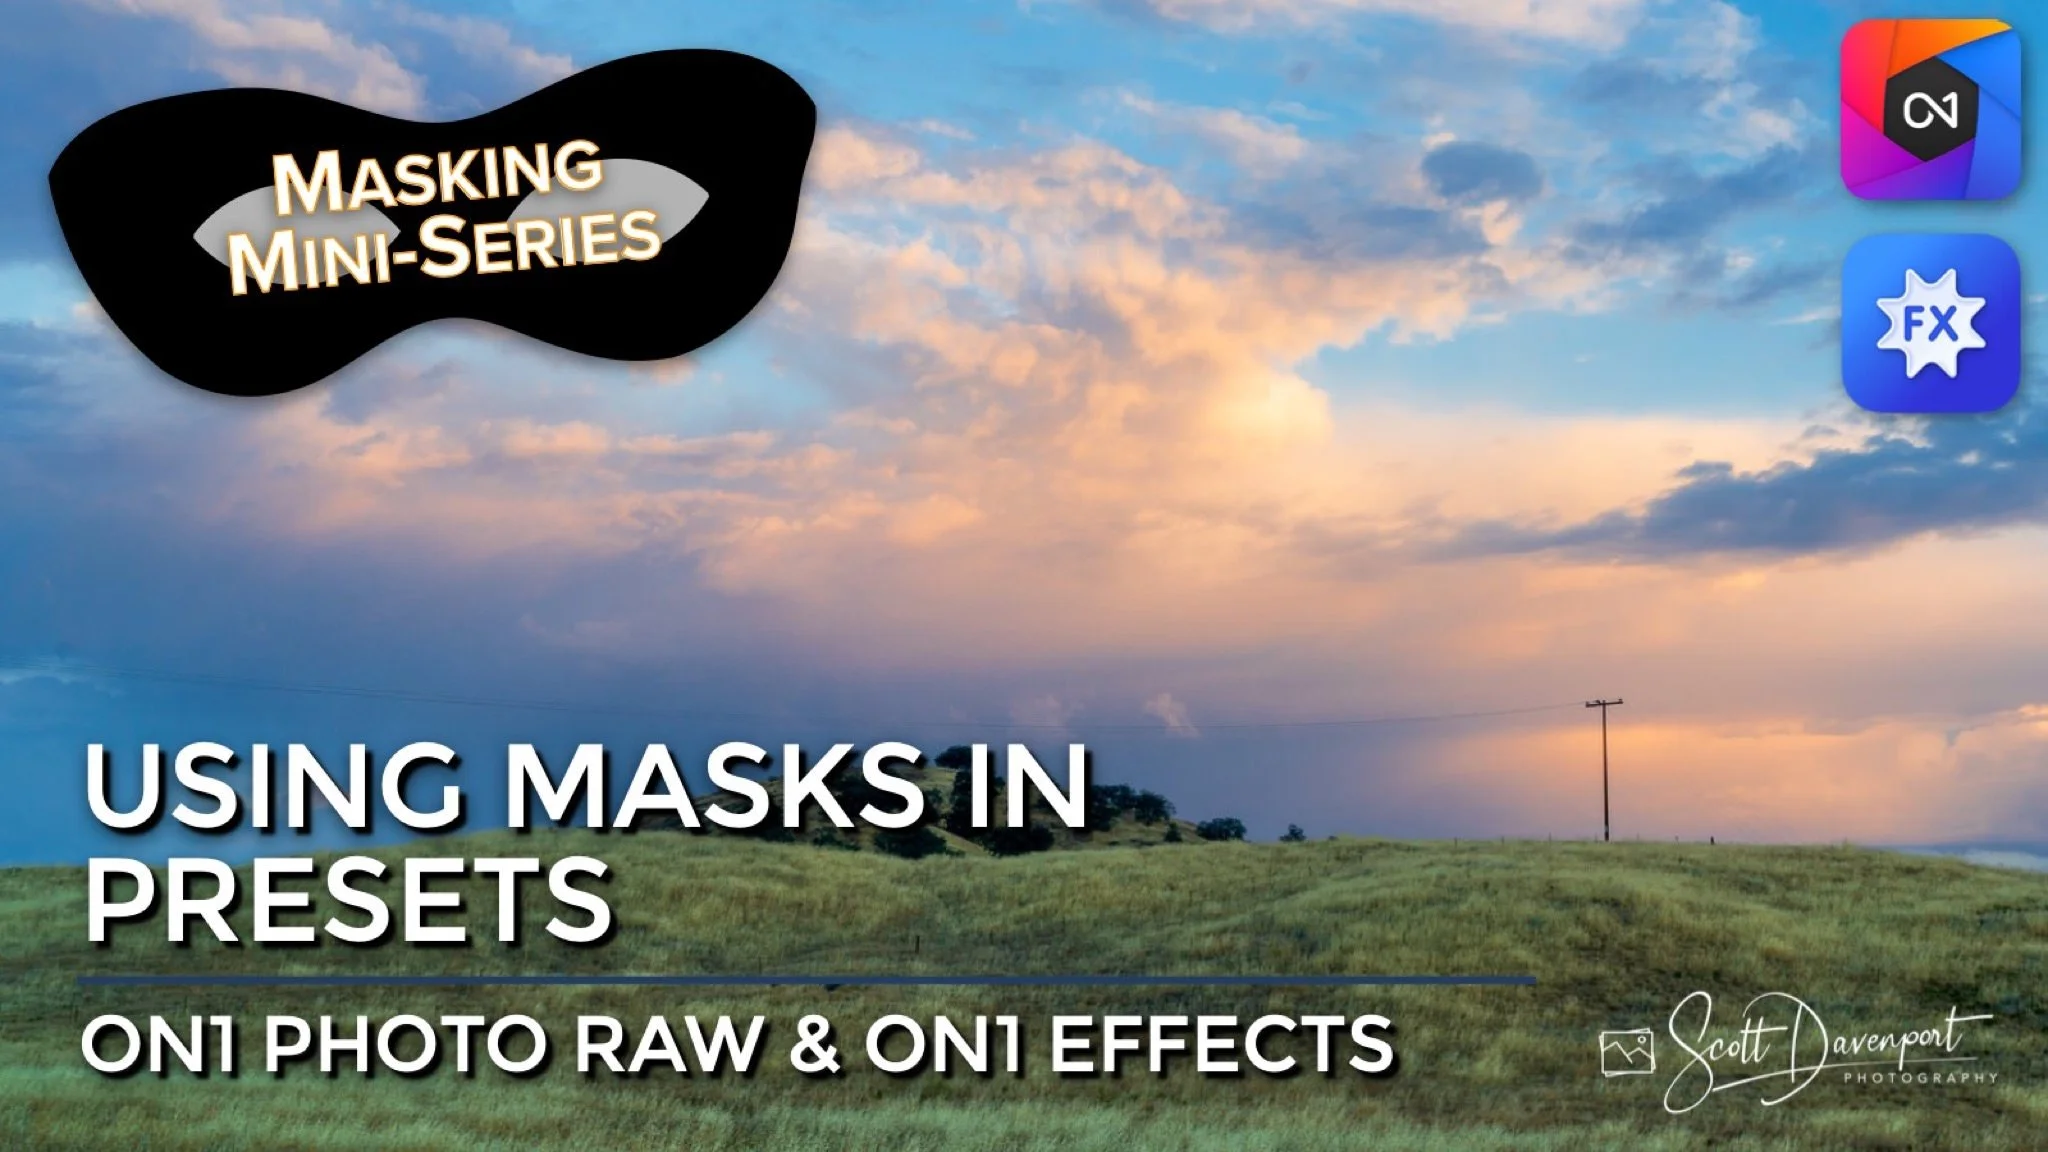
Using Masks In ON1 Presets
If you are trying ON1 Photo RAW, the ON1 plug-ins like ON1 Effects or ON1 HDR, or upgrading your ON1 software to a newer version, please consider using my affiliate link. There is no extra cost to you and it helps support ON1 tutorials like this one. Ready to buy? Use the offer code SDP20 at checkout and SAVE 20%!
This is the final video in this mini-series about masking in ON1 Photo RAW and ON1 Effects. In this series I’ve explained why masking is important and how it lets us make stronger photos. I’ve shown you all the masking tools and how they can be combined to create complex masks with just a few clicks. The final piece of the puzzle - using masks in presets.
What Is An ON1 Preset?
If you are not familiar with presets, where have you been hiding!?! Just kidding. A preset is a bundled set of adjustments for a photo. They can be a combination of Develop, Effects, and Local Adjustments. Presets are a great way to jumpstart your editing session or apply a stylistic look. Presets are also an excellent way to learn how to get certain looks in ON1 - apply a preset, look at the filters and adjustments it’s made, and toggle them off an on to see the impact on the image. ON1 comes preloaded with a bunch of presets and often dispenses preset packs to current owners of Photo RAW in their monthly “loyalty” rewards.
Saving Masks In ON1 Presets
Presets can optionally include the masks you’ve applied to a filter or adjustment. Creating a preset with the masks included is very easy. In the Save Preset dialog, expand the Effects, Portrait AI, or Local Adjustments area and turn on Apply Masks. Then, save your preset. The preset is saved along with the masks. You cannot selectively choose which filters or adjustments get the masks included. It is all or nothing.
Including masks in your presets can make for some very interesting and very powerful presets. However, there are some guidelines to adhere to for the best preset experience using masks. Read on!
Saving an ON1 preset and including masks. Masks can be included for Effects filters, Portrait adjustments (Photo RAW only), and Local Adjustments.
Applying ON1 Presets That Include Masks
Using a preset that includes masks is the same preset workflow you are familiar with. Open the Preset Browser or the Quick Browser, and click the preset to apply. That’s it!
Applying an ON1 preset that includes mask is just like applying any other preset. Find the one you like and click it.
Notice the Effects filters applied by the preset include masks.
Some Masks Are Good For ON1 Presets. Others Are Bad.
Certain types of mask lend themselves better to presets than others. To summarize it into a set of three guidelines:
If the mask is tonal or color based, it is a good candidate for an ON1 preset
If the mask is a graduated shape from the Masking Bug (gradient, reflected gradient, center, edges), it is a good candidate for an ON1 preset
If the mask is specific to an object or element in your photo, it is a bad candidate for an ON1 preset
In terms of which ON1 masking tools are good ON1 preset candidates, my “naughty and nice” list is:
Nice List
Luminosity Masks
Color Range Masks
Masking Bug
Adjustable Gradient
Naughty List
AI Quick Mask
Line Mask
Sky Swap AI (or Mask Sky)
Masking Brush (classic, Perfect, or Custom)
For luminosity and color range masks in a preset, ON1 will recompute the mask based on the tones and colors of the target image. They are fantastic choices for preset. Also, Masking Bug or Adjustable Gradient masks are readily adjusted and repositioned after apply a preset that contains those masks.
Tools like the AI Quick Mask, Line Mask, and Masking Brush are almost always based on the objects in a particular photo. The masks are not versatile, even with similar objects in the photo. If the elements in the scene change position, even slightly, the masks are off. This is true for the Sky Swap AI mask as well. Although ON1 initially computes these types of masks by examining the photo, this does not happen when a sky mask is part of a preset (notably different than luminosity and color range masks).


An Example Of Using An ON1 Preset With Masks
For this article, I created a preset using the photo of the Santa Ysabel Valley, which included several filters each with a different type of mask. I then applied the preset to The filters and masks applied in the preset are:
Photo Filter, Masking Brush (BAD) - I hand-painted a happy face in the sky. Imagine if that were a landscape photo take in the mountains, where I’d masked around a tree. Brush work is almost always specific to objects in a photo and are not versatile for presets.
Color Adjustment, Masking Bug (GOOD) - The adjustment is a graduated shape applied to the upper half of the photo, at a bit of an angle. The position and feather is easily adjusted after applying the preset. Open the Masking Bug and use the on-screen controls to reposition and adjust the gradient.
Glow, Luminosity Mask (GOOD) - The tones of the target image are recomputed and the luminosity mask is recreated. The result mask is perfect for the target photo.
Sunshine, Color Range Mask (GOOD) - The color range mask matches a specific color tone. The target photo is examined and the mask is rebuilt when the preset is applied.
Dynamic Contrast, Mask Sky (BAD) - Sky masks are not recomputed when applied as part of a preset. Whatever sky mask was in the photo when the preset was created is “burned” into the preset and reapplied. Notice how the mask does not match my seascape photo (at all)!
Watch the video in this article for a more detailed rundown of these adjustments and why the mask does and doesn’t work well in a preset.
Hand-painted masks made with the Masking Brush are not versatile and should not be included in presets.
Masks like the luminosity mask (Glow) and color range mask (Sunshine) are very versatile and great choices for preset.
Masks made with Sky Swap AI or Mask Sky are not intelligent when used in presets. The sky mask included in the preset is from the image used to create the preset.
The End Of The Masking Mini-Series
I hope you enjoyed this ON1 Masking Mini-Series. If you missed any of the articles, visit my ON1 Learning Center.
Daybreak In Santa Ysabel Valley
Contact Scott to commission a print or license this image.


