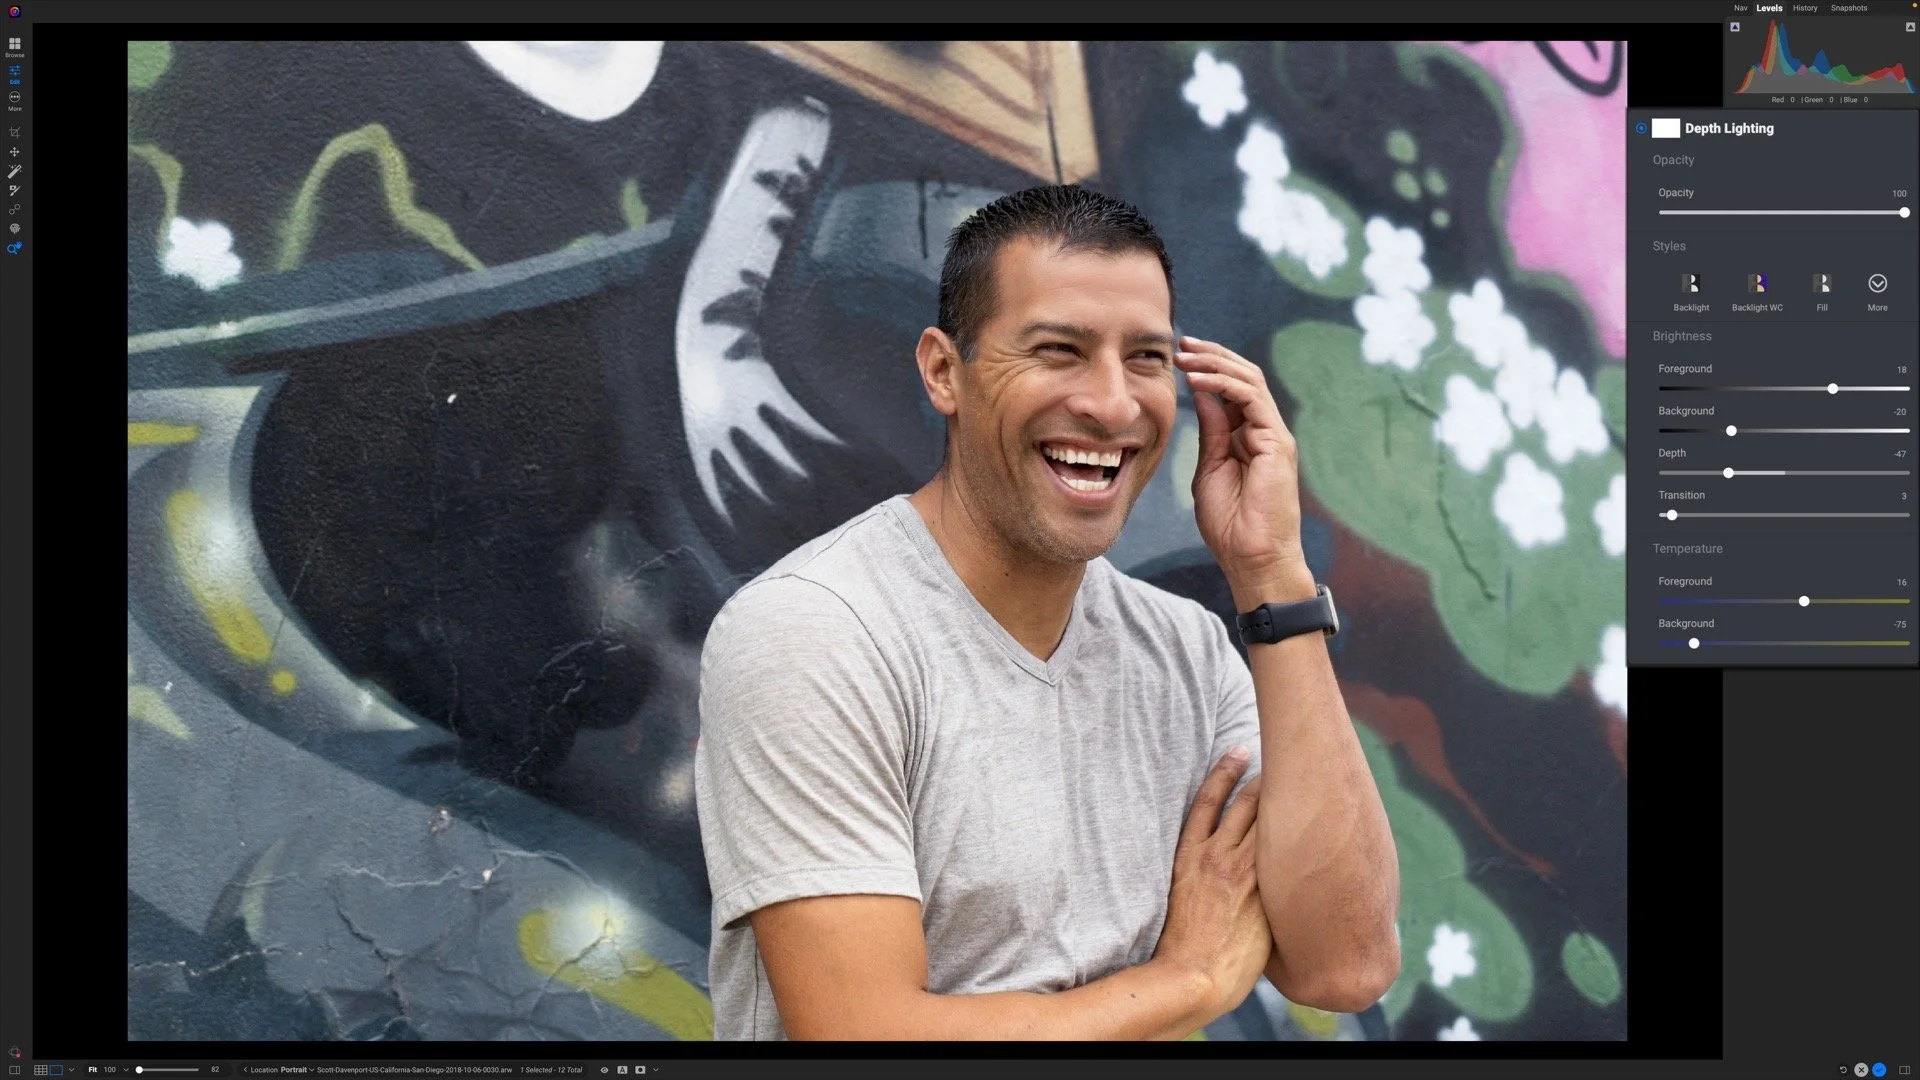
The ON1 Masking Brush - Opacity Vs Flow
If you are trying ON1 Photo RAW, the ON1 plug-ins like ON1 Effects or ON1 HDR, or upgrading your ON1 software to a newer version, please consider using my affiliate link. There is no extra cost to you and it helps support ON1 tutorials like this one. Ready to buy? Use the offer code SDP20 at checkout and SAVE 20%!
This article is part of a mini-series about the masking features in ON1 Photo RAW and ON1 Effects. This installment explains the difference between Opacity and Flow in the Masking Brush tool. Both the Opacity and Flow controls of a masking brush affect its overall strength. However, each control does so in a different way, and they are related.
What Is Opacity?
Opacity is the overall strength of a mask. Consider a pure white mask where the impact of an ON1 Effects filter is at full strength. Then, a mask with an Opacity of 70% is applied.
What Is Flow?
Flow is the rate or pace of a brush stroke - how quickly does the brush stroke get applied? Flow is like water moving through a hose. A lower flow means less water, a higher flow means more. For a masking brush, a lower flow slowly builds up a mask. A higher flow more rapidly builds up a mask.
The Relationship Between Opacity And Flow
Opacity is a boundary on the strength of a mask. Flow is a rate. So think of Opacity as the upper bound on mask strength while painting, and Flow as how quickly or slowly you will reach that upper bound. The three individual brush strokes shown below are all done with an Opacity of 70%. The difference is the Flow setting for each stroke. From top to bottom, the Flow is set to 100%, 50%, and 15%.
When painting a single brush stroke, when you paint over an area that was previously painted, the overlapping strokes build up to the full Opacity. The Masking Brush uses this to help control the flow. As you move your brush, ON1 slowly builds up your brush stroke with a smaller series of overlapping strokes. Watch the video in this article for an illustration and explanation of this.
Pro tip: Control the rate of the overlapping brush stokes with the Manual Spacing control in the Gear menu of the Masking Brush.
Three identical brush strokes for a 70% Opacity mask. The difference is the Flow setting of 100% (top), 50% (middle), and 15% (bottom).
Remember! Settings for the Masking Brush are per brush stroke. Even with a low flow, repeated, overlapping brush strokes will increase the effective opacity of overlapping brush strokes. Overlaps from separate brush strokes can exceed the Opacity set for any one brush stroke.
Up Next
This masking series continues with a deeper look at the Perfect Brush, the edge detection feature of the Masking Brush.


