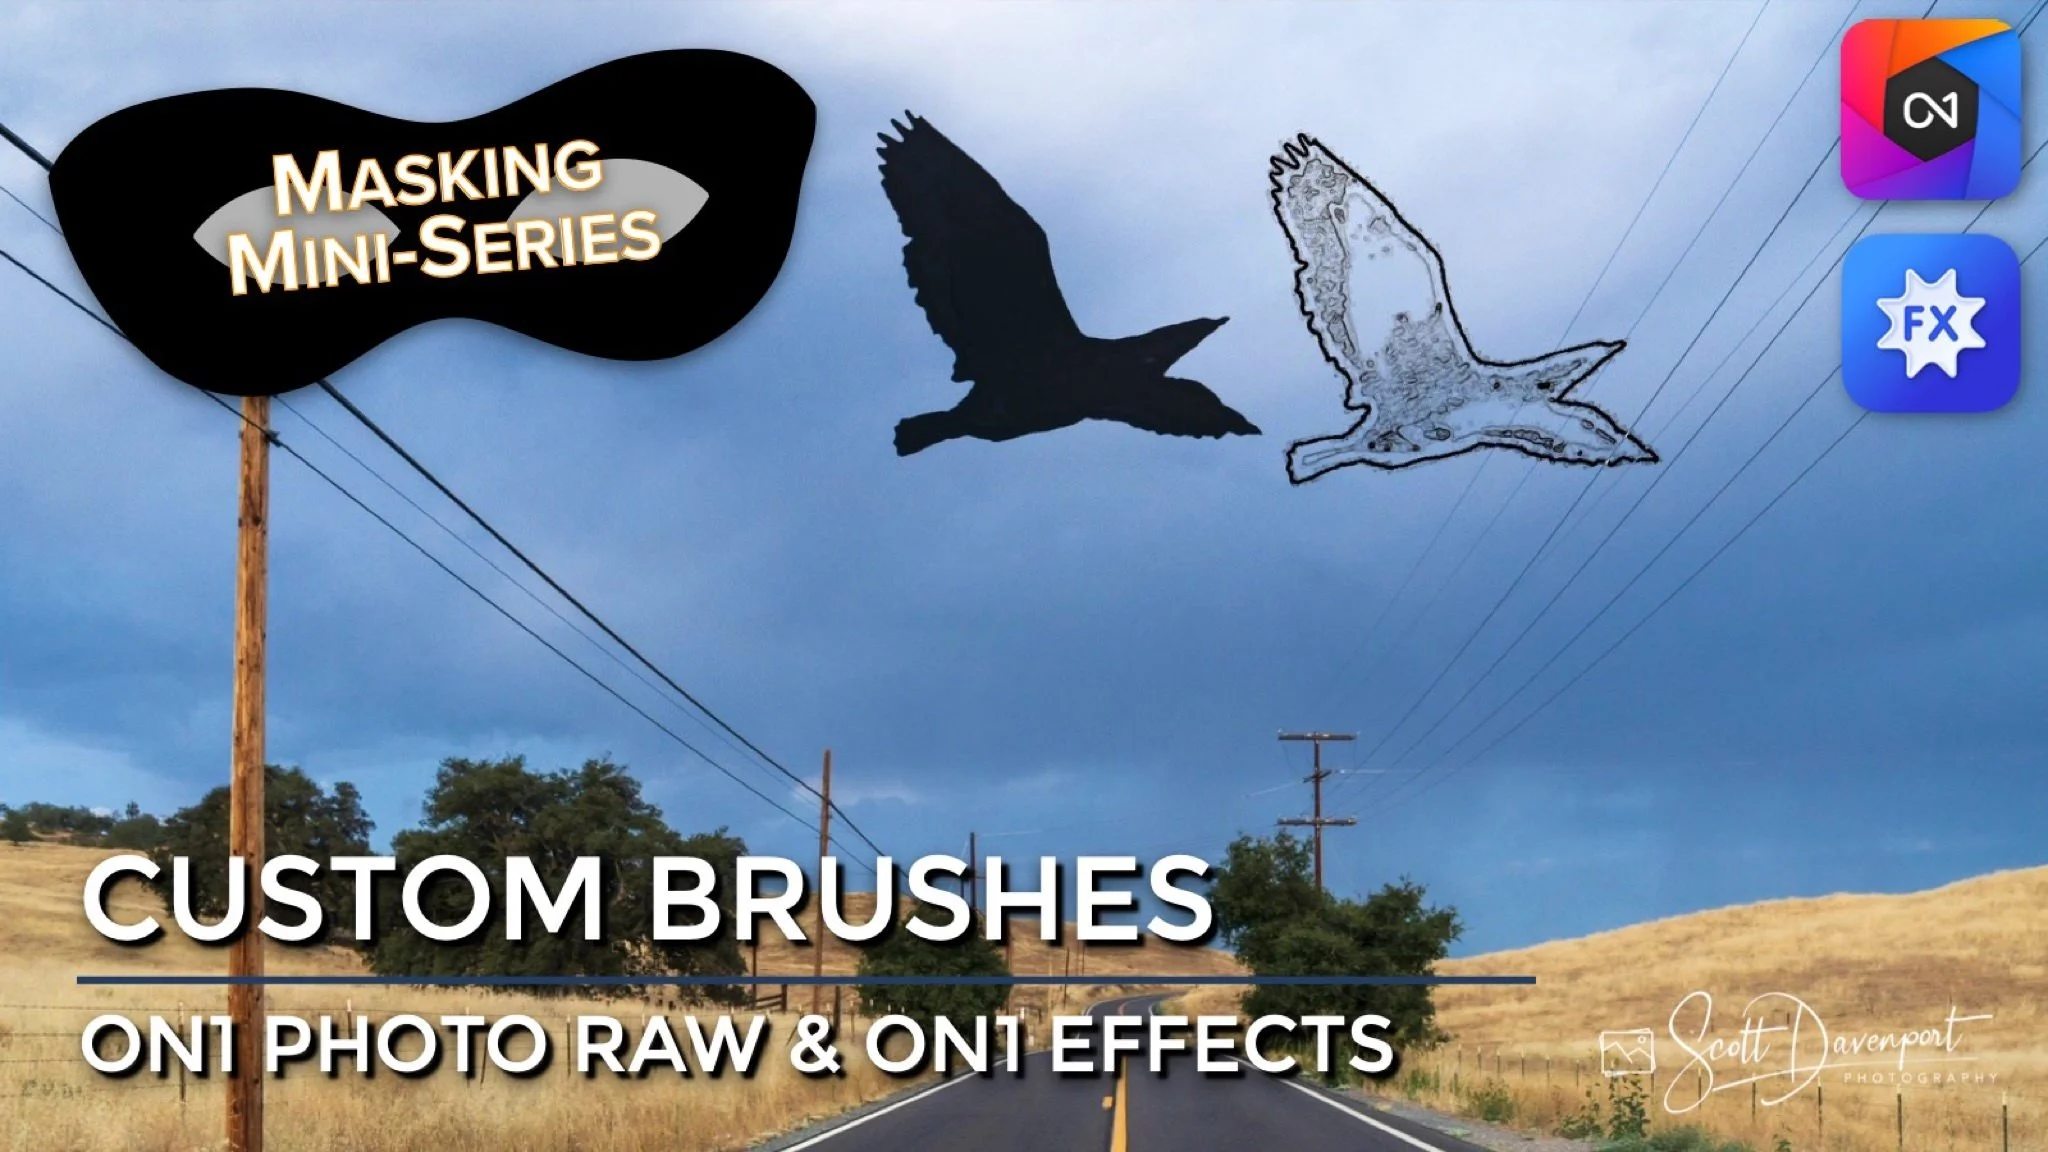
Custom Brushes In ON1 Photo RAW And ON1 Effects
If you are trying ON1 Photo RAW, the ON1 plug-ins like ON1 Effects or ON1 HDR, or upgrading your ON1 software to a newer version, please consider using my affiliate link. There is no extra cost to you and it helps support ON1 tutorials like this one. Ready to buy? Use the offer code SDP20 at checkout and SAVE 20%!
This article is part of a mini-series about the masking features in ON1 Photo RAW and ON1 Effects. This article explains custom brush shapes in the Masking Brush tool. If you missed the article introducing the Masking Brush, read that and then come on back.
What Is A Custom Brush?
By default, the Masking Brush tool uses a circle as the brush head. A circle is a versatile shape for masking, and when used with edge detection of the Perfect Brush, the standard circular brush can handle many masking jobs. However, there are many more shapes than a circle.
Enter the Custom Brush. A Custom Brush is simply a different shape for the masking brush. ON1 includes a variety of custom brushes and using the Extras Manager, you can import other brush shapes. ON1 has some custom brush packs and you can also install Photoshop brush styles (ABR files), too.
In fact, just about any image can be turned into a custom brush. The only criteria is the image or shape is a black and white image. Why? Custom Brushes are used with masking, and masks are constructed using black, white, and gray tones. Remember the masking mantra - black conceals white reveals. (And if you need a refresher, check out the Introduction To Masking In ON1 article.
Custom Brush Controls
The controls for the custom brush are exactly the same as those for the Masking Brush. Visit the Masking Brush article for a detailed description of each control. The Angle control is much more interesting and useful with a Custom Brush, letting you orient the brush shape. The Manual Spacing control in the advanced settings (gear menu) is also useful for more sweeping brush strokes.
A Custom Brush is a specialized shape for the masking brush.
Manual Spacing affects how quickly or slowly a custom brush shape repeats for sweeping brush strokes.


When Do I Use Custom Brushes?
As a landscape photographer, I use custom brushes sparingly. My style of photography doesn’t call for them very often. However, for photo compositors or when working with multi-layer photo documents, custom brushes open up a lot of options with layer blending, texture manipulation, and creative editing. A few ideas for custom brushes:
Stamping a silhouette into a scene. Use a custom brush and a Local Adjustment with the Paint With Color option, then a single click of the custom brush, to stamp a shape into your photo. Birds in the sky, trees in the distance, maybe a bolt of lightning.
Faux texturing: ON1 includes some texture shaped brushes to simulate texture patterns. Stamp a few on your image, or use them with different Effects filters to add splashes of color or texture to a photo (get in touch with your inner Jackson Pollack!).
Watermarking a photo. Have a logo or signature you use for watermarking? Make a black and white version of it and load it as a custom brush. Then, use the Local Adjustment and stamp your watermark on your photo in any location or at any angle you like. You can do this as a partial strength mask for a subtle watermark or use the Paint With Color option for a colorized watermark. Check out this video for a more detailed explanation of watermarking with custom brushes.
Pro tip: Use a very low Feather with the custom brush for silhouettes.
Up Next
That wraps up the options in the Mask Brush. This masking series continues with a dive into the Line Mask tool.
Stamp your logo or signature as a watermark in any color you’d like using a Local Adjustment and a Custom Brush.


