The Line Mask Tool In ON1 Photo RAW And ON1 Effects
If you are trying ON1 Photo RAW, the ON1 plug-ins like ON1 Effects or ON1 HDR, or upgrading your ON1 software to a newer version, please consider using my affiliate link. There is no extra cost to you and it helps support ON1 tutorials like this one. Ready to buy? Use the offer code SDP20 at checkout and SAVE 20%!
This article is part of a mini-series about the masking features in ON1 Photo RAW and ON1 Effects. In this article, we explore the Line Mask Tool.
Line Mask Tool
The Line Mask Tool is the perfect masking tool choice when your masking work involves straight-edged segments. You can mask any polygon with the Line Mask Tool. The tool is simple to operate.
Activate the Line Mask Tool
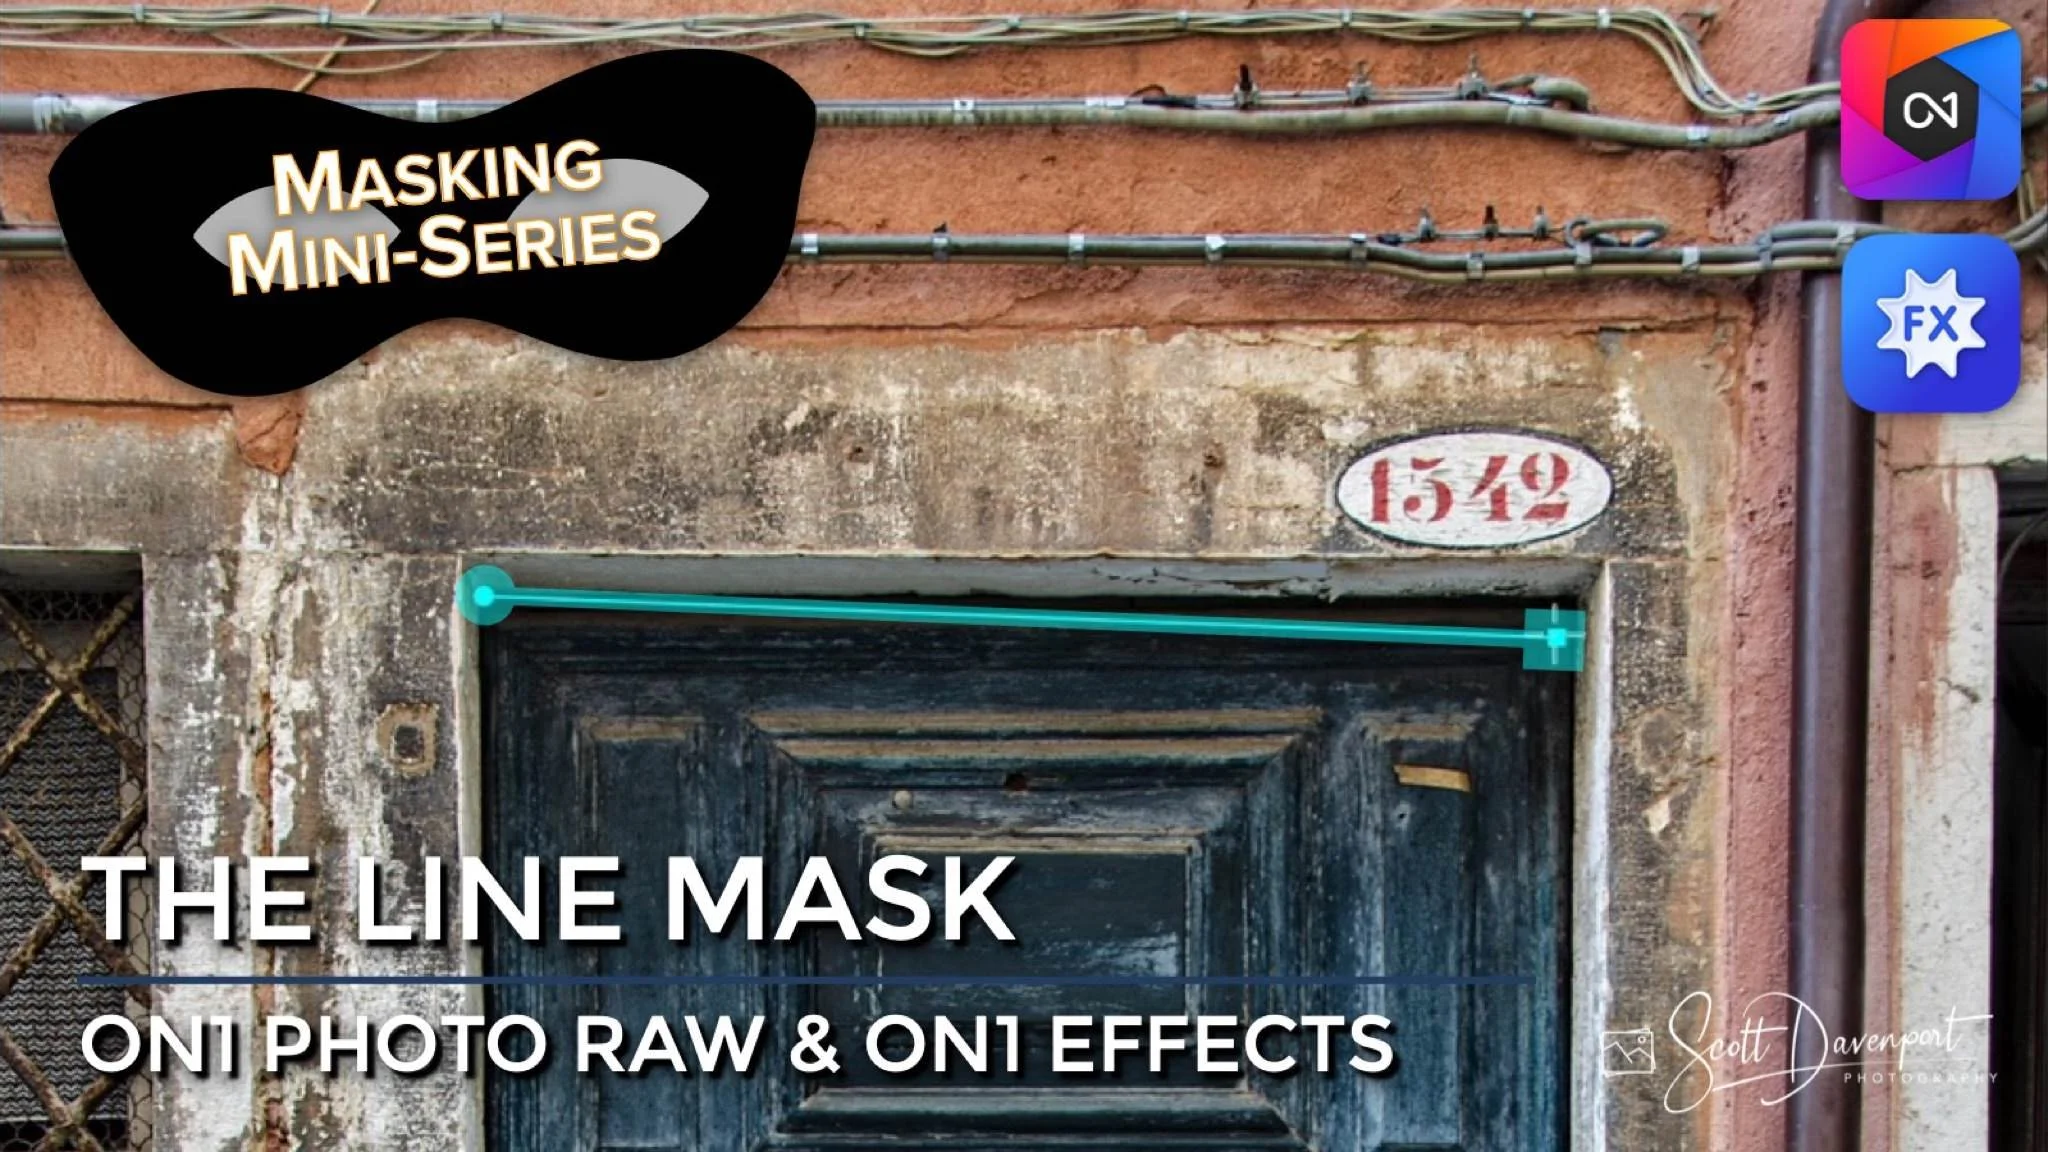
Click on your photo to place pins. The tool connects the lines for you.
Return to your original starting point to close the shape.
Once the shape is closed, the cursor changes to a paint can with a + (Paint In) or - (Paint Out).
Click inside or outside the shape to create the mask.
Like other masking tools, the Line Mask has a Paint Out and Paint In mode, although I rarely pay attention to that setting. I concentrate on creating the shape I need for my mask and then click either inside or outside the shape I’ve created to make my mask.
For example, to apply the Dynamic Contrast filter to just the blue door in the photo below, I first used the Line Mask to outline the doorway. Then, I clicked my paint can outside the shape to Paint Out the Dynamic Contrast from outside of my shape. The end result is the filter is applied to just the door.
Drawing points with the Line Mask Tool in ON1 Effects
Return to your starting point to complete and close the shape
Re-Editing A Line Mask
You can re-edit an existing line mask to adjust and even add more points to refine the shape. If a Line Mask is already applied, re-open the Line Mask Tool and hover over the shape you previously created. Then, click directly on one of the lines of the shape. You’ll see the points are visible and they can be adjusted.
Also, hover over any line segment and you’ll see an additional control at the midpoint of that line segment. These are additional controls to bend and tweak the line segments. Sometimes subjects have mostly straight lines, with a little warping or bending (like the old doorway in my example).
Pro tip: Use a larger set of smaller line segments to have more control points to refine a Line Mask.

Re-edit the points in a Line Mask. There are also midpoint controls on any line segment in the mask.


Using the Line Mask to create a non-uniform vignette to cradle the subject in the lower part of the frame.
Creative Uses For The Line Mask
The Line Mask excels with straight-edged subjects. However, don’t let its name fool you. The Line Mask can also be useful for non-uniform shapes or a faster way to get a mask that would otherwise need a few gradient Masking Bugs.
In this example, I used a Line Mask to quickly create a “cradle” shape to darken the lower left and lower right edges of the scene. A vignette would be too uniform given the composition, and a Line Mask with a large Feather makes the shape quickly.
Up Next
This masking series continues with an explanation of Color Range Masks.
Cannon At Fort Ross California
Contact Scott to commission a print or license this image.


