The AI Quick Mask Tool In ON1 Photo RAW And ON1 Effects
If you are trying ON1 Photo RAW, the ON1 plug-ins like ON1 Effects or ON1 HDR, or upgrading your ON1 software to a newer version, please consider using my affiliate link. There is no extra cost to you and it helps support ON1 tutorials like this one. Ready to buy? Use the offer code SDP20 at checkout and SAVE 20%!
This article is part of a mini-series about the masking features in ON1 Photo RAW and ON1 Effects. This installment explains how to use the AI Quick Mask tool.
What Is AI Quick Mask
The AI Quick Mask Tool in ON1 Photo RAW and ON1 Effects is user-guided AI-powered mask generator. You the photographer give the tool a bit of guidance on what you want included and excluded from your mask and then ON1’s AI engine quickly builds a mask for you.
The AI Quick Mask is a good starting tool for a mask when the area you want to treat is not conducive to a gradient tool or involves a variety of colors and tones (making luminosity or color range masks challenging). Objects or elements that would require more painstaking brushing are also good candidates to use the AI Quick Mask tool with.
Using AI Quick Mask
After selecting the AI Quick Mask from the Mask Group, the Tool Options Bar across the top of ON1 presents a few options. The tool itself is a simple paint brush with a size parameter. The AI Quick Mask operates in two modes, Keep and Drop.
Keep: Areas painted are masked white, revealing the pixels of a layer, or impact of a filter or adjustment
Drop: Areas painted are masked black, concealing the pixels of a layer, or impact of a filter or adjustment
I usually begin with the brush in Keep mode and paint over the objects or areas in my image I want to affect (filter or adjustment) or display (layer). Keep areas are designated with green brush strokes. You can add several brush strokes to various area of the photo. Next,
The power of the AI Quick Mask is that your brush strokes do not need to be precise. They are guidelines for the AI.
Use the Keep and Drop modes of AI Quick Mask to give guidance to the AI on what to keep (reveal) and what to drop (hide) in your mask. The guide strokes do not need to be precise.
Once the keep and drop guide strokes are in place, click Apply in the popup window or in the toolbar. The AI goes to work and quickly builds a mask based on your guidance. If additional guide strokes need to be added, you can do so and repeat the process. Once you are satisfied with the mask, click the Done button in the popup window or the toolbar.
Pro tip: Don’t try to get a perfect mask with AI Quick Mask. This is supposed to be quick. The mask will likely need some refinement and ON1 has many other tools tailored for that.
The initial mask created by the AI Quick Mask.
Supply additional guide strokes to update an AI Quick Mask.
A refined AI Quick Mask after including more Keep and Drop guide strokes.


Refining The Mask
The AI Quick Mask creates a standard mask, modifiable by any of the masking tools in ON1. Some level of refinement for the mask is expected. Notice that the Refine Group is automatically activated after clicking Done in the AI Mask Tool. These tools, or any other masking tool, can be used to add the final touches to your mask.
In this example, I opened the masking options for the filter I added, adjusted the global Feather slightly and reduced Density a little. I ended up not worrying about the small spaces between the stem of the flower (though that is easy work with the Perfect Brush).
Up Next
The next several articles in the series will delve into the individual masking tools. Up next, the Masking Bug tool and its Gradient shape.

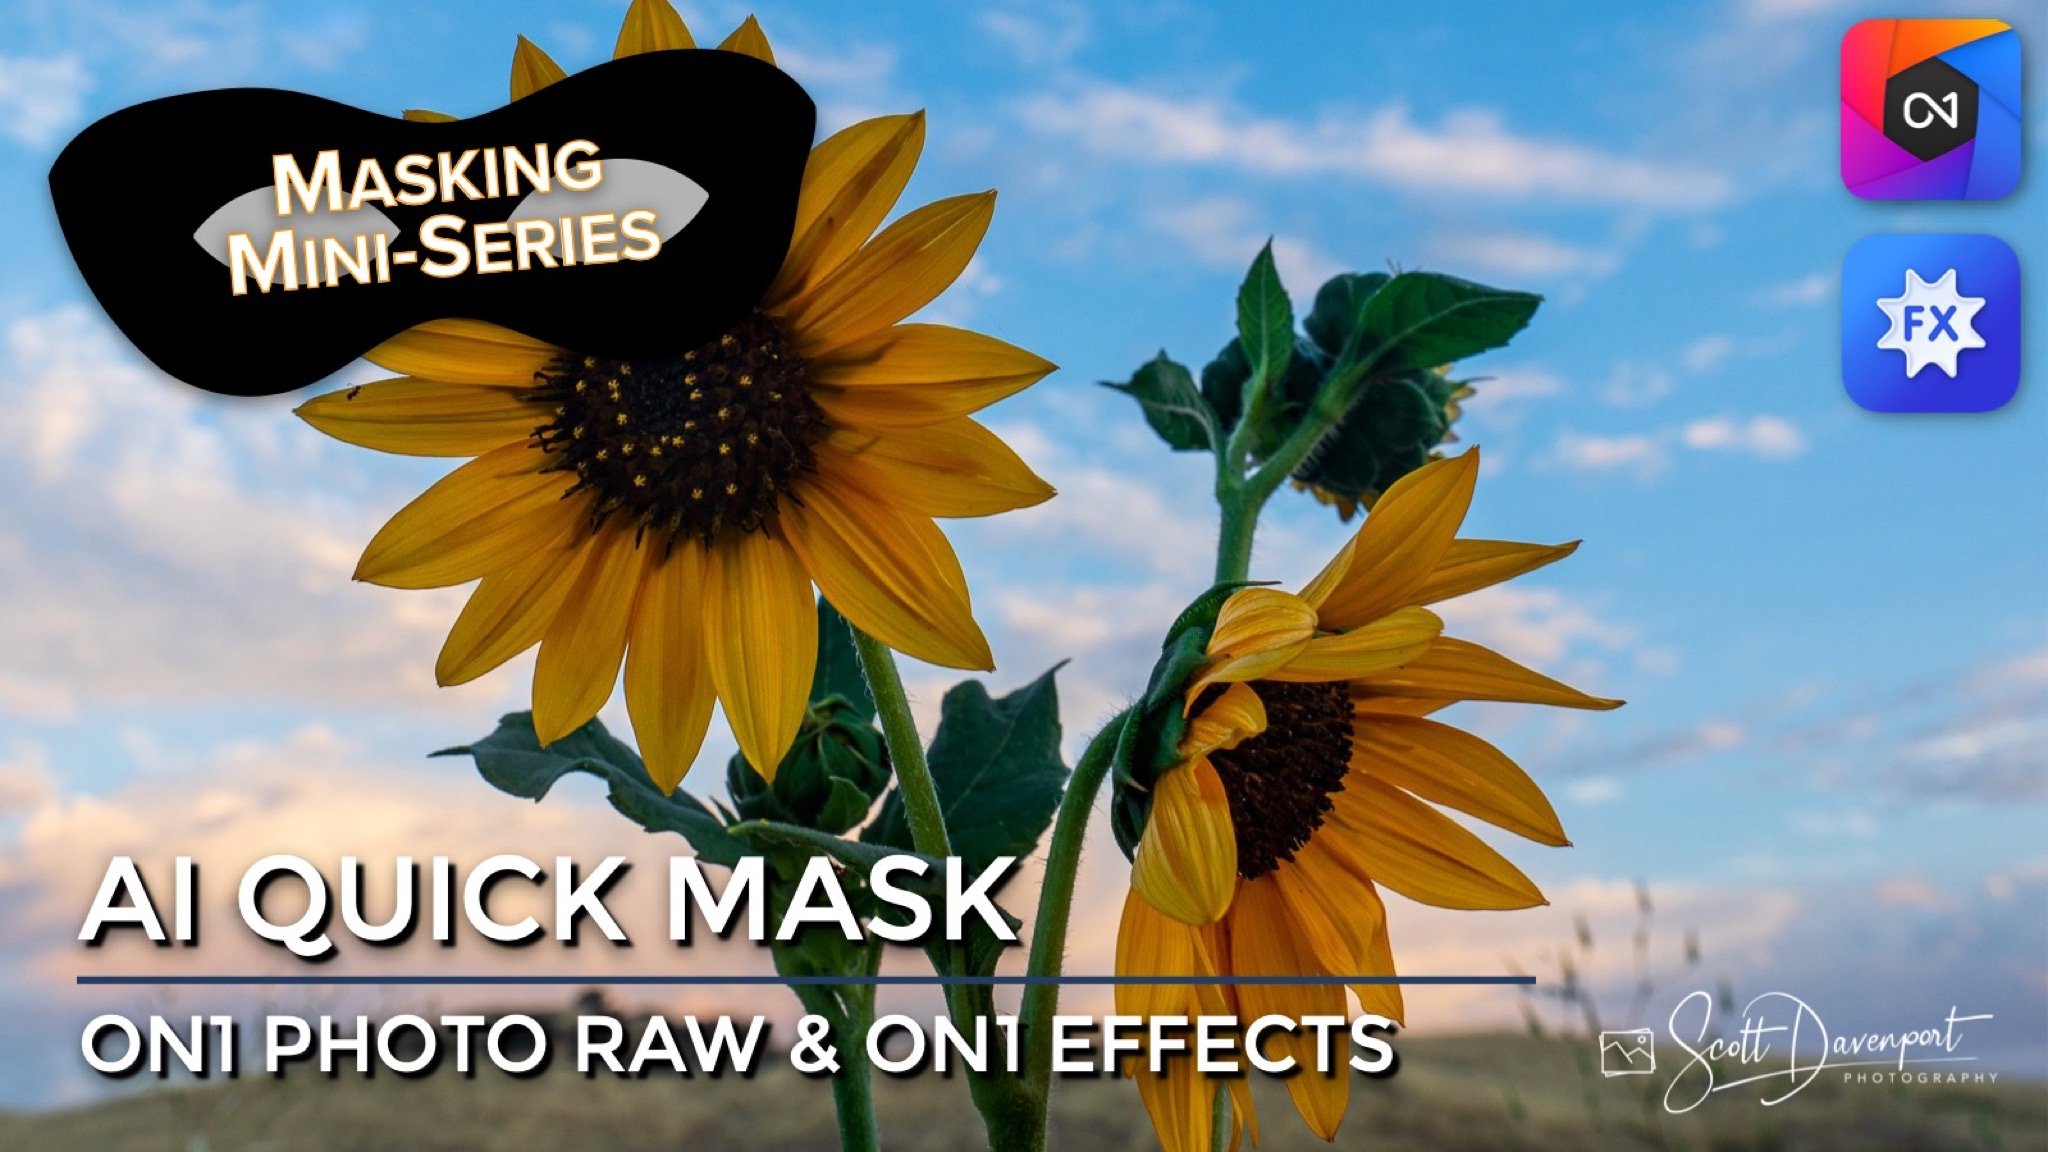
Flower In Santa Ysabel Valley, California
Contact Scott to commission a print or license this image.


