Lens Blurs And Line Masks In ON1 Effects - In Post #528
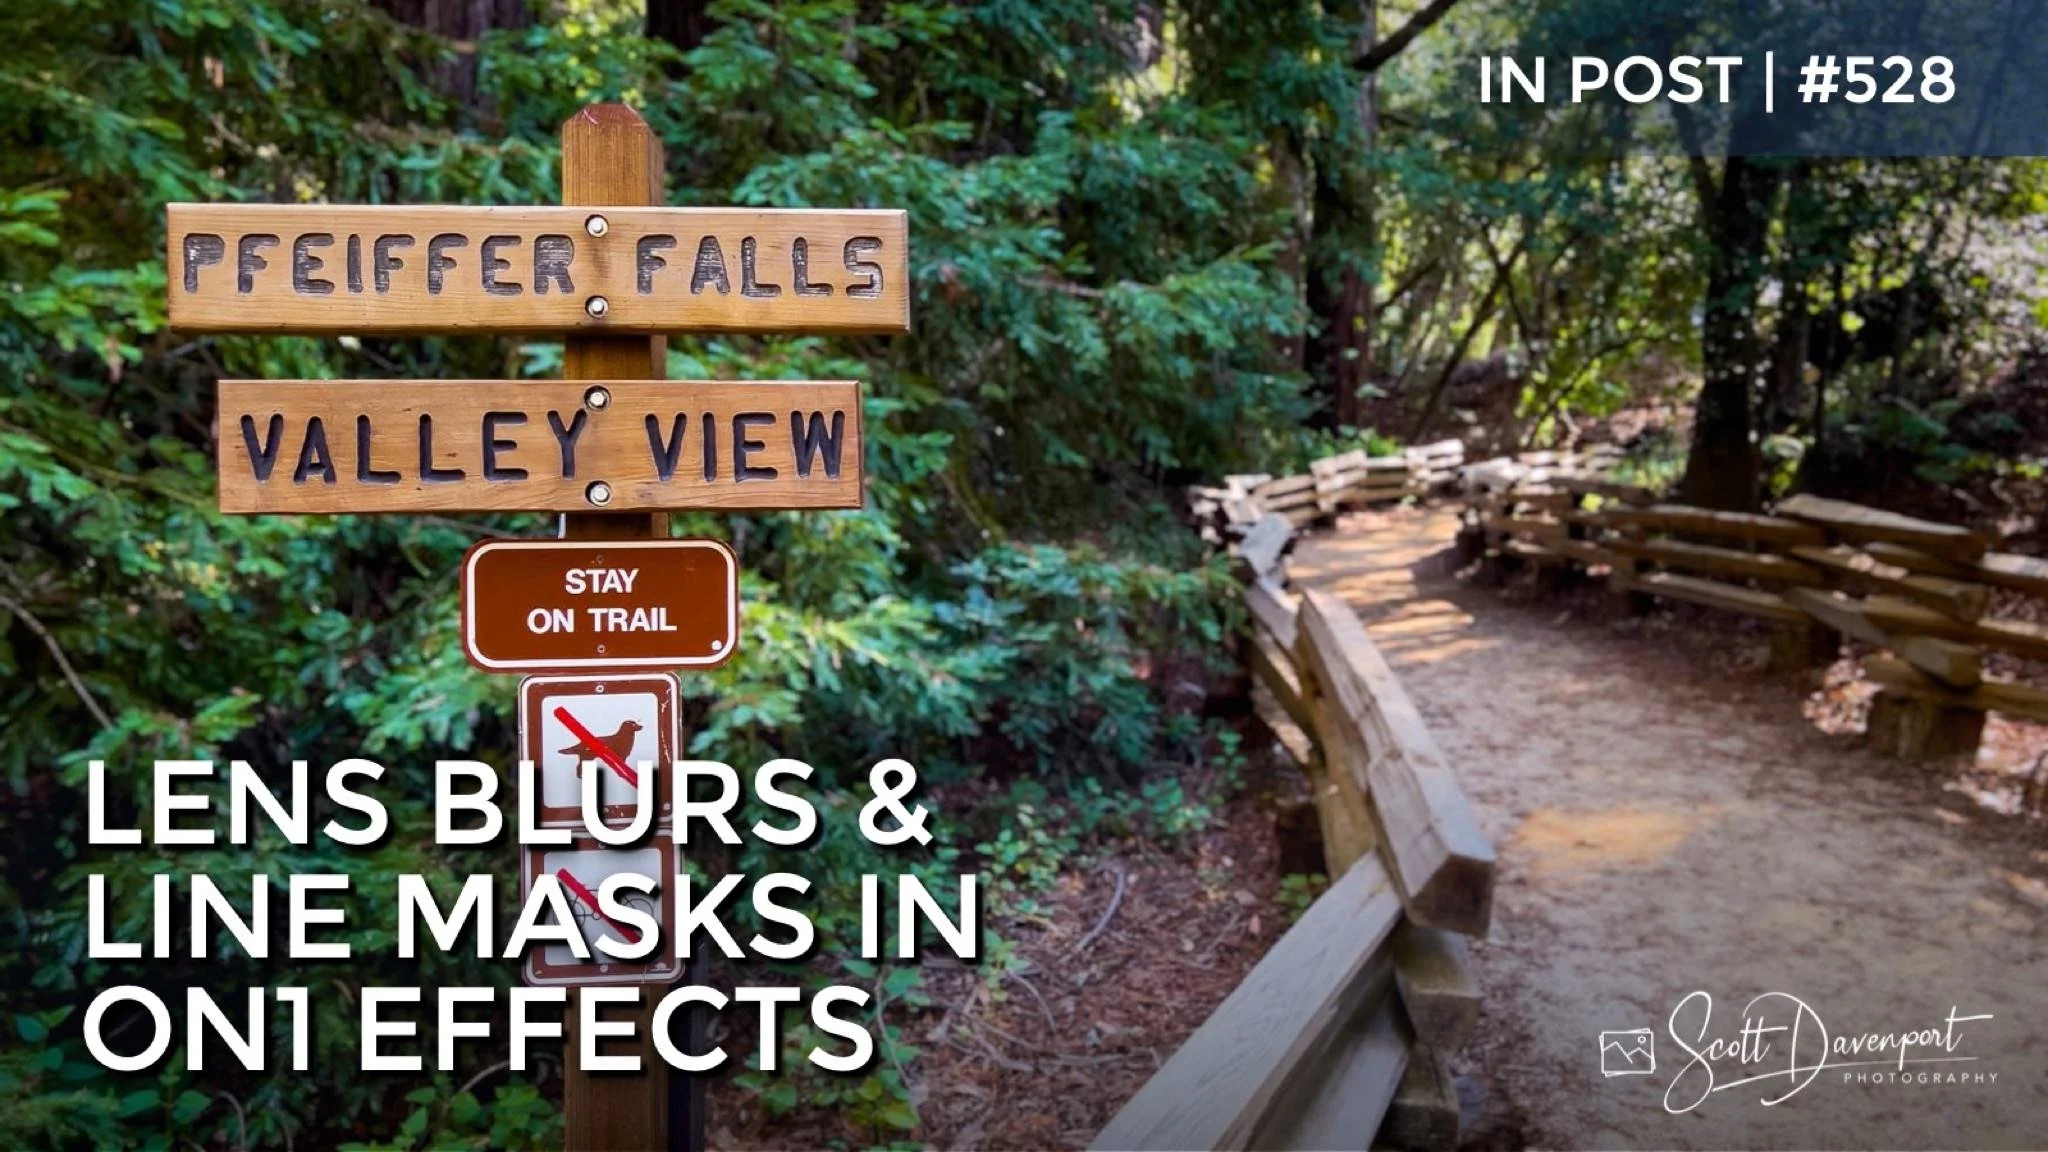
In this article, I share my tips and tricks for adding a lens blur to a photo in post-processing. On my hike to Pfeiffer Falls in the Big Sur area, I took an iPhone photo of a trail sign directing hikers toward one path or the other. In retrospect, I wished I’d used a shallower depth of field to blur the background where the trail fades to the horizon. Luckily we have tools in our digital darkroom that let me create that type of effect after the capture is done.
My tool of choice for adding lens blurs is ON1 Effects, a plug-in for Lightroom, Photoshop, Capture One and other photo editing software. These tools are also part and parcel of ON1 Photo RAW.
If you are trying ON Effects or other ON1 products, please consider using my affiliate link. There is no extra cost to you and it helps support articles like this one. Use the offer code SDP20 at checkout and SAVE 20%!
Step 1 - Add A Lens Blur
After initial processing, I brought the image into the ON1 Effects plugin and added the Lens Blur filter. By default, the blur is applied to the entire photo and (undesirably) blurs my subject. That’s fine for now. Paying attention to the background, I adjust the sliders to get the amount of blur I want. For this scene, I pay attention to where the trail fades to the forest in the background and add just a small amount of blur.
Add a Lens Blur filter in ON1 Effects to simulate the looks of shallower depths of field.
Step 2 - Remove The Blur From Your Subject
With the lens blur adjusted to my liking, the next thing to do is remove the blurring effect from my subject, the signpost. ON1 Effects includes a rich set of masking tools. For angular subjects like the signpost, the Line Mask Tool is a perfect choice. The Line Mask allows you to draw a polygon around a subject to either treat or protect from the impact of a filter. For a crisp edge, set the Feather to 0 in the toolbar.
Once your shape is drawn, click inside the shape to remove the effect of the filter from the interior of your polygon. You can also click outside the shape to remove a filter from everything except the inside of the shape you've drawn.
Pro Tip: Make several clicks along straight edges. Avoid the temptation to draw a single, long line. This gives you more opportunity for smaller corrections on subjects that are mostly (but not completely) straight.
Use the masking tools to remove the blur from your subject. For angular subjects, use a tool like the Line Mask Tool in ON1 Effects.
The Line Mask can be adjusted and readjusted as often as needed. You can select any polygon you’ve drawn previously with the Line Mask and adjust the control points to refine the shape. Simply click on a point and drag and drop it around to adjust.
The Line Mask does not limit you to box shapes either. Any shape is possible by connecting a series of line segments. Curved objects can also be created with enough control points, such as the mask around the “Stay On Trail” sign below.
Use the Line Mask in ON1 Effects to create any polygon you need for angular subjects.
Click to add more control points for rounded edges with the Line Mask.
I tend to work in segments of my subject with the Line Mask. Often, I will zoom in at well greater than 100% to make my mask very accurate, especially along very straight edges.
Step 3 - Soften The Blur Around Your Subject
After removing the blur from my subject, a final check is to ensure the scene looks natural. In this photo, the focal plane of the signpost is very close to the front of the scene. The railing and ground immediately next to the the sign should be as blurred as the background. Using a second masking tool on the Lens Blur Filter, I can simulate natural lens fall off.
I added a radial-shaped mask to the lower left of the scene with a heathy feather. Also, I applied the mask at about 40% opacity so the foreground is somewhat blurred, but not fully blurred. The result is a much more natural looking scene.
As needed, use other masking tools to create a natural blended lens blur.
Conclusion
The combination of the Lens Blur filter in ON1 Effects with judicious use of masking tools can draw clearer attention to the subject of your photo. A little practice and a little patience will make your photos stronger. That’s why we edit our images!!.
Pfeiffer Falls Valley View Sign
Contact Scott to commission a print or license this image.