Color Corrections & Color Fixes - In Post #548
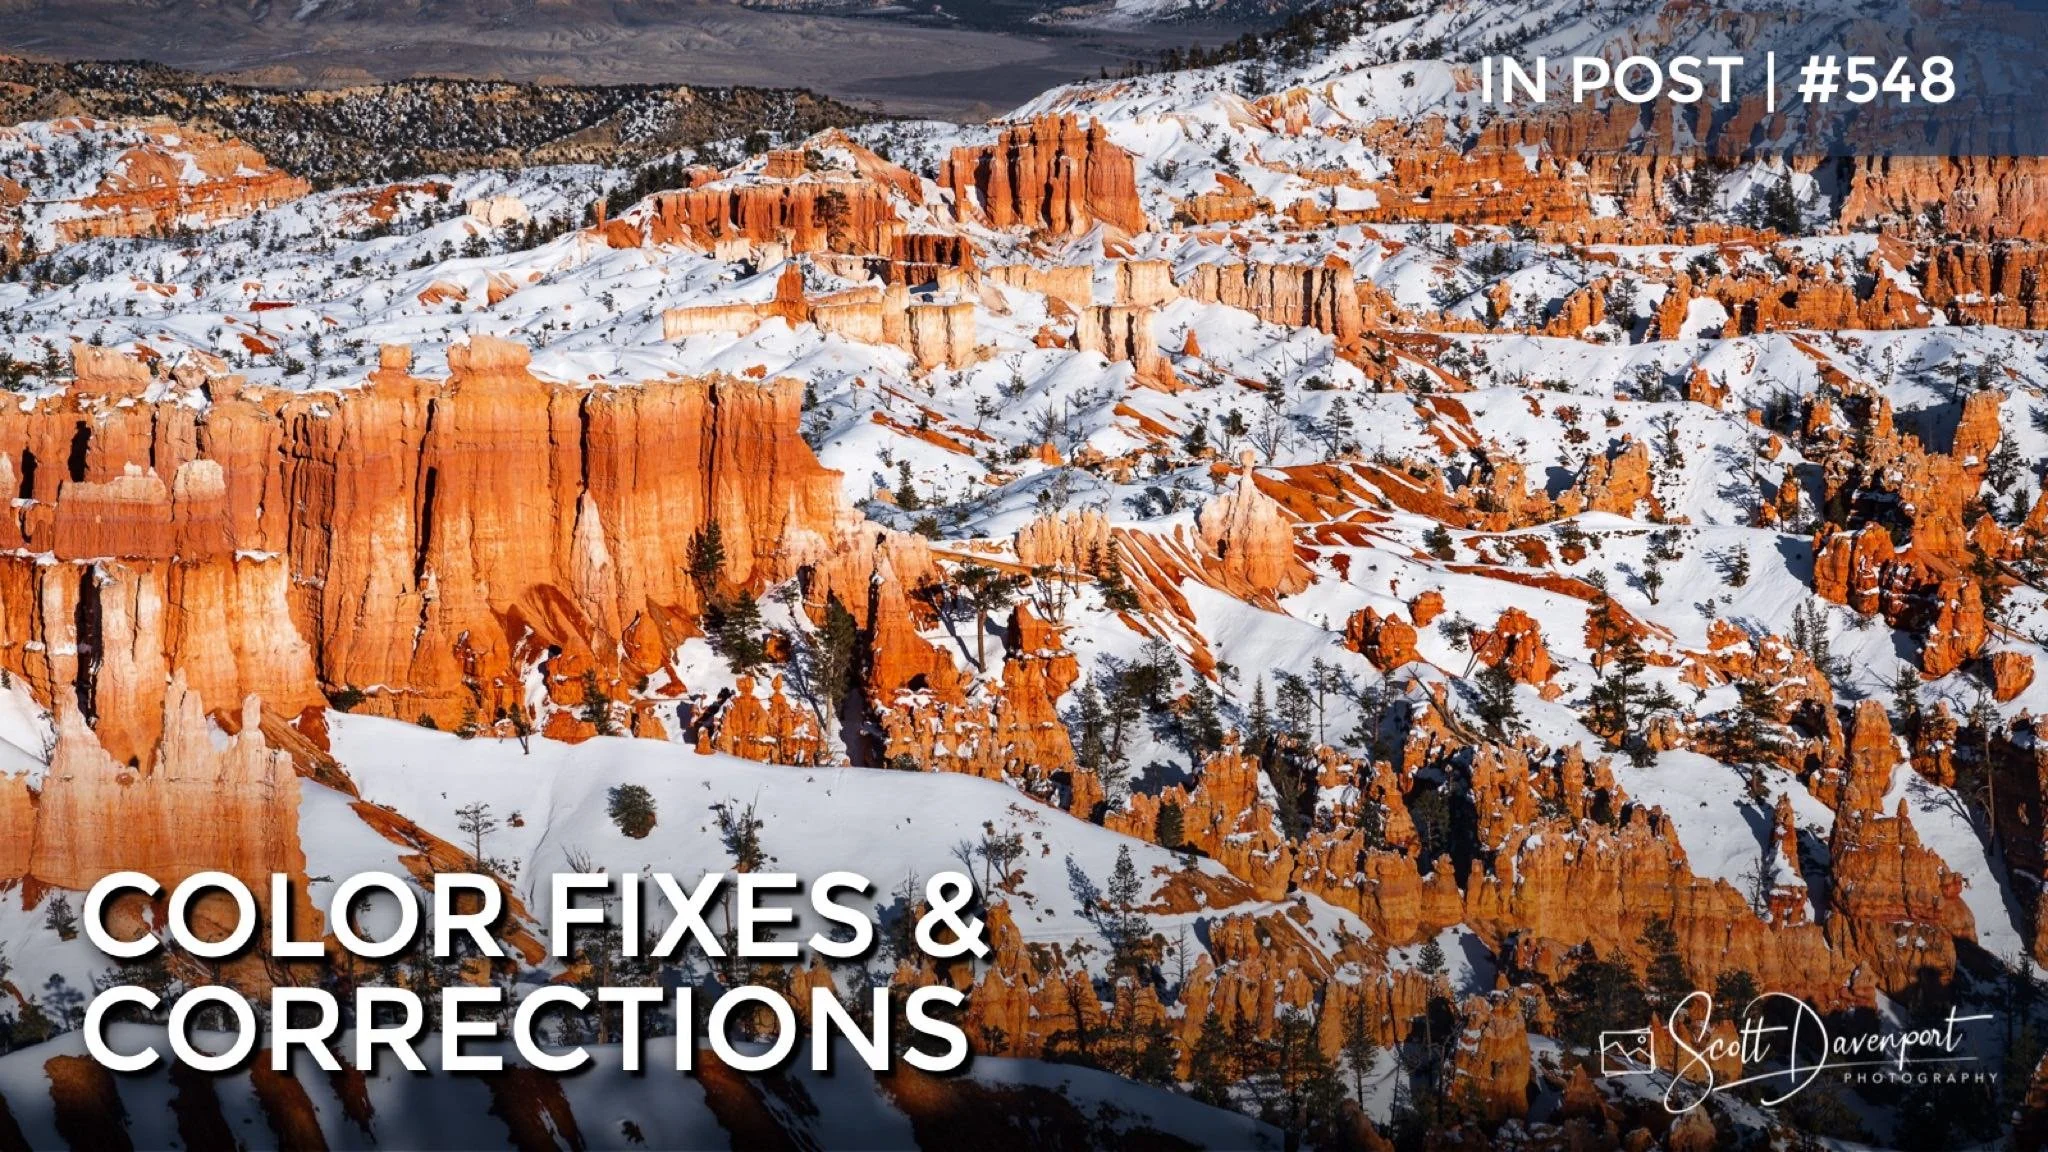
Many of the photos I captured in Bryce Canyon needed a level of color correction or color adjustments. The warm earth tones of the hoodoos needed a little extra boost. Also, the shadowed areas of snow had a blue color cast that needed correction. I tried out Lightroom’s new Color Mixer tool to see how it handles these types of corrections … and I like this new tool very much. This is finally the HSL tool Lightroom users have long waited for.
The workflow using the Color Mixer is simple: use the eyedropper to pick a color in your photo, then use the sliders or color spectrums to adjust the hue, saturation, or luminance of the color. You can also control the range of the color selection, so the sliders affect more colors or fewer colors.
Pick a color from your photo using the Color Mixer eyedropper.
Adjust the sliders or use the control points in the color spectrums to shift its hue, saturation and luminance.
A very nice feature of the Color Mixer is the Visualize Range option. Turn this option on everything outside the specified color range switches to monochrome. You can work visually to see what elements in your photo are affected by the adjustment. Using Visualize Range is also an excellent method to fine tune your selected color and color range.
Use the Visualize Range option to show the affected parts of a photo based on the color selected. This option makes fine-tuning your color range easy.
And … did you notice that you can work with multiple, different color ranges in the Color Mixer? Selecting a color from your photo adds a new swatch to the Color Mixer. You can move between swatches to adjust the results, too.
The Color Mixer also works with Lightroom’s masking tools. I didn’t need masking for the bulk of my Bryce photos - the color separation across the photos were distinct. Yet it is great that the Color Mixer is integrated into the masking tools. Finally Lightroom users have a proper, selective tool for adjusting hue, saturation, and luminance.
Bryce Canyon, Rim Trail 7
Contact Scott to commission a print or license this image.


