When To Use ON1 Layers Vs. Develop & Effects
I use ON1 Photo RAW. A lot. During workshops and through my website, I am asked about Layers vs. Develop & Effects often. When should I use Layers? Do I need to use Layers? Is Develop & Effects "good enough"? The answer always depends on the photos you're working with and what your desired goal is.
Most of the time, I do my work in Develop & Effects. There are a few situations when I jump into Layers. Let me run them down for you.
1. Blending Exposures
A technique I use often with my seascapes is to take several photos of the same composition. The waves move through different parts of the frame at different times. Occasionally, the universe falls into alignment and I get everything I want in a single shot.
When that doesn't happen (which is often) I turn to Layers to blend exposures together. Before taking photos into Layers, I do the basic Tone & Color processing on my RAW files.
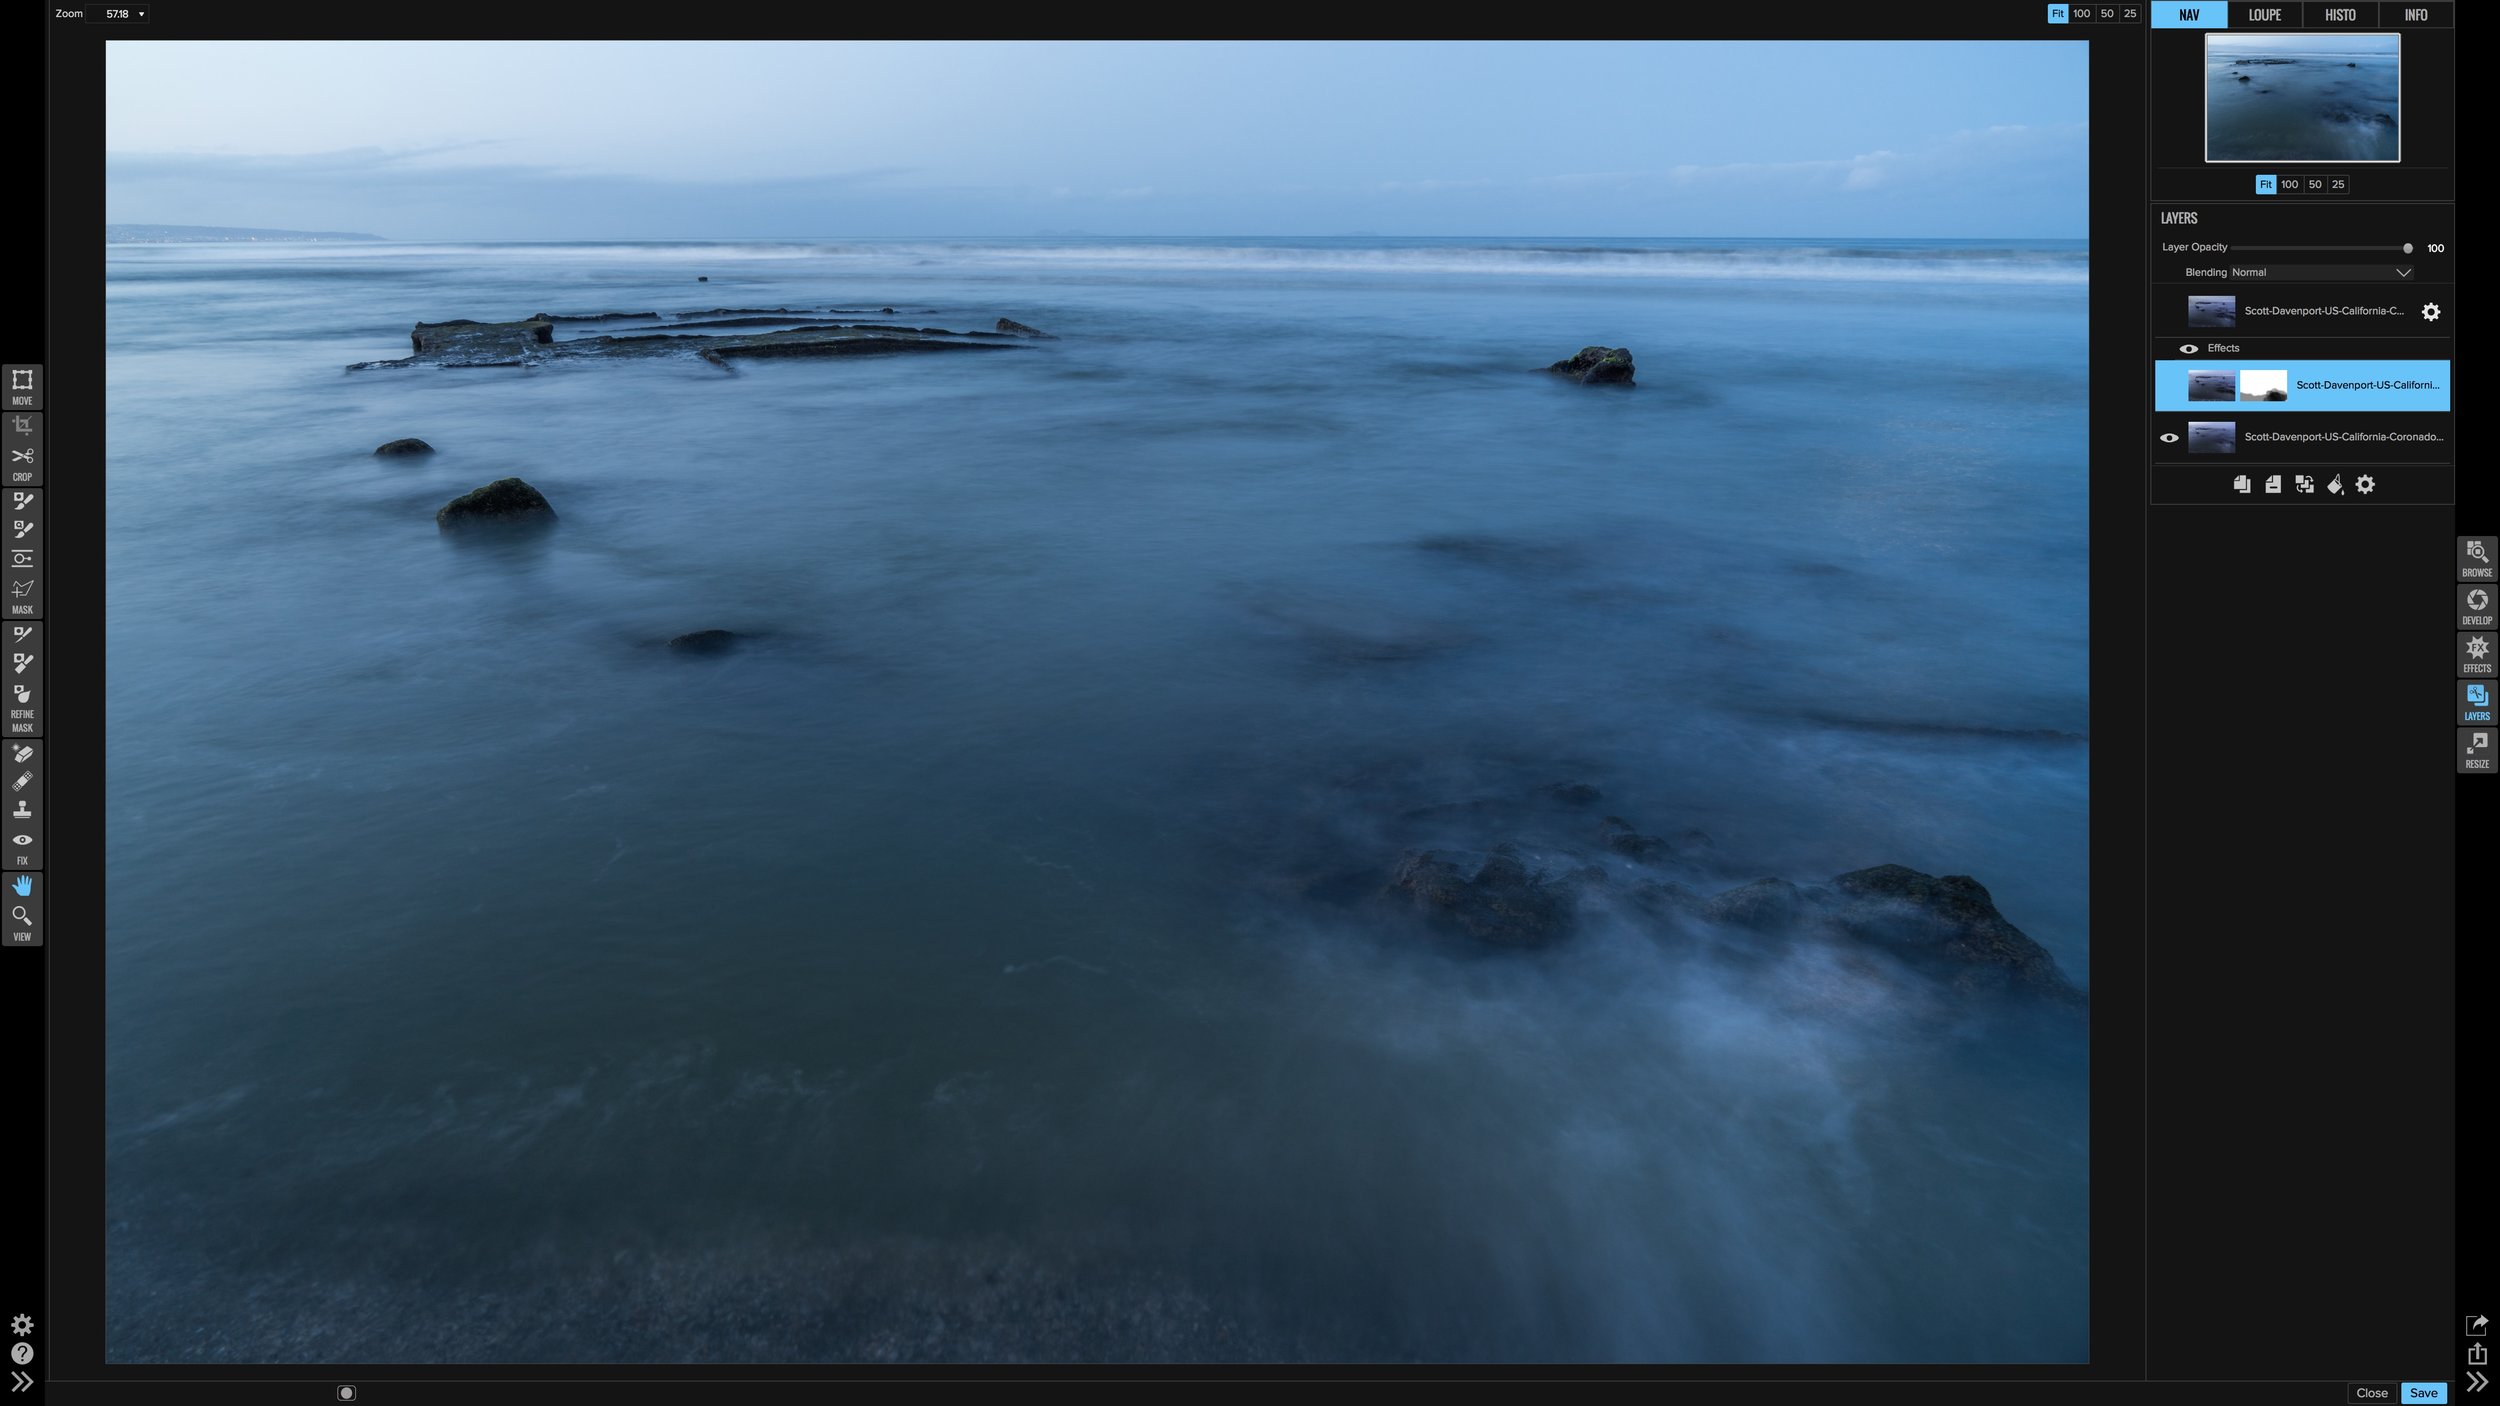
Bottom layer, white wash is interesting
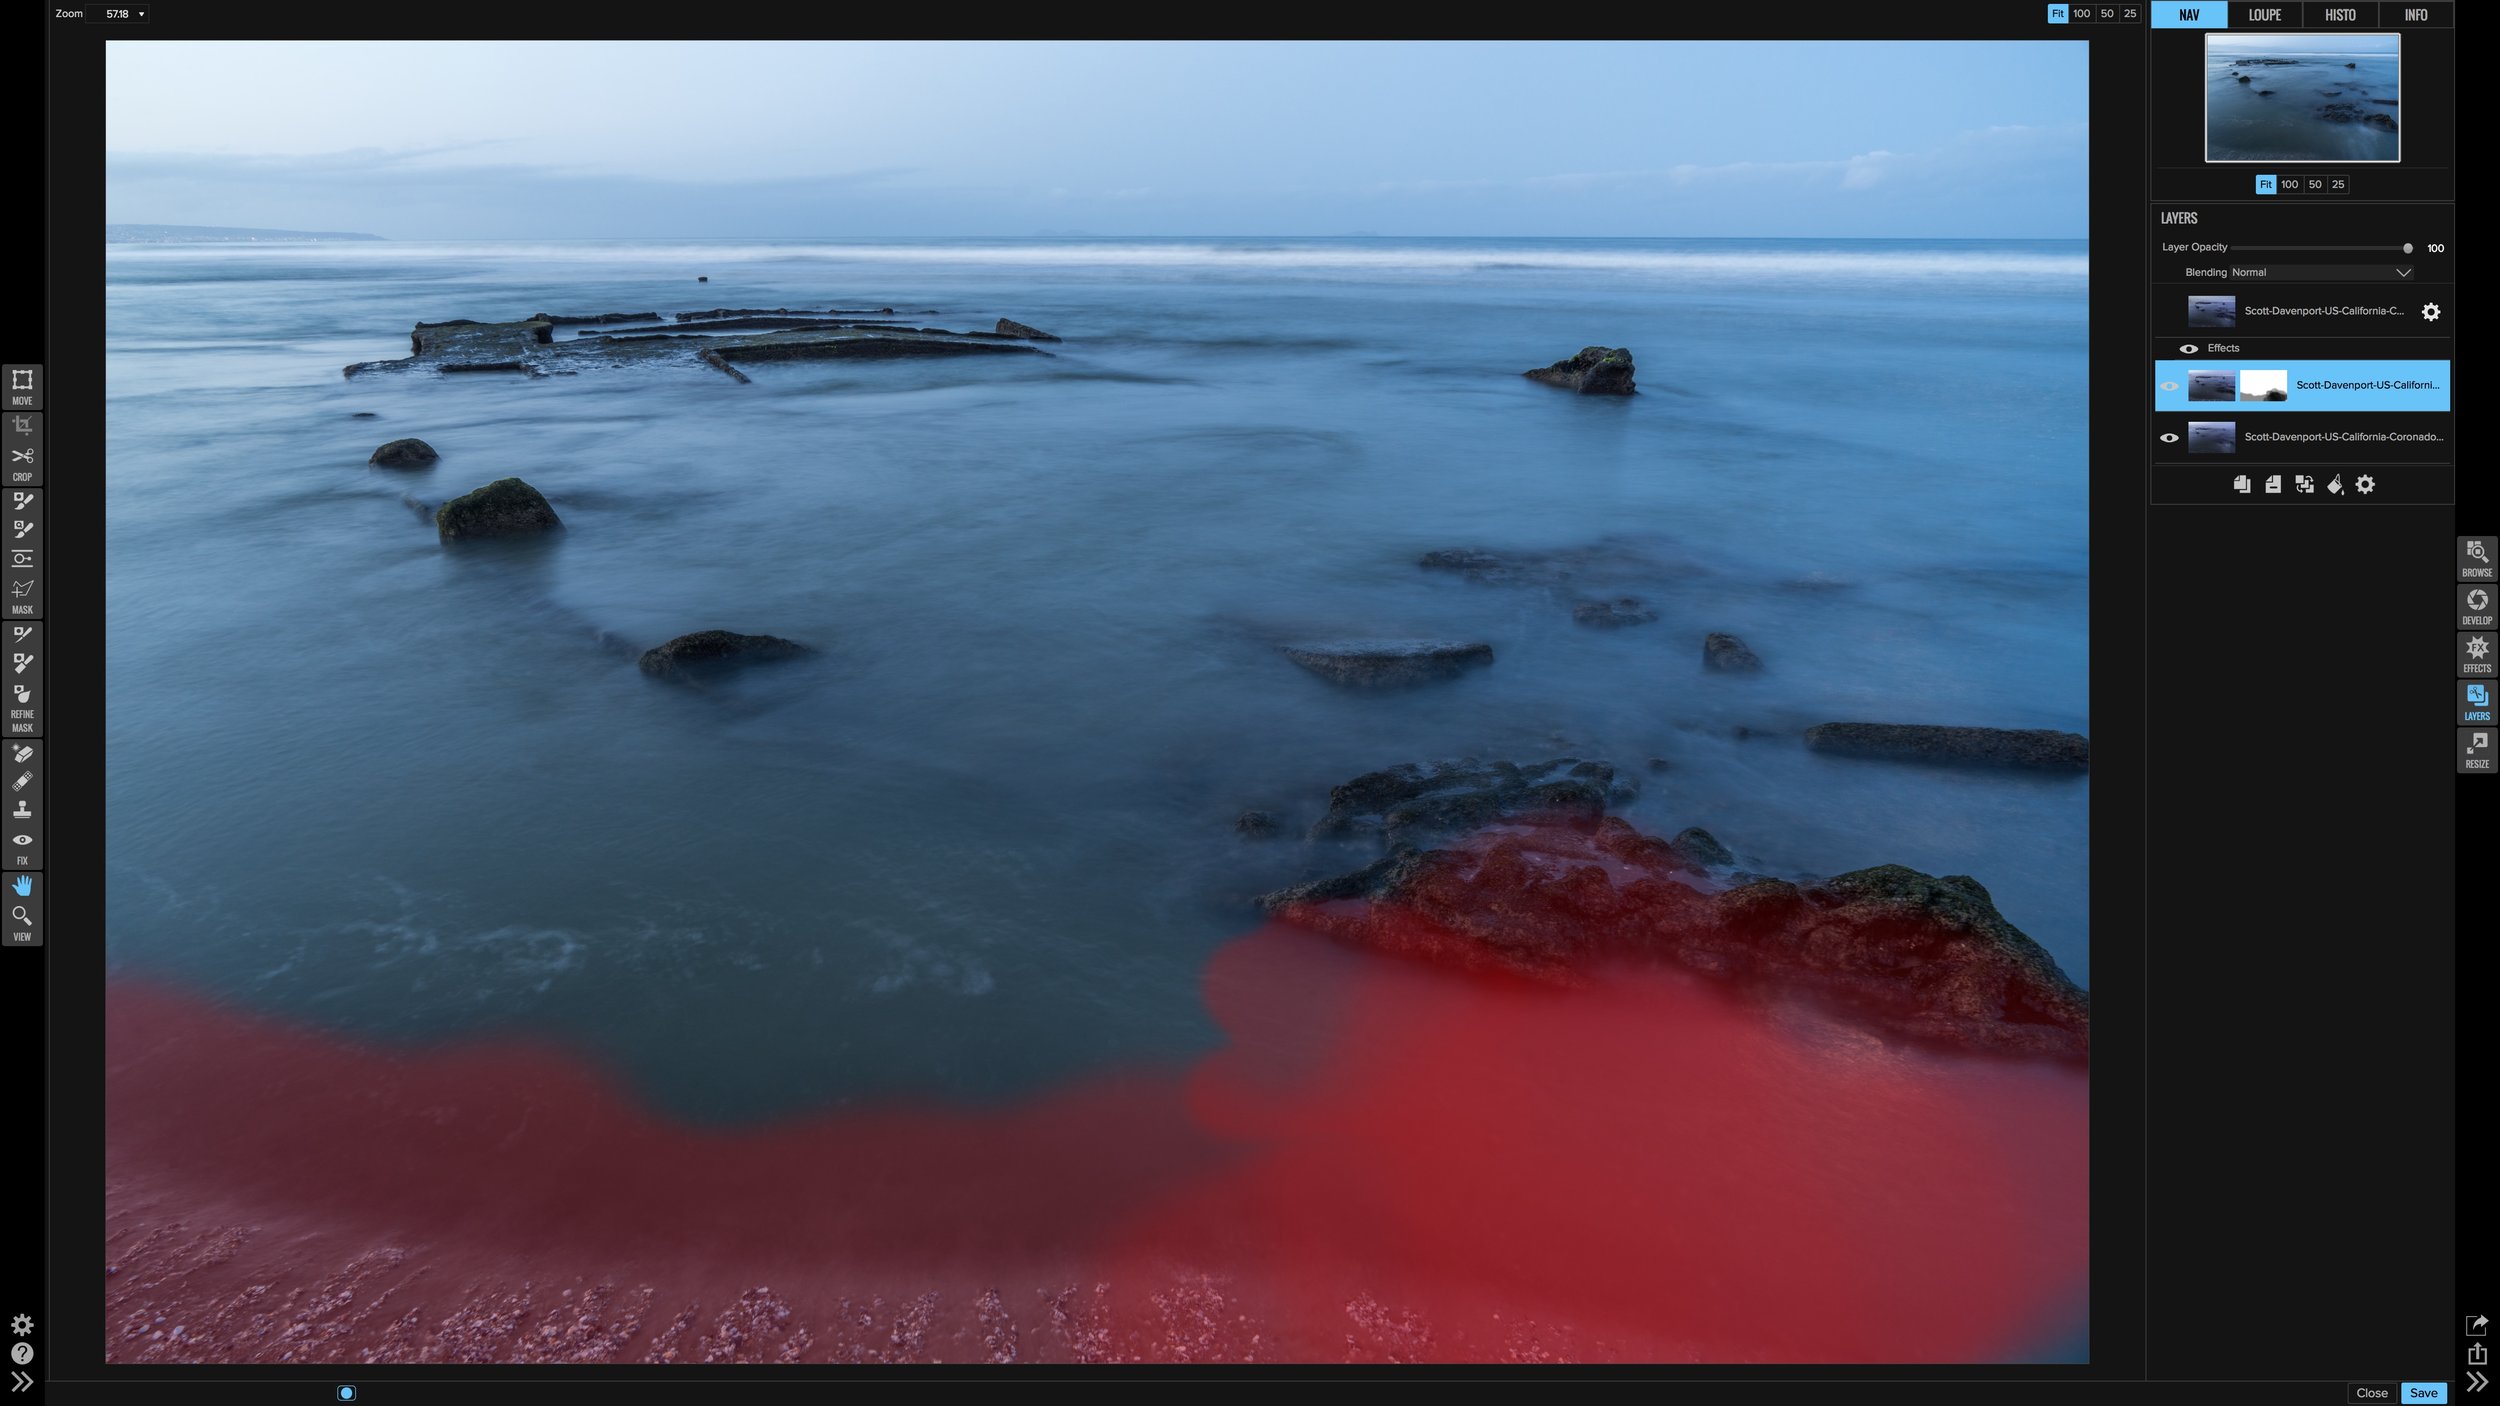
Masking to reveal white wash
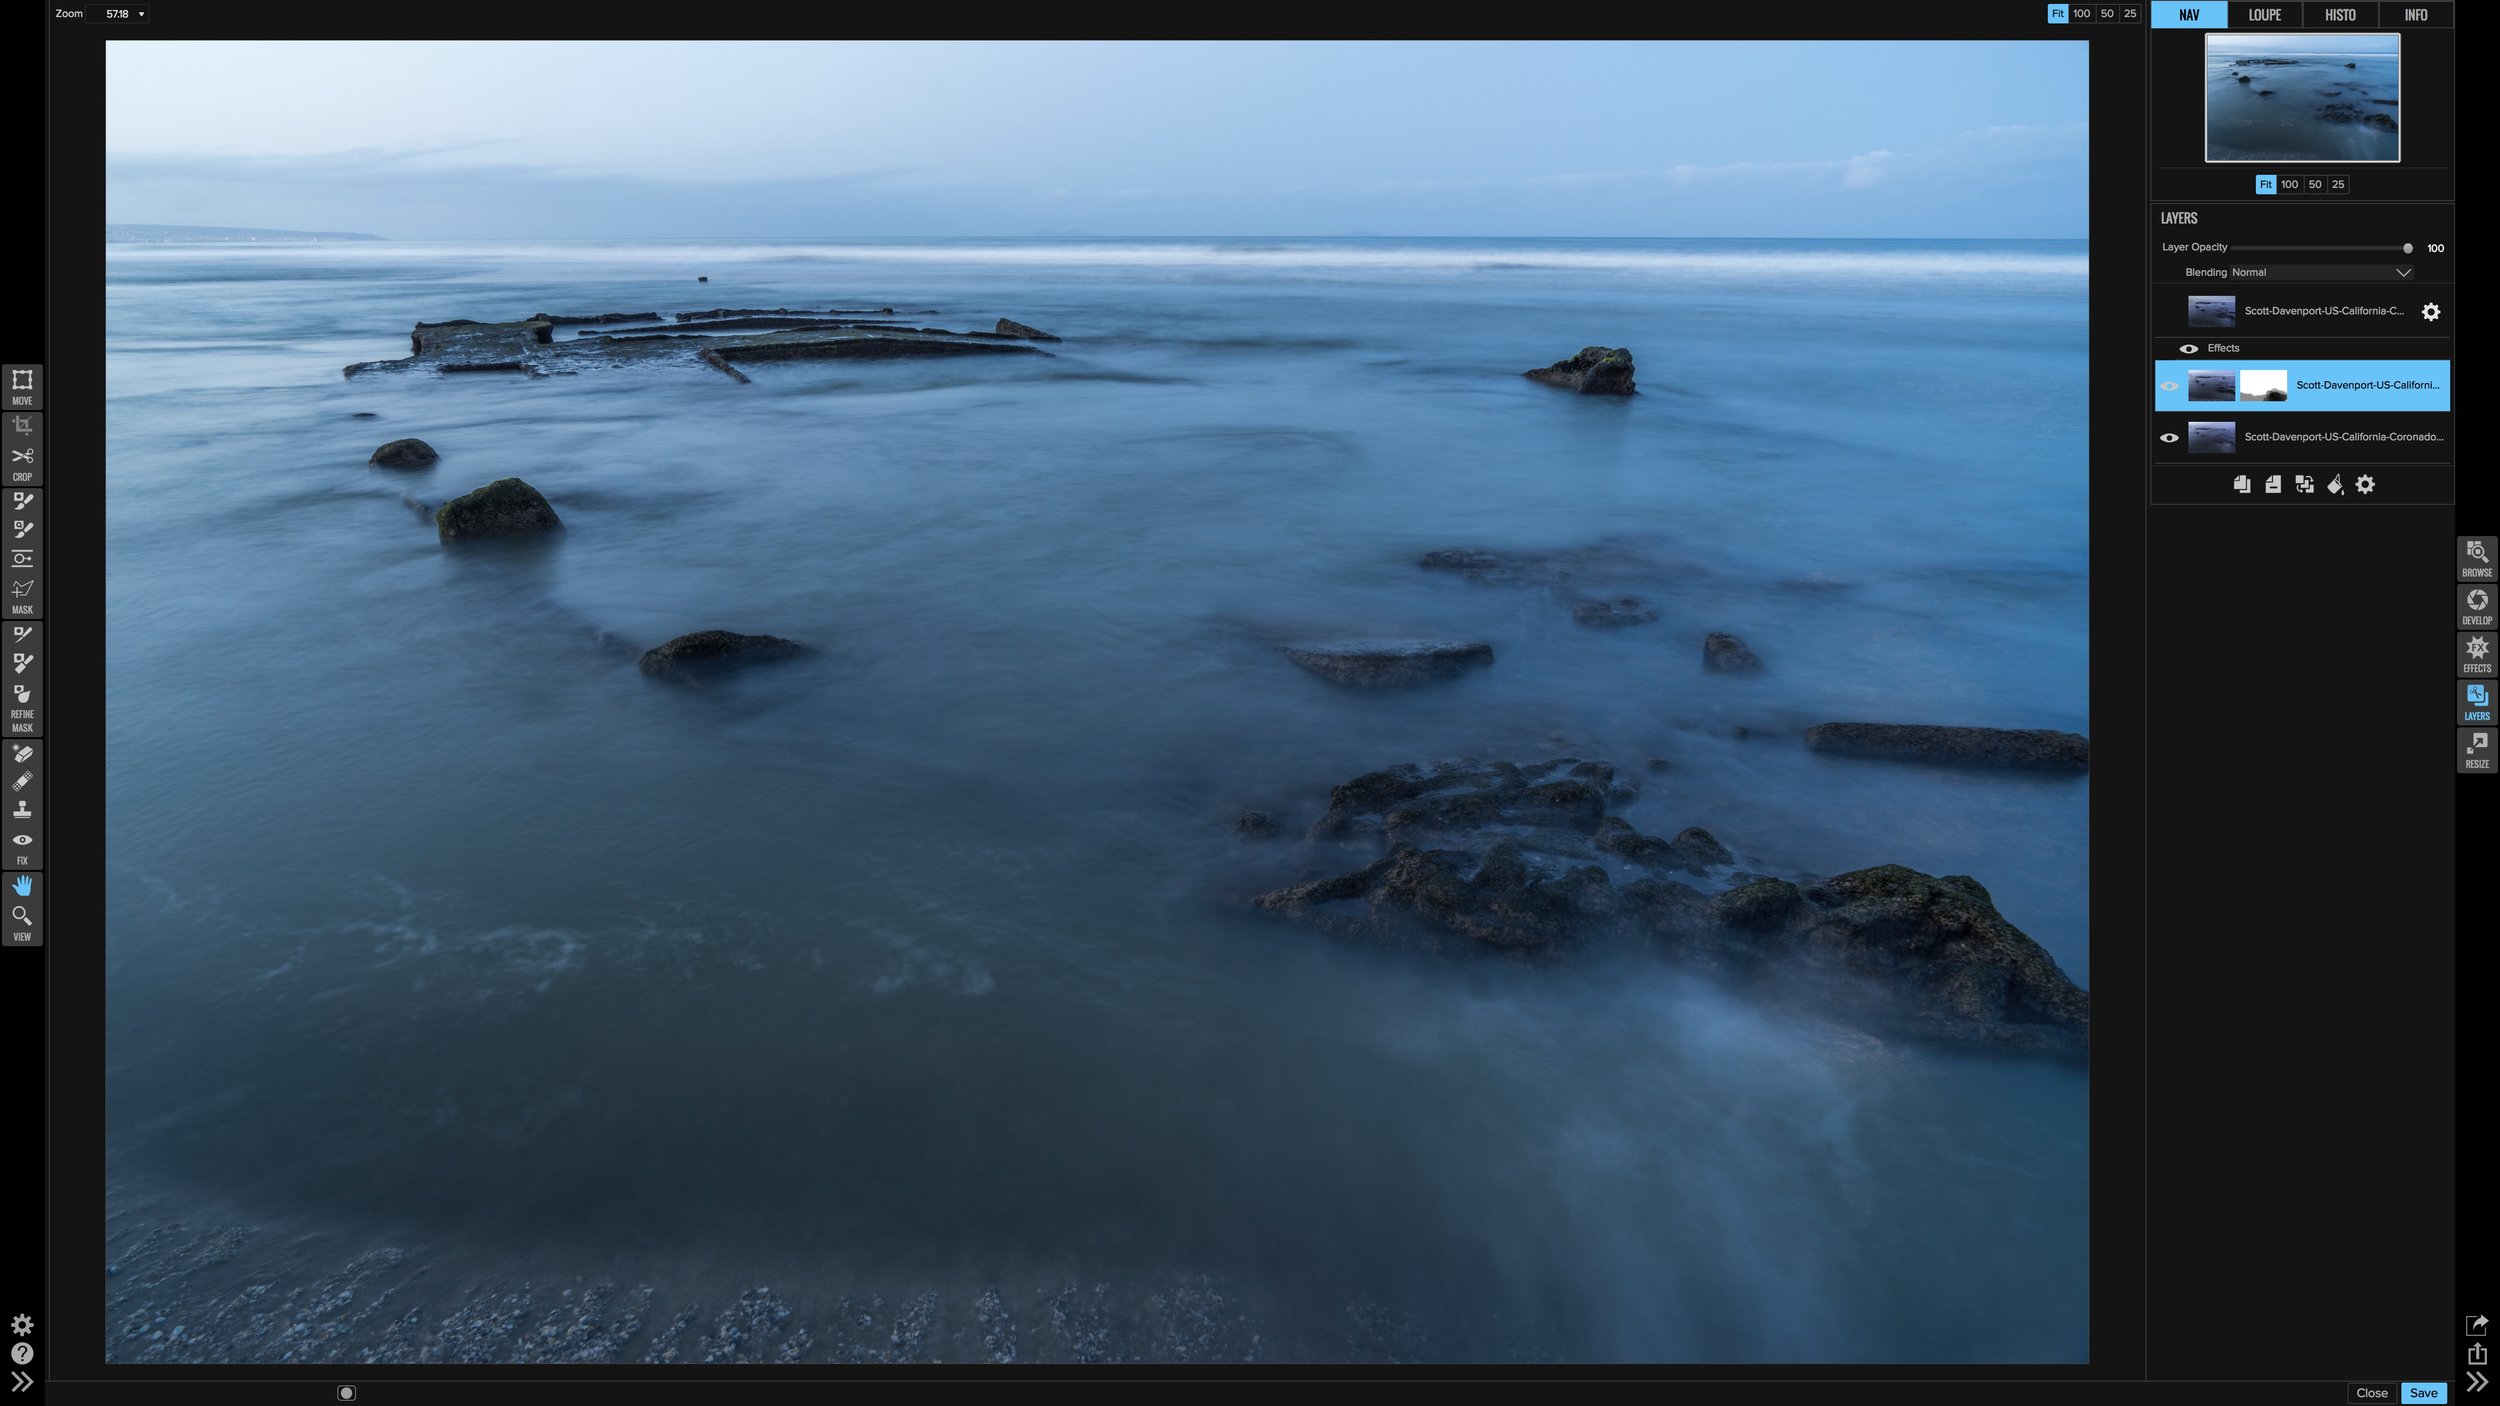
The blended result on a new stamped layer
Once I have a good blend, I create a new stamped layer. Any further Develop or Effects work I do on the stamped layer. I also make that layer a Smart Layer so I can re-edit settings in the future.
2. Textures, Double Exposures, and Composites
Anytime I want to blend multiple photos, I am using Layers. Beyond the simple exposure masking example above, there are other artistic ways to blend photos. I use Layers for texture blending all the time. Why Layers and not the Texturizer filter in Effect? Control. Layers has more control for positioning and stretching the texture layers. The Texturizer controls are basic - solid, but basic. For all but the simplest texture blends, I use Layers.
I also use Layers for double exposure effects. These simply can't be done in Develop & Effects - you need layering to do this. I personally don't do compositing. Although if I ever do, I'll be using Layers to assemble the various photos to create one.
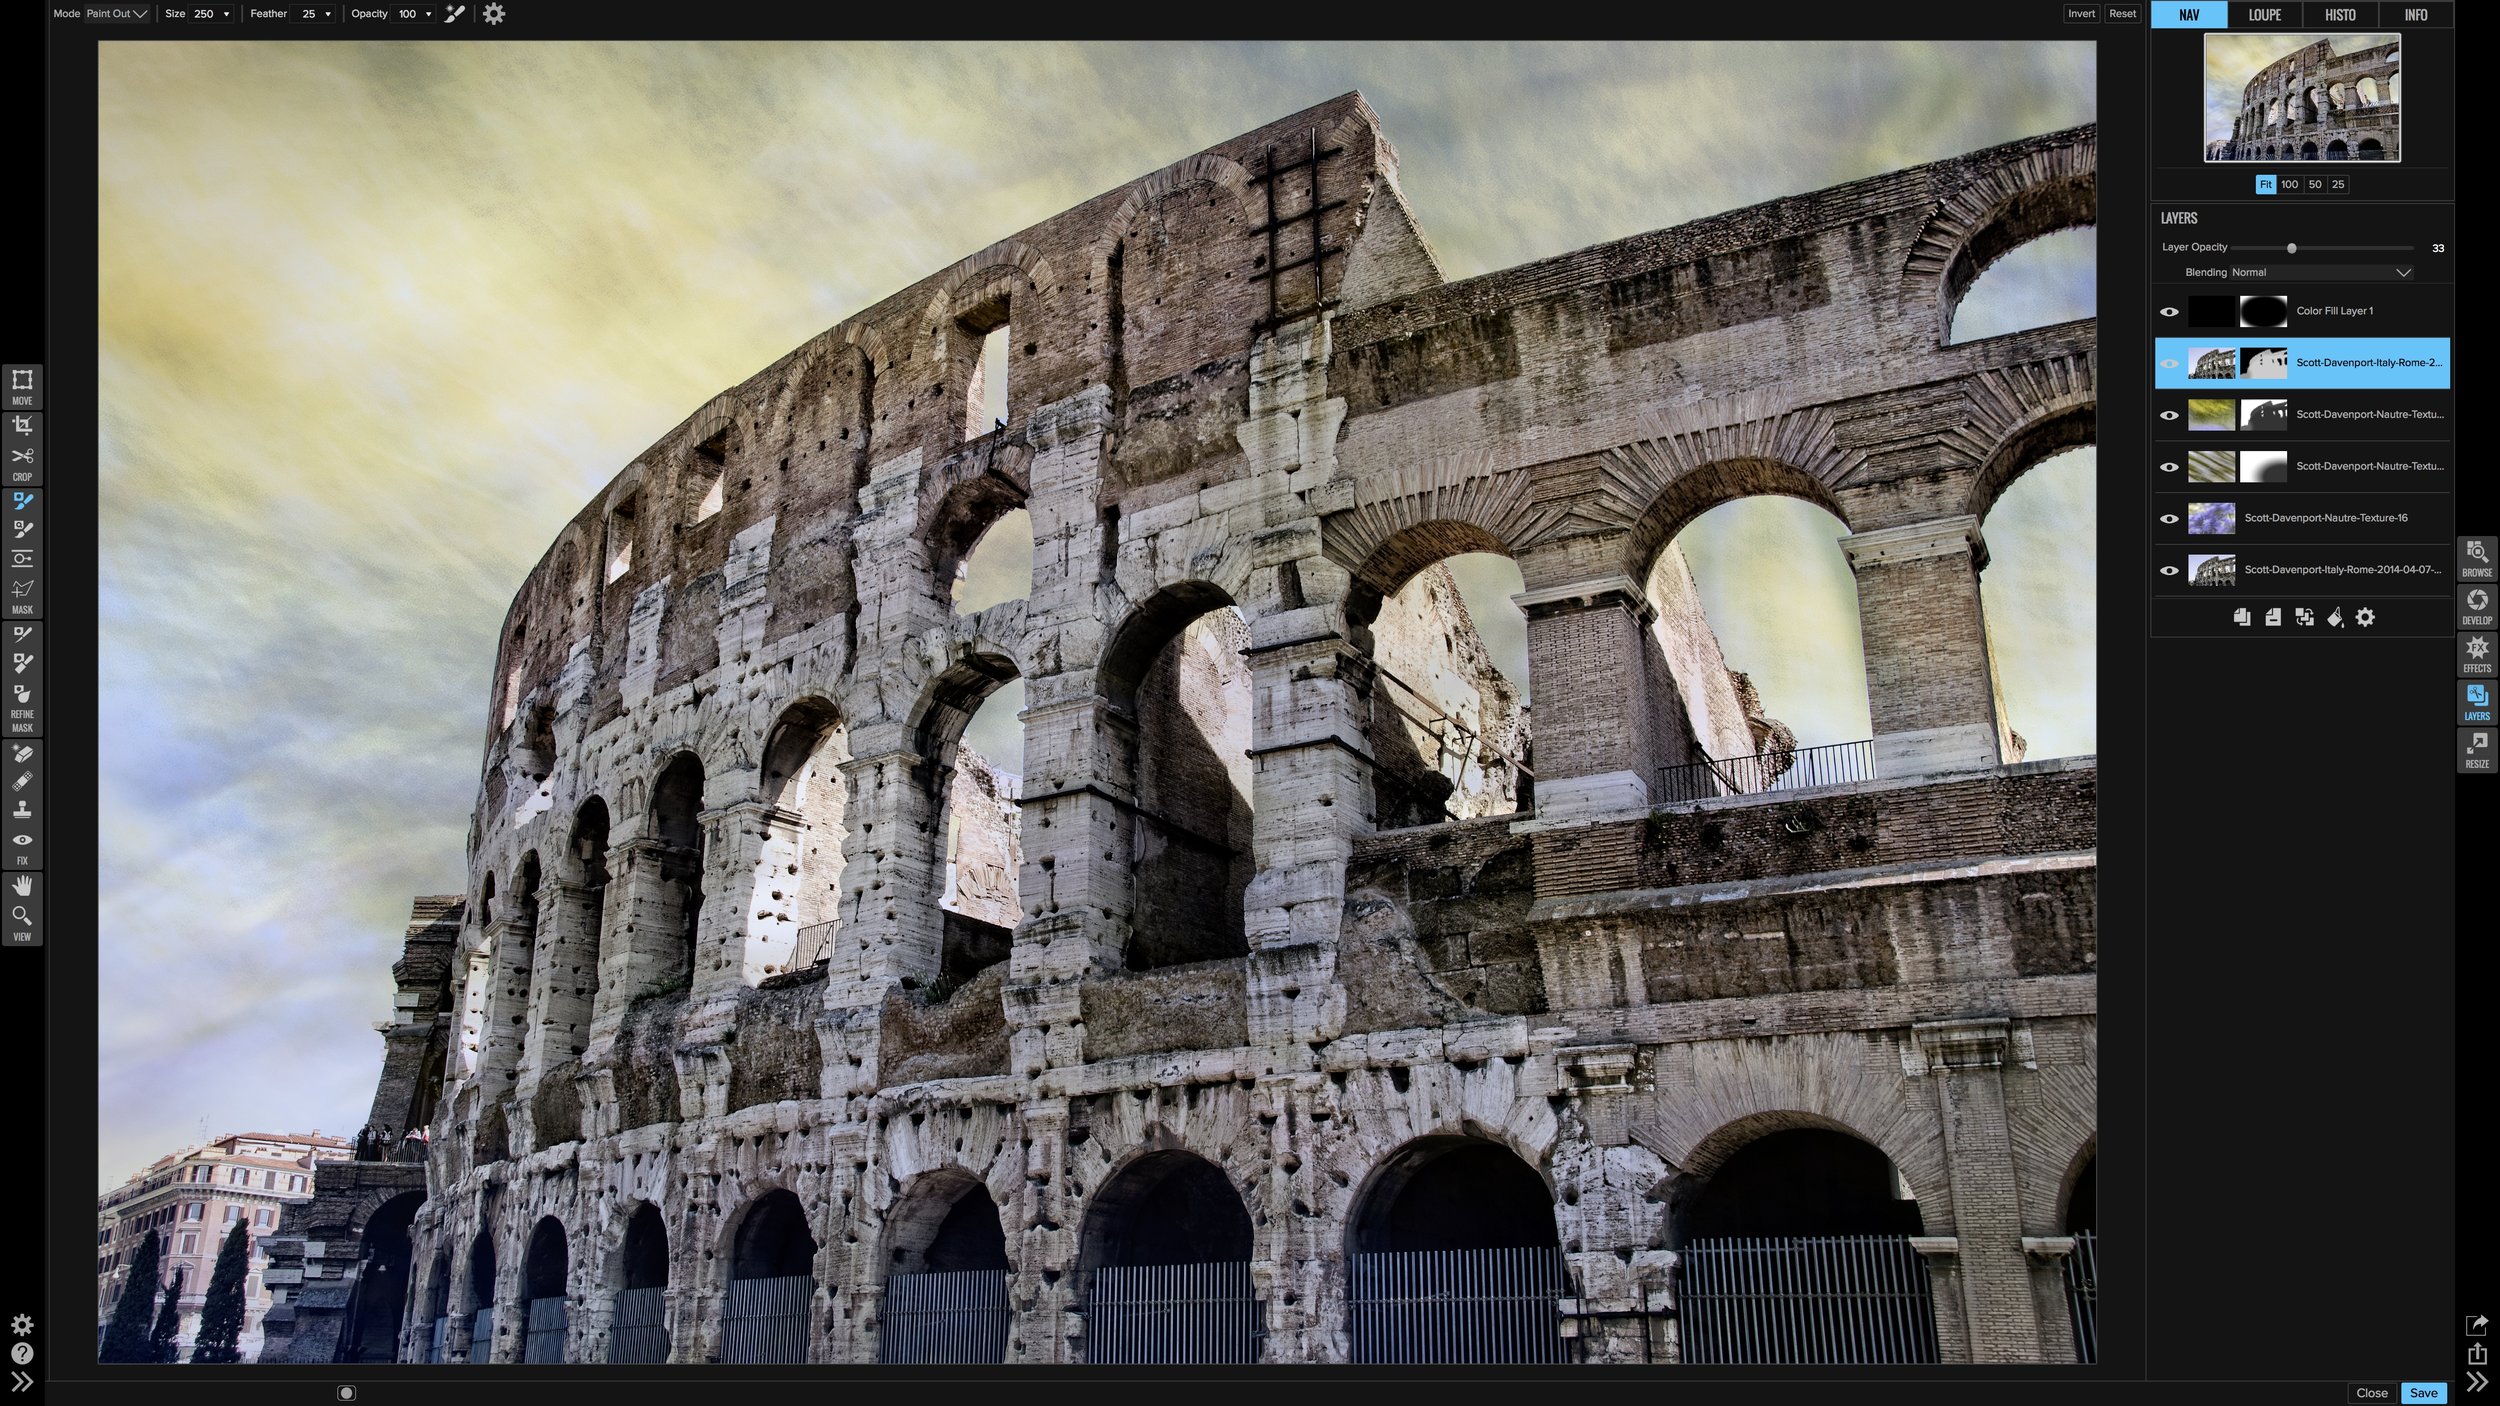
Texture blending
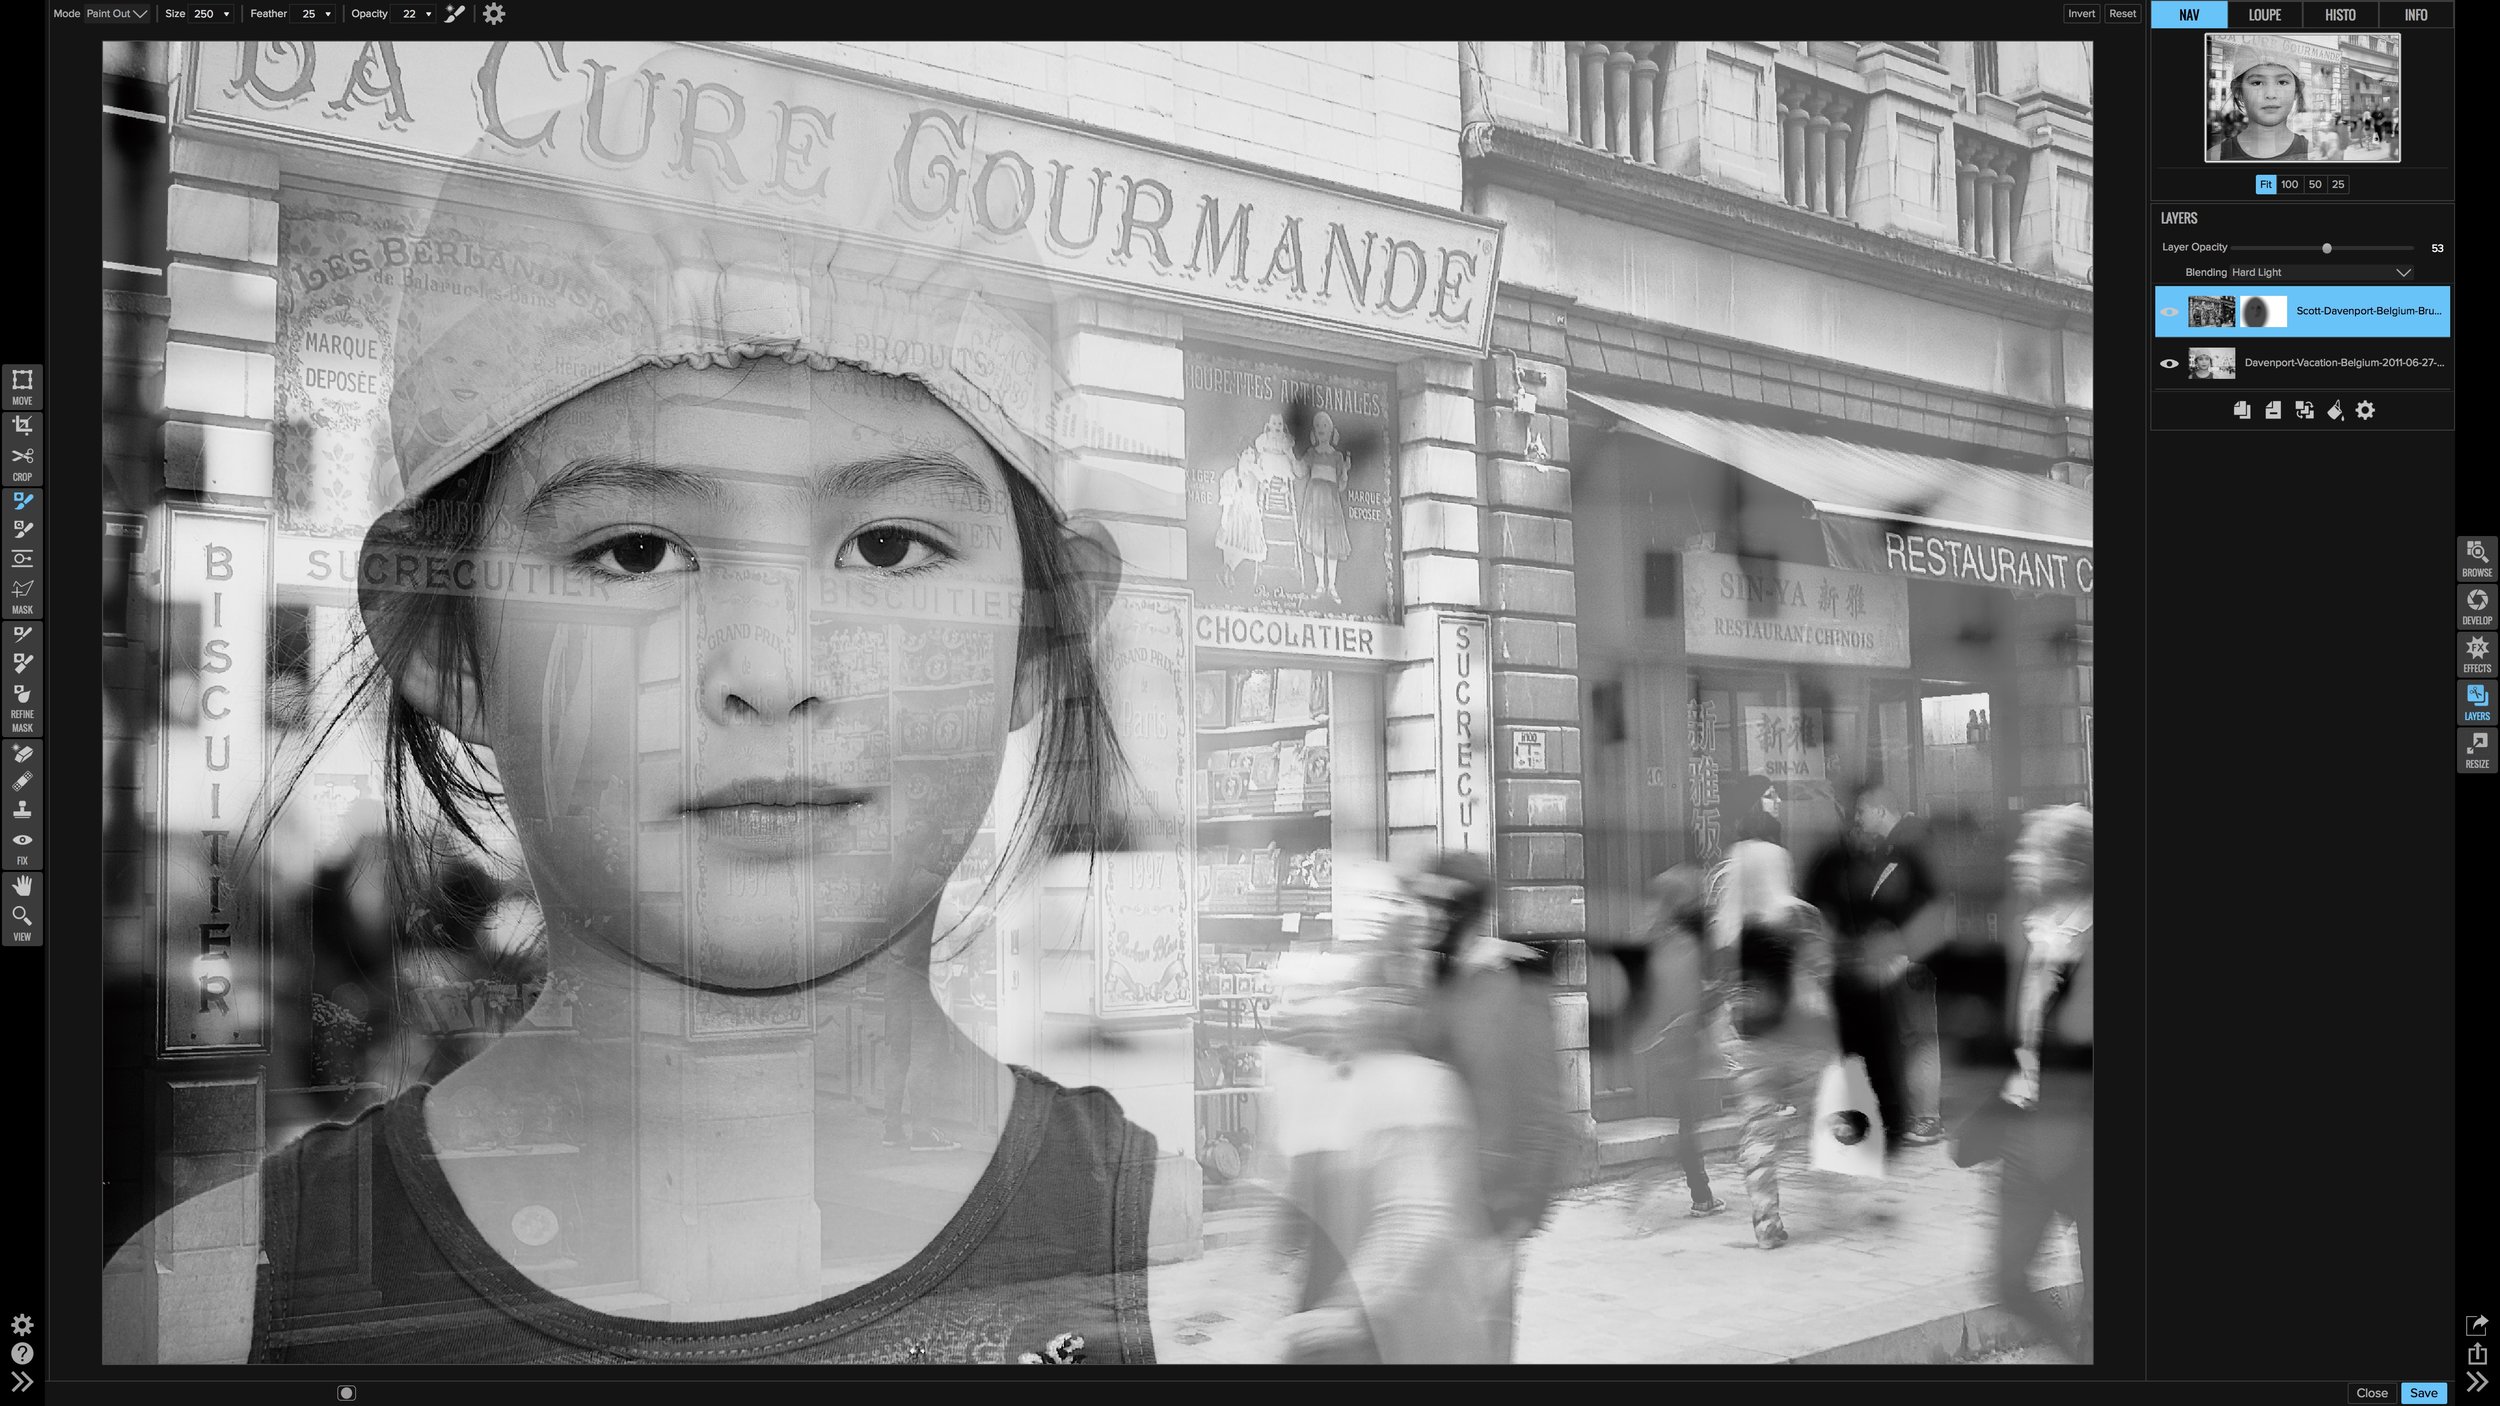
A simple double-exposure look
3. Advanced Retouching
If my photo has a distraction in it that the Perfect Eraser can't handle, it's time for Layers. Read this as needing the Clone Stamp tool. Develop & Effects have the Perfect Eraser and the Retouch brush. In this photo, the Perfect Eraser did a very good but not perfect job removing the sticker from the pipe. I needed the Clone Stamp tool.

Yellow sticker on the pipe is distracting

Clone Stamp to remove the sticker before stylization
For everything else - stylizing photos, masking effects and of course RAW processing - I use the Develop & Effects modules. I actually think of these modules as a single entity because moving between them is so fluid.
As I said above, I do my basic RAW adjustments before going into Layers. Use Tone & Color in Develop first. Once a photo enters layers, you are no longer working with RAW files. A copy of the photo is made to the PSD format (default). Use the power of Develop's RAW editing before "baking" the fundamental tone of your photo. Apply additional Effects filters on a well-toned PSD works great.
Did this help? Let me know what you think in the comments below.