Simple Trick To Get Depth In Your Landscape Photos

If you enjoy posts like this, please support my work and support independent photography tutorials like this.
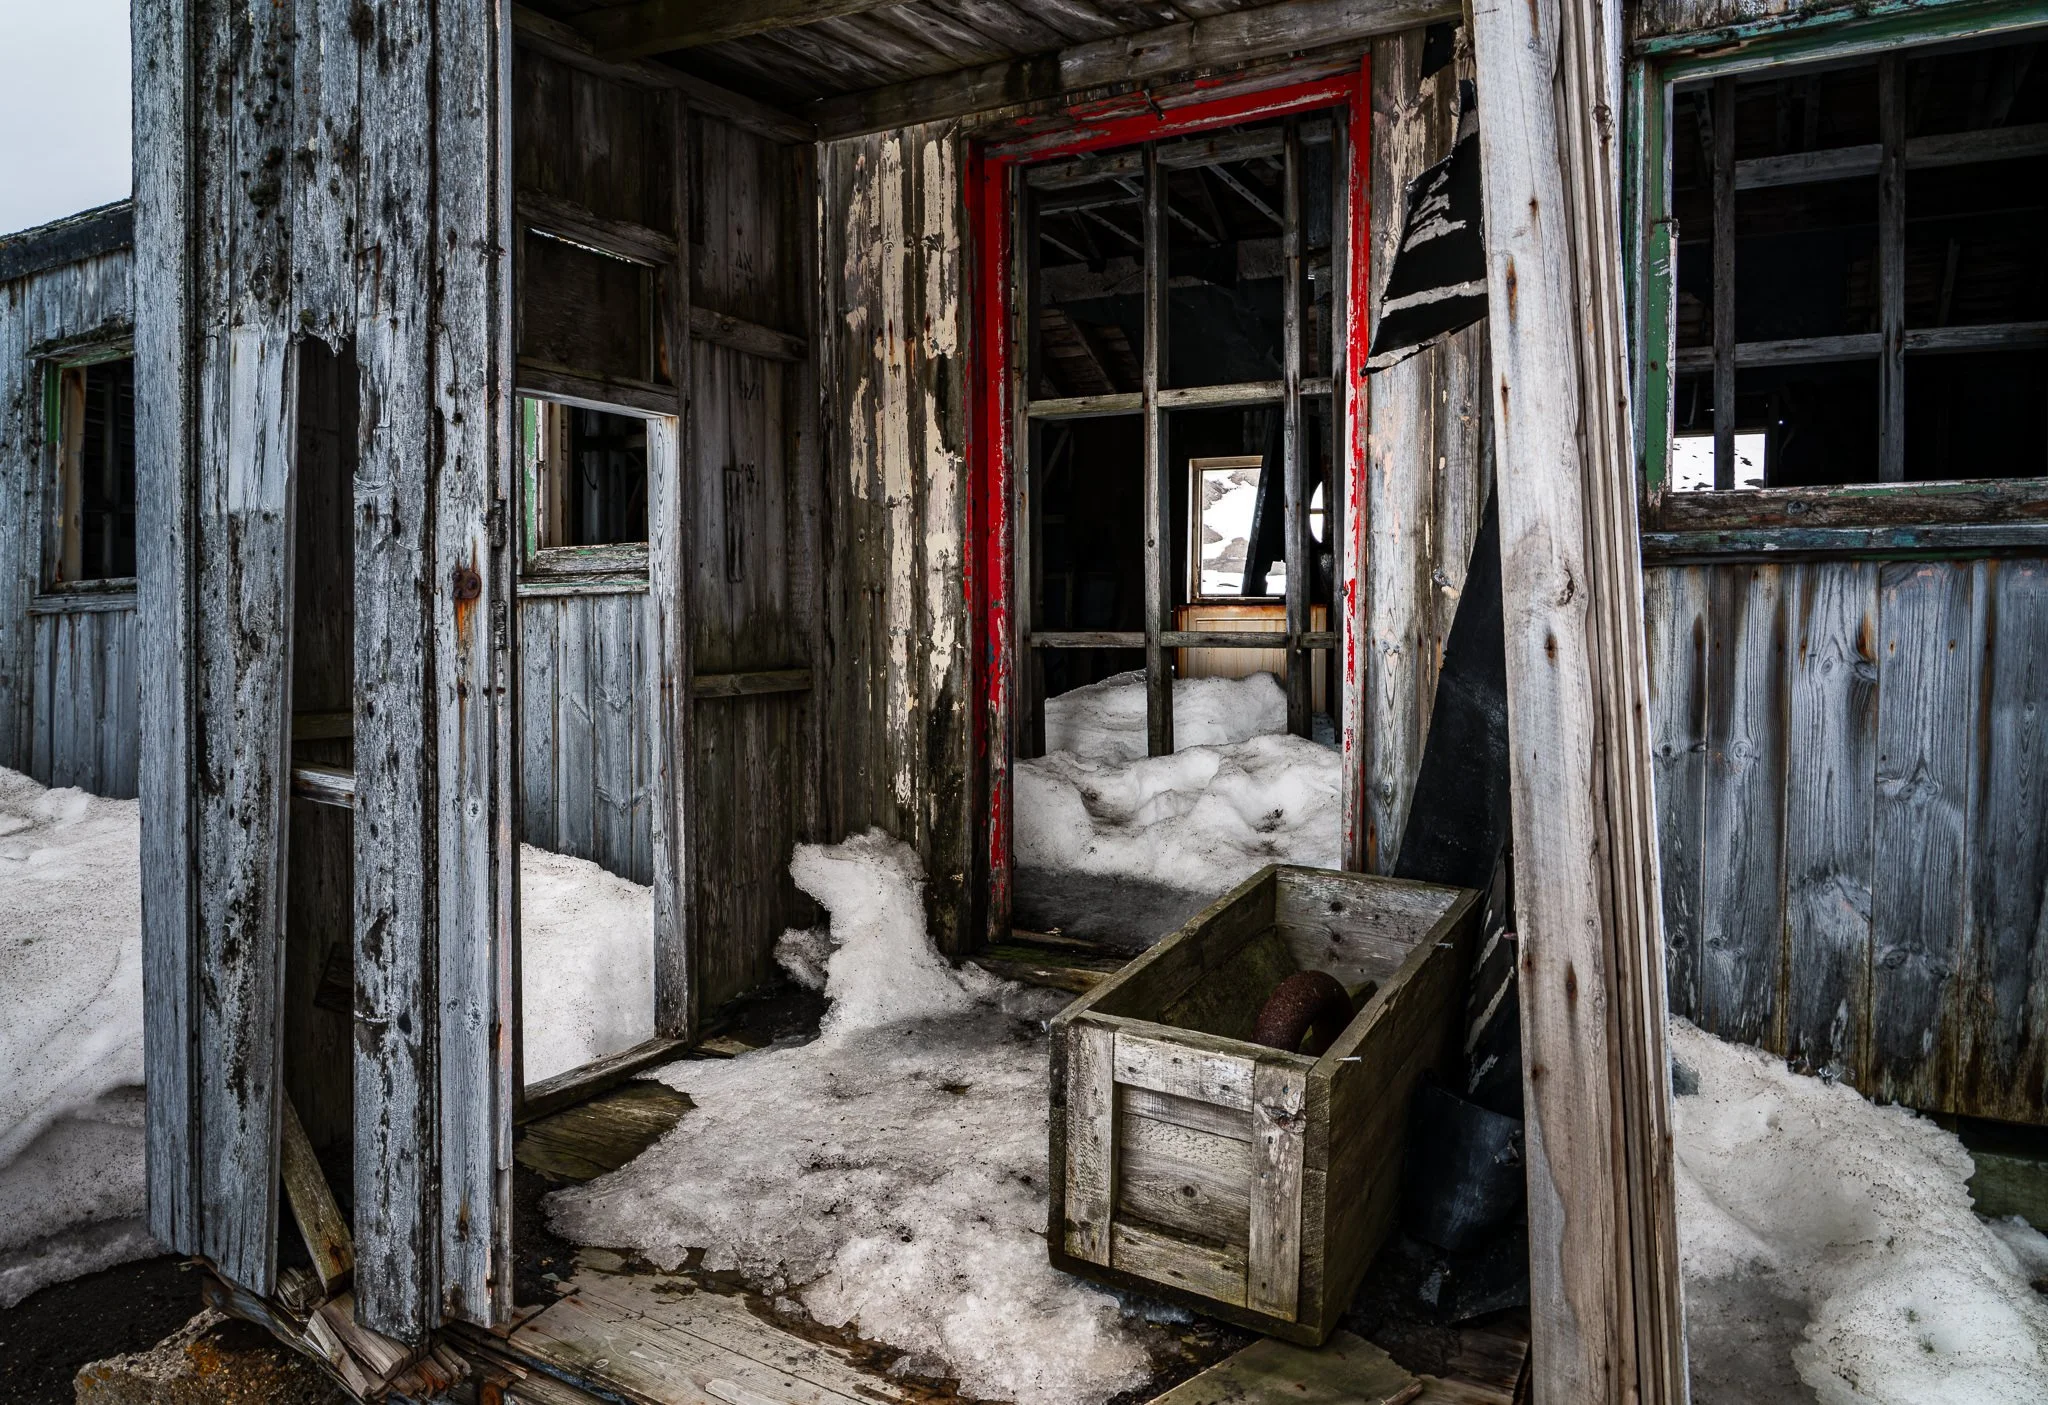
There is a simple trick to getting more depth from your landscape photos - view the image in black and white. When you do your basic processing - exposure, contrast, black point, white point - all of that… do that work on a monochrome image. The distractions of color are temporarily out of your way and you can concentrate on the tone, getting rich deep shadows and crisp highlights.
Step 1 - Switch To A Monochrome View
Before starting your processing, switch to a monochrome view of your photo. You can do this in Lightroom with the Adobe Monochrome camera profile (the V keyboard shortcut). In other tools, you can take the Saturation slider to zero.
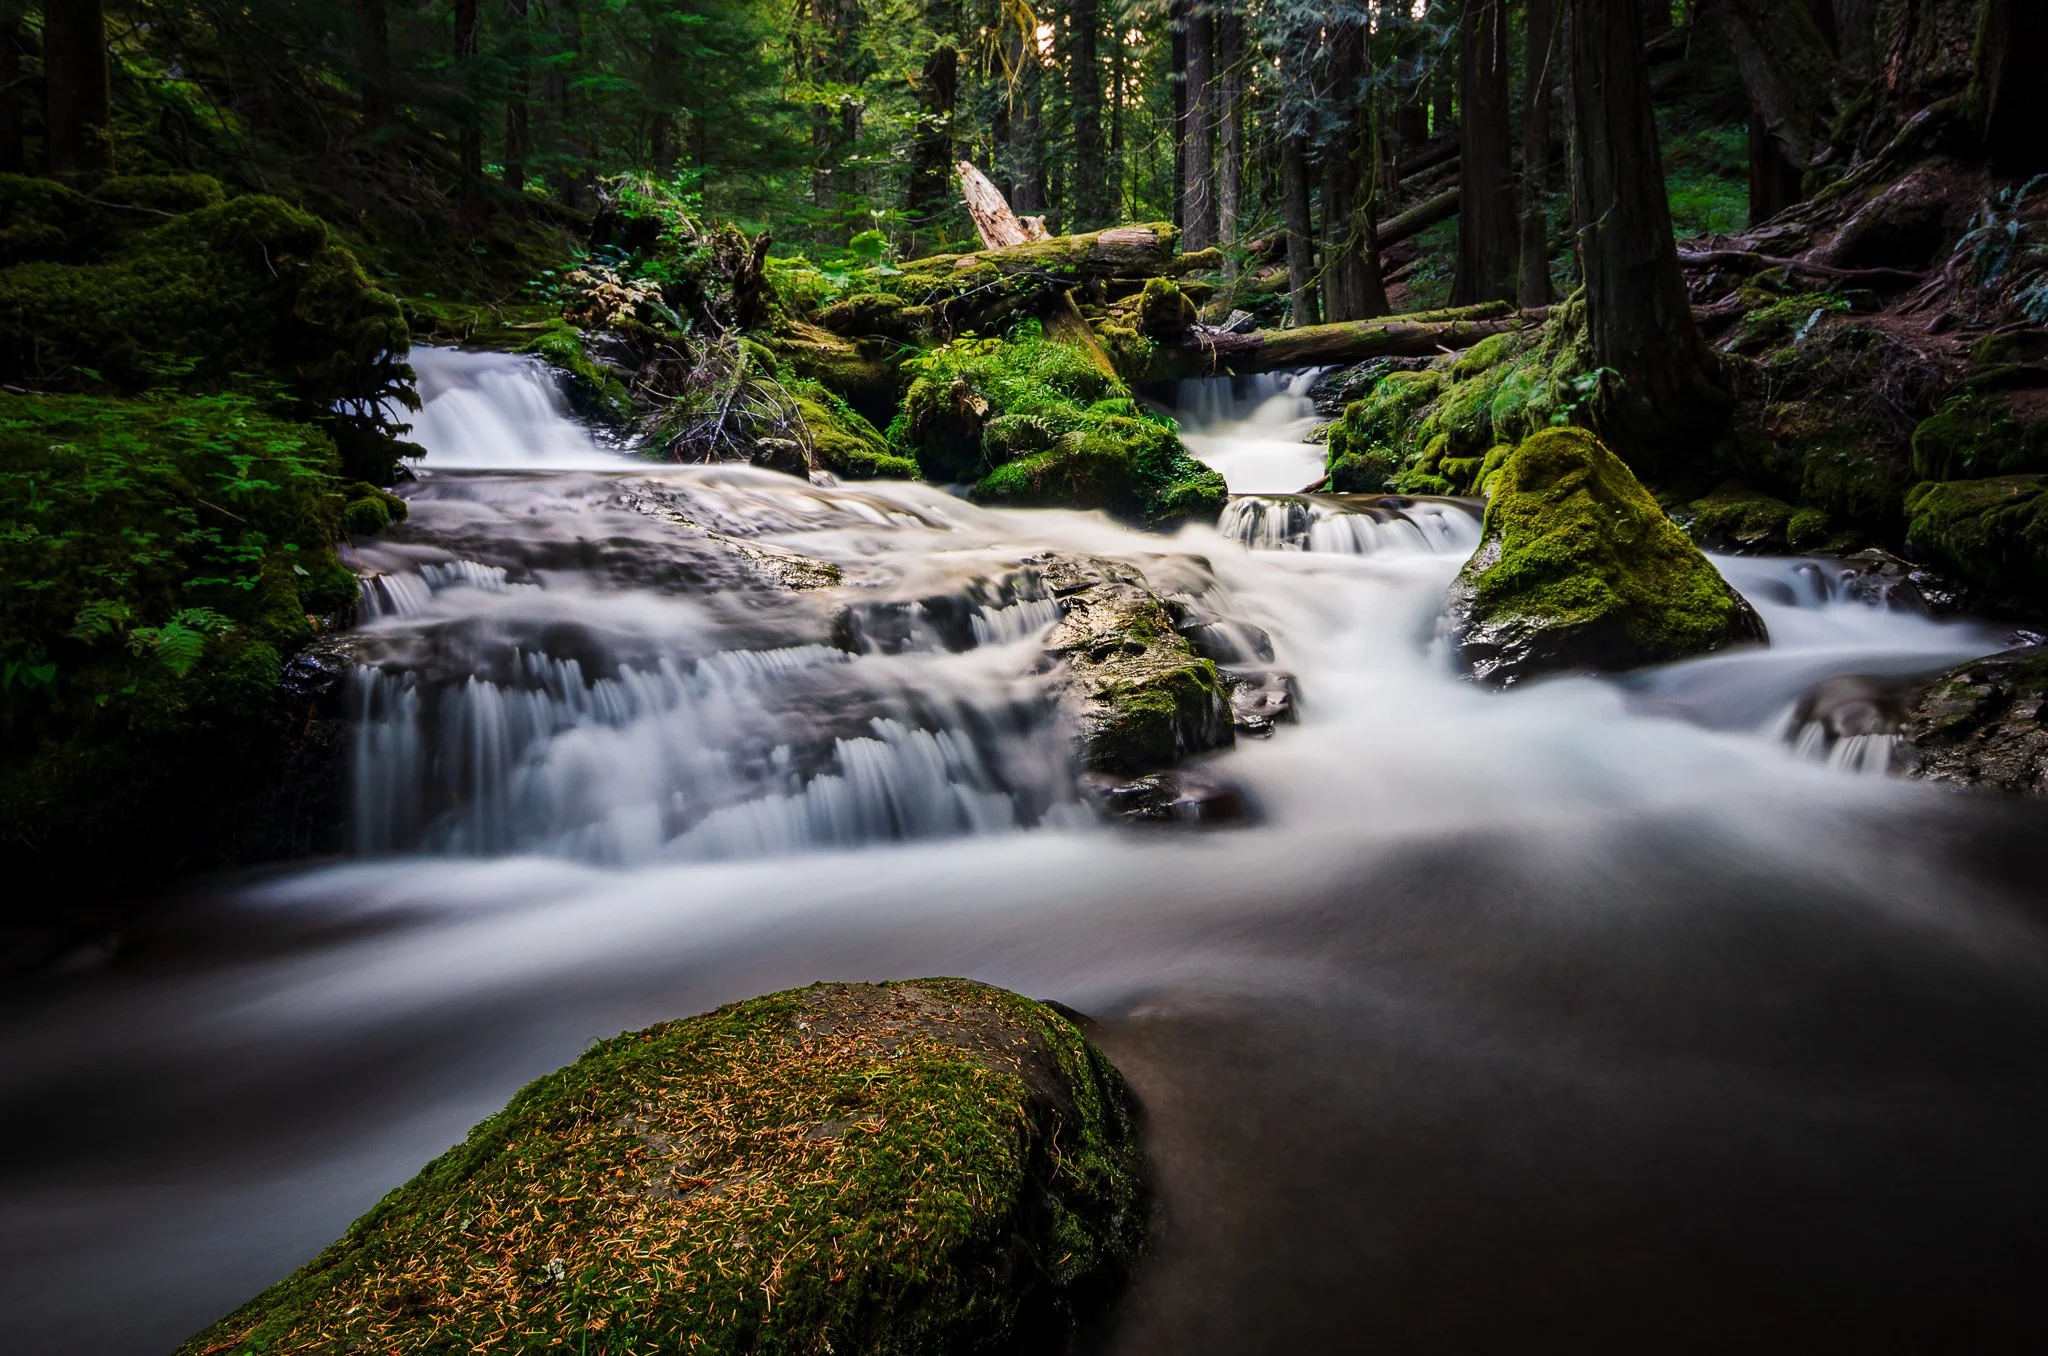
The original RAW file
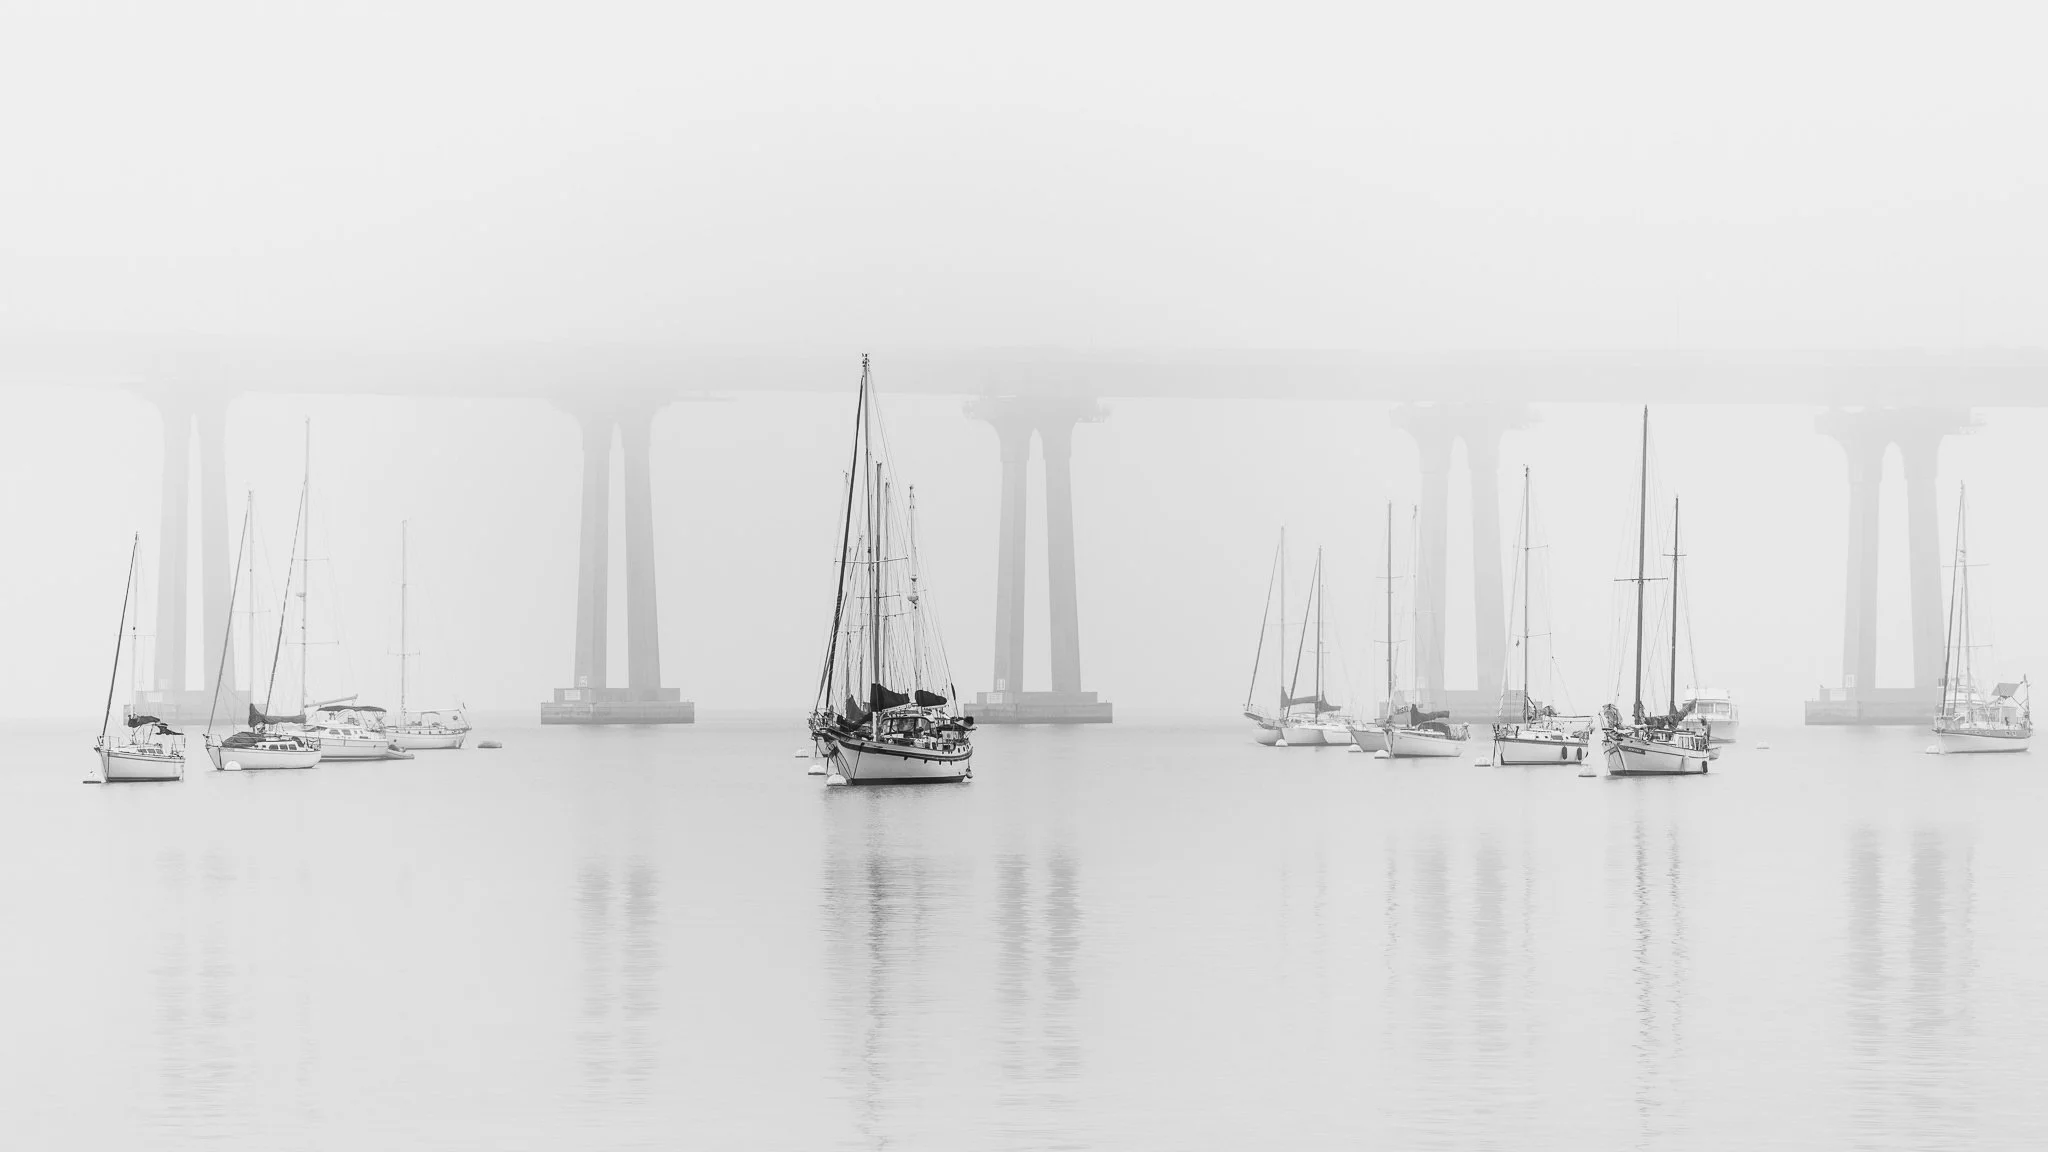
Switch to a monochrome view temporarily
Step 2 - Basic Processing & Tone Curve
Next, adjust your basic settings of exposure, contract, blacks, whites, highlights, and shadows. Without the distraction of color, your eyes focus on the pure tones of the photo. Texture and depth are more easily judged. As needed, apply a tone curve to enrich shadows and brighten highlights. Some form of a classic S-curve generally works very well.
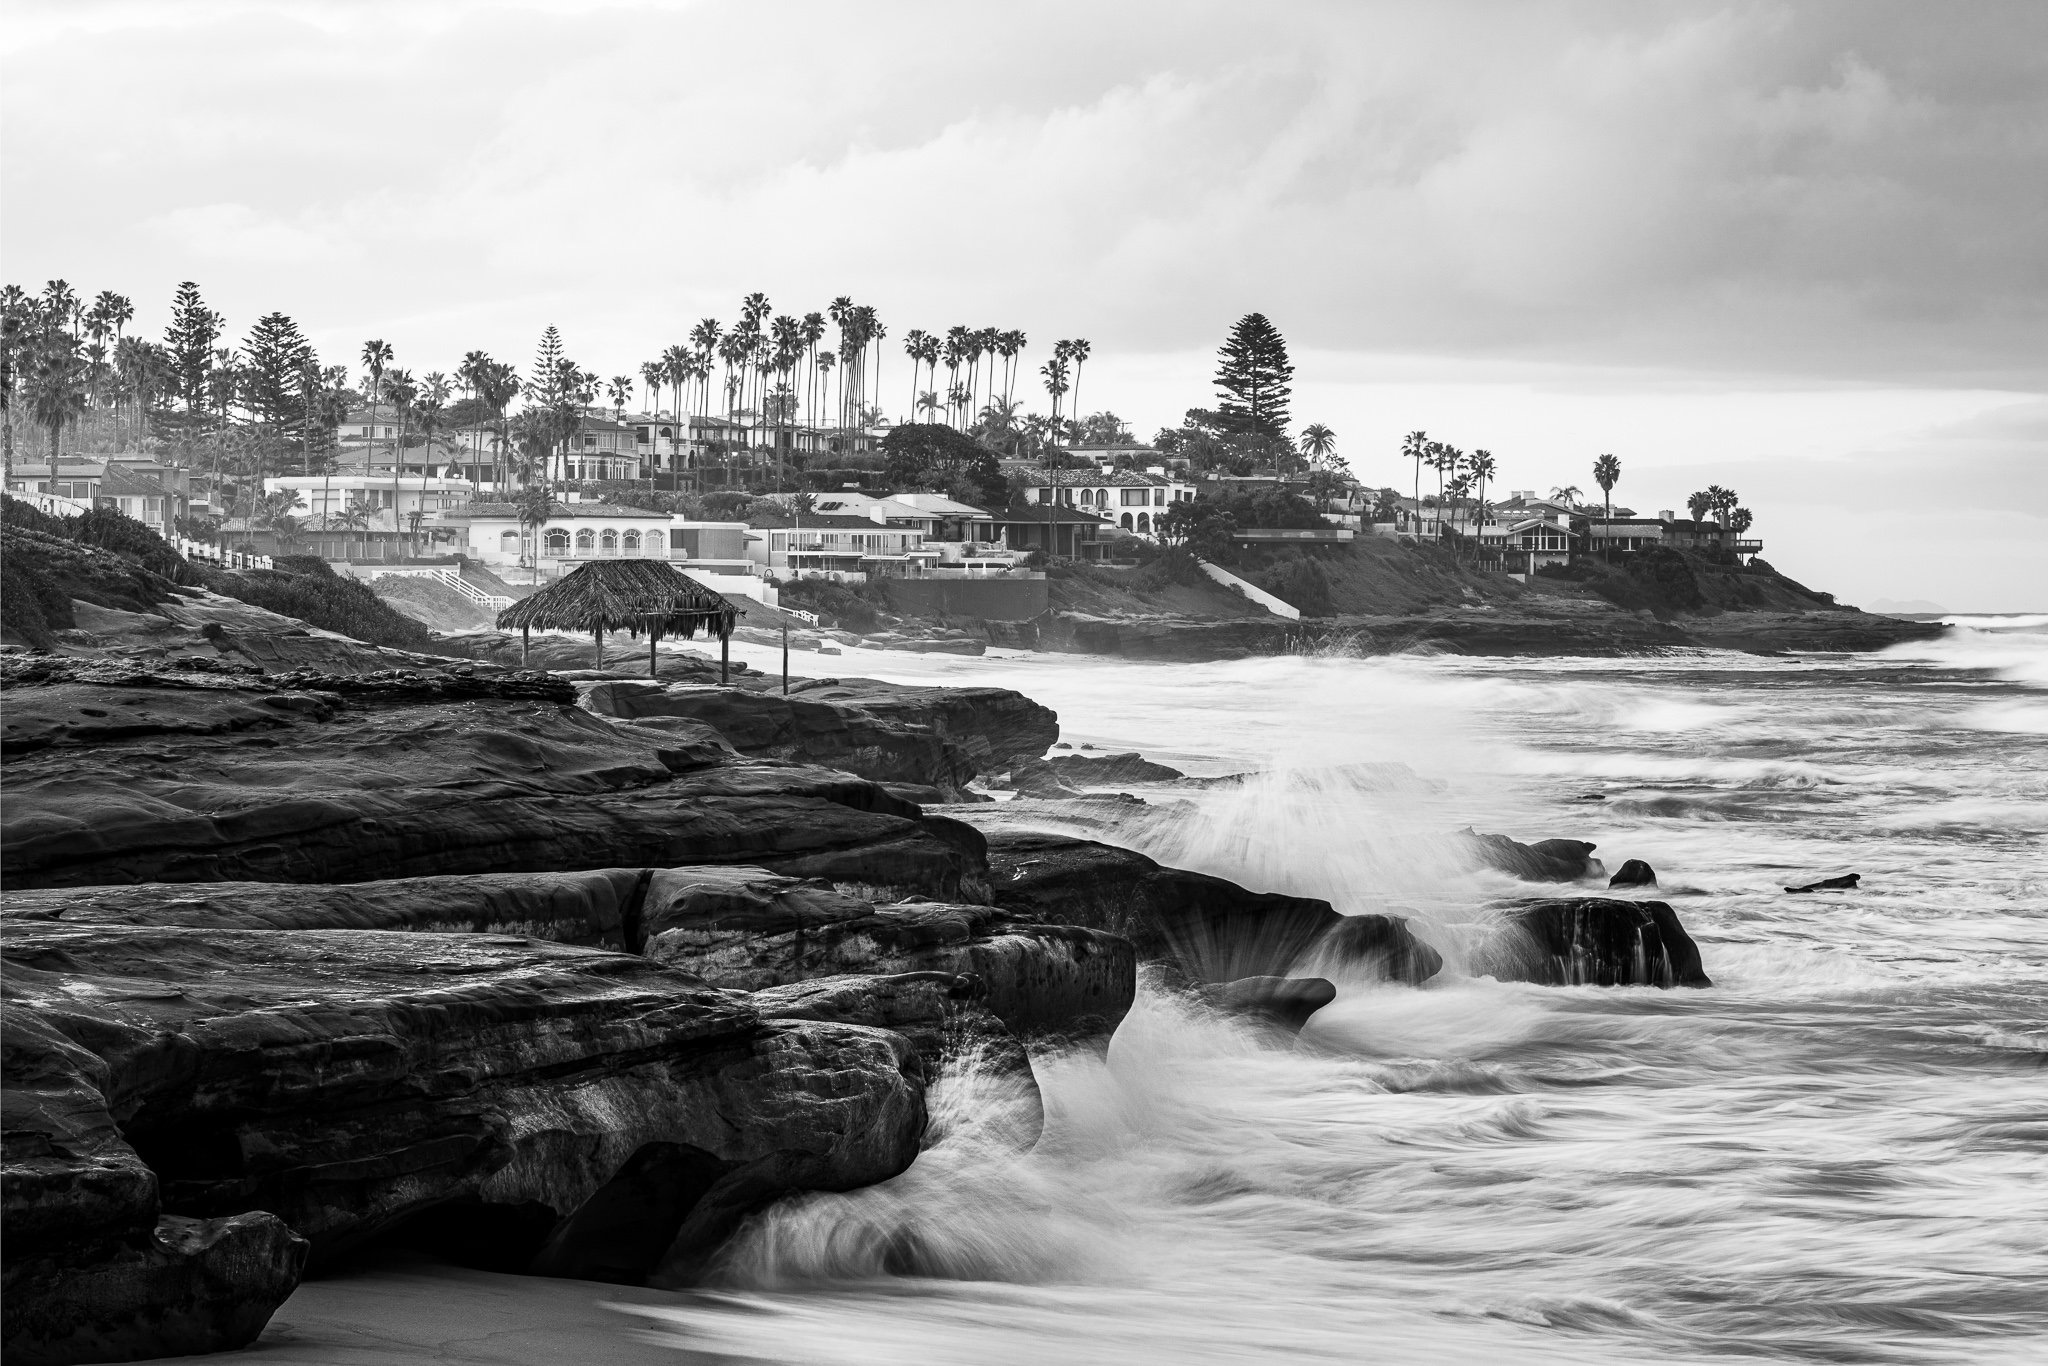
Make basic adjustments
Add a tone curve adjustment (as necessary)
Step 3 - Switch Back To Color
Once your tones are adjusted, you can switch back to a color image. Choose a color camera profile or return the Saturation slider to its normal setting. Your color photo will already look much better and have a full range of tones. You now have a strong foundation for the rest of your editing work.
Returning to a color image, the tonal work done in monochrome-mode clearly improves the photo.