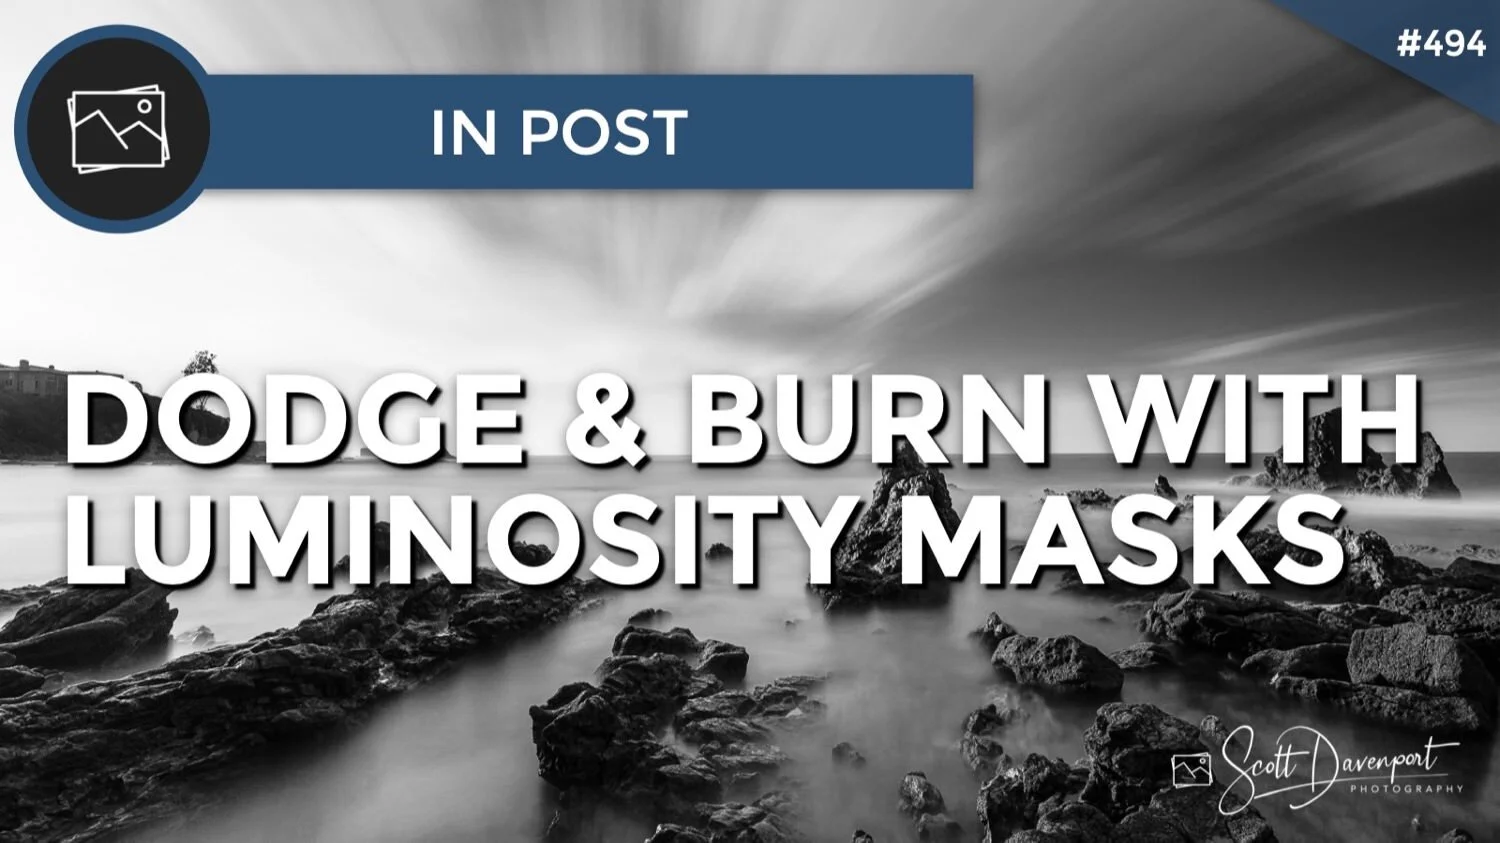
Dodging and Burning With Luminosity Masks - In Post #494
Dodging and burning is a tried and true processing technique. The past master of the darkroom selectively lightened (dodged) and darkened (burned) elements in their print development to make their images more powerful. Our modern digital post-processing tools give us the same level of control - even more. A modern spin on the dodging and burning technique is to use luminosity masks. Also called range masks, luminosity masks are created using the tones in the photo. You can choose the boundaries, or range, of the tones to include in the mask and then make adjustments to exposure, highlights, shadows, etc.
In this article, I’ll show this technique in Lightroom. The same principle applies to other post-processing tools that support luminance-based masking, such as Photoshop and ON1 Photo RAW. Watch the video for additional commentary on the thought process.
Dodging The Foreground
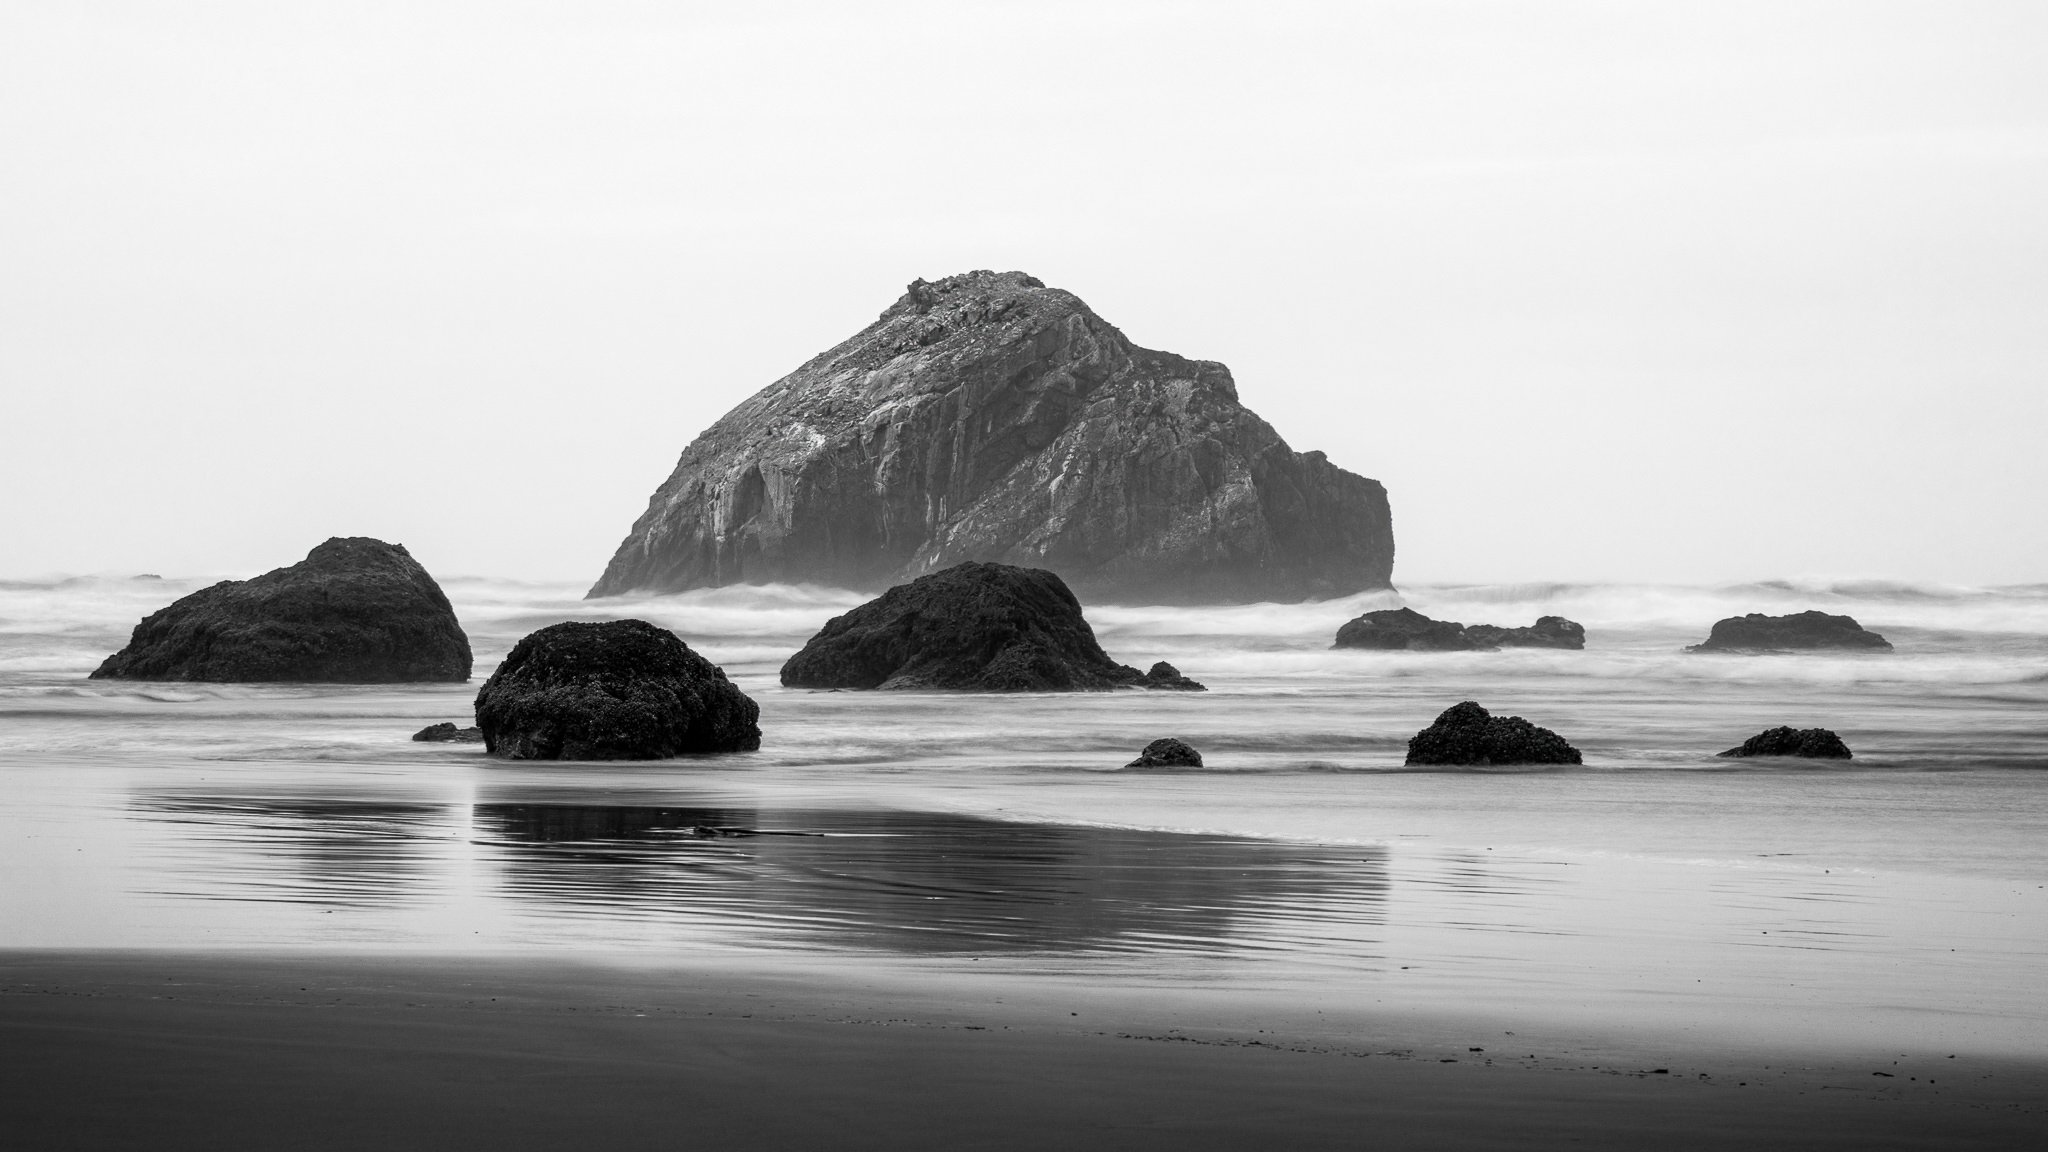
The color was not an important factor for this seascape, and a black & white treatment accentuates the shapes and forms in the scene. After applying a B&W profile in Lightroom and making fundamental adjustments in the Basic panel, the photo has a strong tonal breadth. The histogram stretches from end-to-end, so there are both rich, deep shadows and bright highlights in the photo.
The exposure needs more balancing, though. The foreground is notably darker and the interesting shapes and rocks in the scene are lost. The first selective adjustment is a dodge of the foreground to bring it more in line with the rest of the scene. Lightroom’s graduated filters are perfect for this type of work. A gradient is applied to the bottom half of the photo that increases exposure - but not globally.
The B&W 04 camera profile is applied in Lightroom and sliders in the Basic panel adjusted. The tonal range is good, however the foreground is dark and detail is lost.
Applying a gradient with a luminance range mask in Lightroom to dodge only the middle grays. This brightens the water while keeping the rocks dark.
Notice the Luminance Range mask in the lower part of the adjustment panel. The range limits the impact of the exposure increase to the midtones, protecting the deep shadows of the rocks.
Dodge The Ocean To Add Separation And Flow
To increase separation in the foreground elements, the water needs further dodging. Two additional gradients are applied to brighten the tones. The second gradient uses the same luminance range mask technique to brighten the water. In this case, a tighter tonal range with a more aggressive increase in exposure is used. Notice the Smoothness slider for the range mask is also adjusted. A lower Smoothness more crisply targets the tones included in the range mask, with less “bleed” to other tones.
The third gradient doesn’t use a mask at all. Instead, haze is added to the foreground with a negative value for the Dehaze slider. Dehaze naturally targets the middle grays. Haze is usually the same tonal range as fog, mist, or smog. This closely matches the middle grays of the channels of water, making it a very effective adjustment for this photo.
A second gradient is applied to the lower half of the photo. A tighter luminance range that more aggressively increases exposure on the middle grays boosts the water brightness.
A third gradient for the foreground uses the Dehaze slider. Lightroom’s Dehaze naturally targets middle grays. Taking the slider negative adds haze to the middle grays, brightening the water further.
Each of these three gradients dodge the tones of the water in the foreground. The result is a clearer separation of the water and rocks. The scene flows better, with the channels of ocean between the rocks naturally leading the viewer into the center of the frame.
A Dodge/Burn Combo To the Rocks
The light and shadow contrast in the foreground is looking good. Next is to play up the contrast between the smooth water and the textured rocks. A fourth gradient is added to cover the foreground rocks. Again, leveraging the luminosity range mask in Lightroom, the range is limited to the shadow tones. When the Texture and Clarity sliders are increased, the added detail and micro-contrast applies only to the rocks. Micro-contrast exaggerates the deltas between light and shadow, producing a more detailed look. At a micro-level, it is both a dodge and a burn. I also added an ever-so-slight increase to exposure with this adjustment. Coupled with the luminosity mask, it is a small, nuanced change to largely the rock formations.
The water surface also got a minor bump to exposure. The lower midtones on the water are most affected by the exposure increase. The Clarity and Texture affect it less, because there is not much of a delta of light and shadow to exaggerate. The water surface is tonally much more uniform.
Texture and detail are amplified in the rocks. Shadow tones dominate the rocks and a luminance range mask limited to the shadow tones targets the Texture and Clarity sliders to affect only the rock formations.
Burn To Add Depth And Dimension
The final adjustments are to burn elements in the midground and sky. These subtle yet important finishing touches round out the scene. The areas that need adjustment are more suited to the radial filter. Notice the Invert checkbox is used, targeting the adjustments to the elements inside the radial shape.
One radial targets the land mass toward the left edge of the frame. The impact of the Clarity and Dehaze sliders are kept from affecting the sky with a luminance range mask that does not include highlights. The increase in Dehaze has a darkening, or burning, impact to the affected areas, shifting the neutral grays toward shadow.
The final touch is to burn the dark portions of the sky. Once again, luminance range masks to the rescue! The mask overlay below shows the areas affected. Notice how nuanced and intricate the mask is - that’s next to impossible to paint by hand.
The Invert checkbox on a radial filter in Lightroom targets the adjustments to things inside the elliptical mask. A luminance range mask limits a boost to Clarity and Dehaze to the landmass on the left edge.
A final luminance range mask is used to burn the dark streaks in the sky, adding depth and dimension. Notice how intricate the mask overlay is!
Dodging and burning are and will continue to be fundamental post processing techniques. Don’t overlook using the technique with your range masks. The range masks make it possible for highly specialized and detailed burning and dodging. And in many cases, it is faster than dodging and burning by hand.
Corona Del Mar Beach Black & White
Contact Scott to commission a print or license this image.