Photos That Pop! The Overlay Blend Mode In ON1 Effects
If you are trying ON1 Photo RAW, the ON1 plug-ins like ON1 Effects or ON1 HDR, or upgrading your ON1 software to a newer version, please consider using my affiliate link. There is no extra cost to you and it helps support ON1 tutorials like this one. Ready to buy? Use the offer code SDP20 at checkout and SAVE 20%!
The Overlay blend mode is a classic technique for layering software to add contrast and boost color in your photos. Every filter in ON1 Effects has blending options, but you only need one to add a finishing pop to your images. I’ll show you how in this article with the Overlay blend mode, and explain how this works in ON1 Effects.
Add Pop With The Overlay Blend Mode
First, let me show you the technique (I’m a cut-to-the-chase kind of guy). Using the Overlay blend mode is truly is as easy as 1 - 2 - 3. After adding your filters and styling your photo to taste, do this:
Add a Color Enhancer filter to the filter stack.
Click the Gear menu in the Color Enhancer filter and change the Blending Mode from Normal to Overlay.
Lower the Opacity slider to 20-25%
That’s it. Toggle off and on the Color Enhancer you just added. See how your photo pops! The Overlay blend mode boosts contrast and enriches color in quite a natural way. You can use this technique on a wide variety of photos. I use it a lot with my landscape and travel photos.
Step 1 - Add a Color Enhancer filter to the filter stack in ON1 Effects.
Step 2 - Open the gear menu and change the blending mode to Overlay.
Step 3 - Lower the Color Enhancer filter opacity to 25% or so.
Save The Overlay Pop As A Style
Speed up your workflow and save the “overlay pop” as a style in the Color Enhancer filter. You can do this from the More menu in the row with the colored circles in the filter. That speeds up your workflow for the next photo. Add the Color Enhancer, choose the style, and you’re done.
Watch the video at the 01:36 mark to see how to save a style.
How Does The Overlay Blend Mode Work?
The Overlay blend mode is a classic layering technique. In a layered workflow, we would style a photo and then duplicate it as a layer. The new layer is an entirely new set of pixels - the same as the styled photo. Next, the duplicate layer is changed to the Overlay blend mode, so it is mixing with itself. Overlay brightens the bright pixels and darkens the dark pixels - it’s pushing up contrast. Yet it does so in a very pleasing way.
In ON1 Effects, you are not using image layers. However, you can think of each filter in the filter stack as a layer. From bottom to top, your photo passes through each filter and its pixels are modified by the filter. The resulting pixels are fed into the next filter up the stack and so on. In the example on this page, the original photo passed through Dynamic Contrast and then the Vignette filter.
Finally, the combined set of pixels (the original photo and all the filters in the stack) emerges from the top of the stack. Adding another filter with the Overlay mode blends that sum total of pixels with itself, applying the contrast boost that makes the Overlay mode so lovable.
Watch the video at the 02:16 mark for more explanation.


Why Use The Color Enhancer Filter?
You’ll have noticed I did not touch any adjustment sliders in the Color Enhancer filter. All I did was change the blending mode to Overlay and lower opacity. The magic of this technique is the blending option, not the filter itself. I like using the Color Enhancer filter for this because the default for the filter is zero change to the photo. All of the sliders are set to zero. It’s perfect for leveraging blending modes.
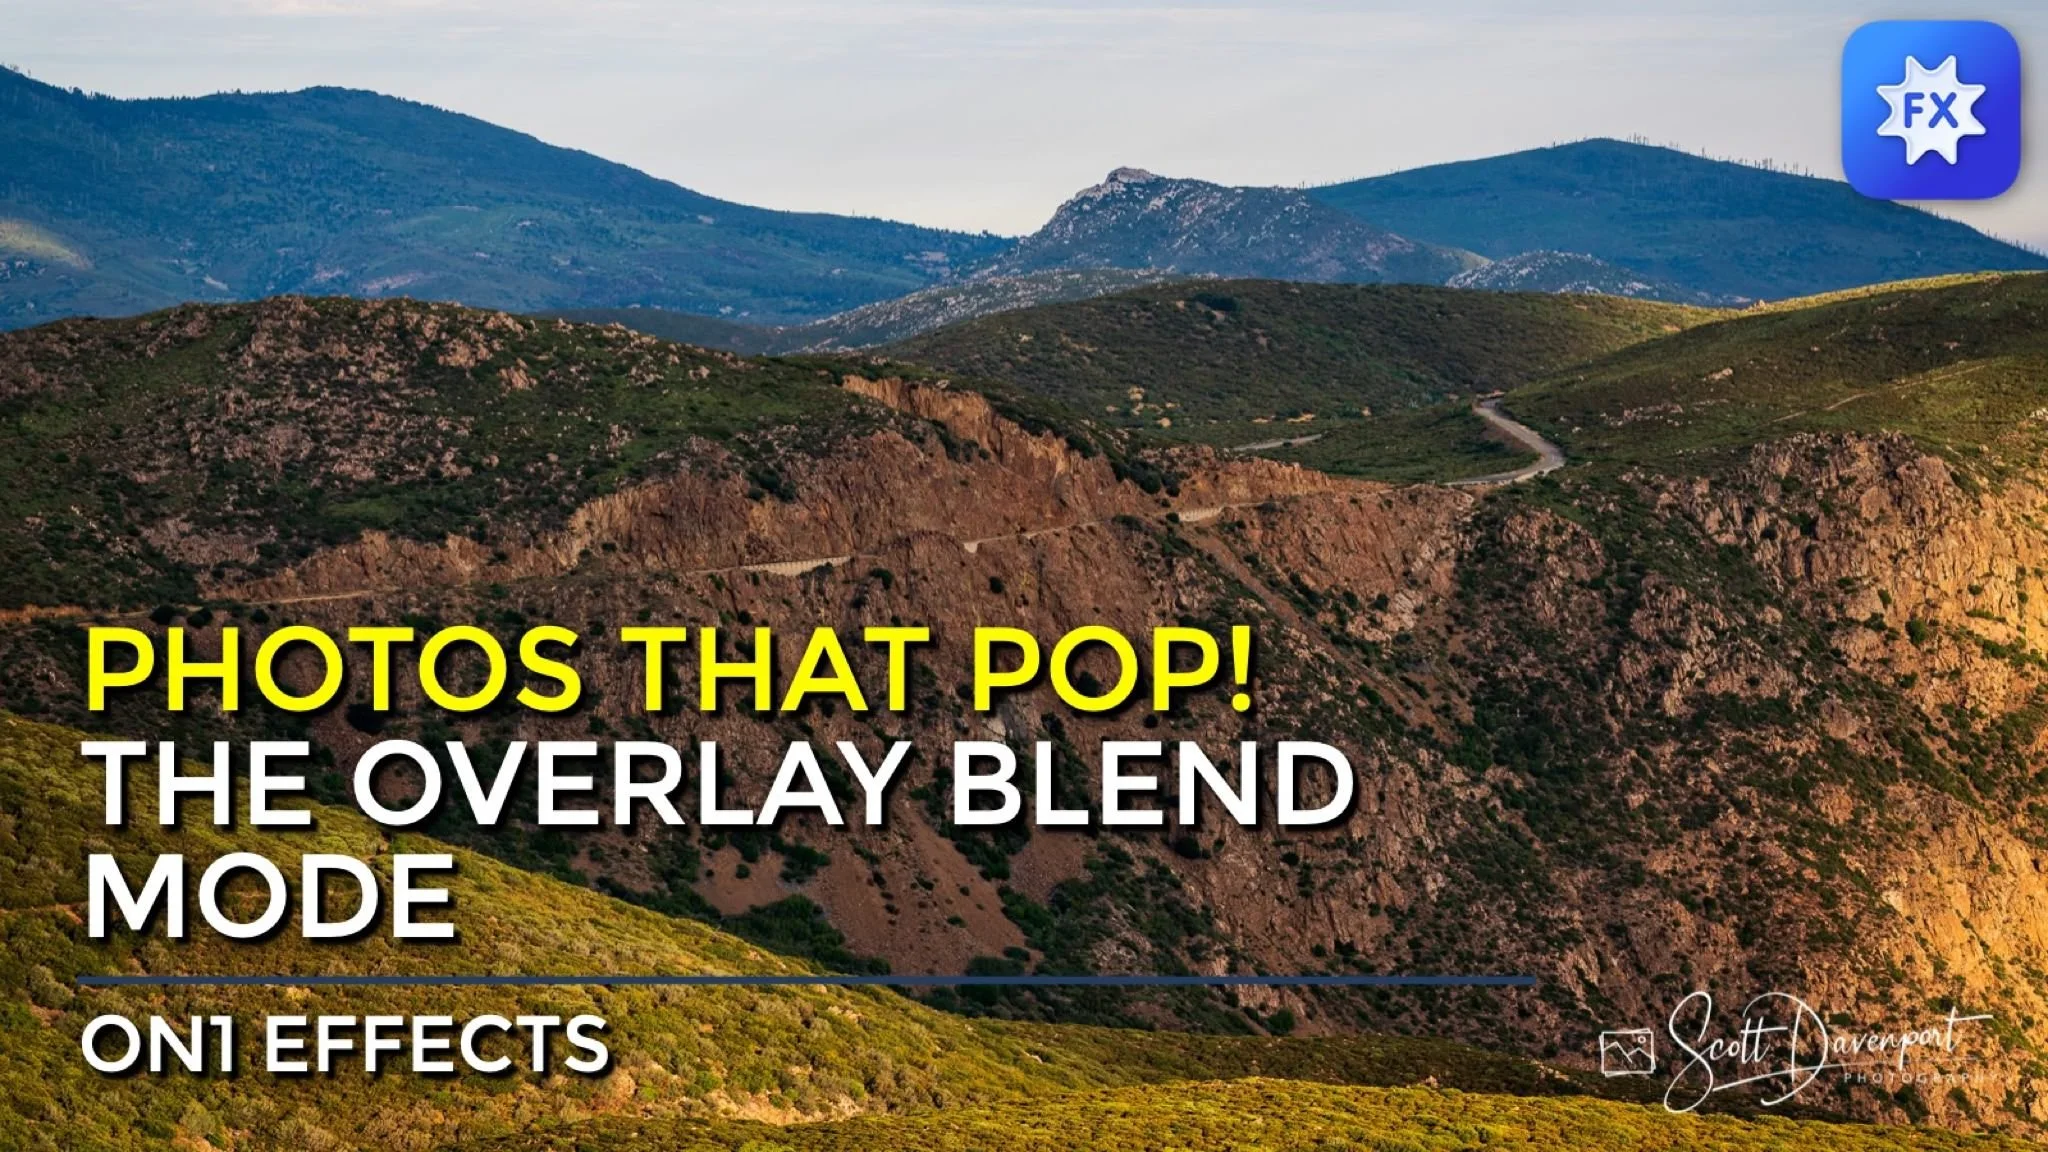
The Sunrise Highway
Contact Scott to commission a print or license this image.


