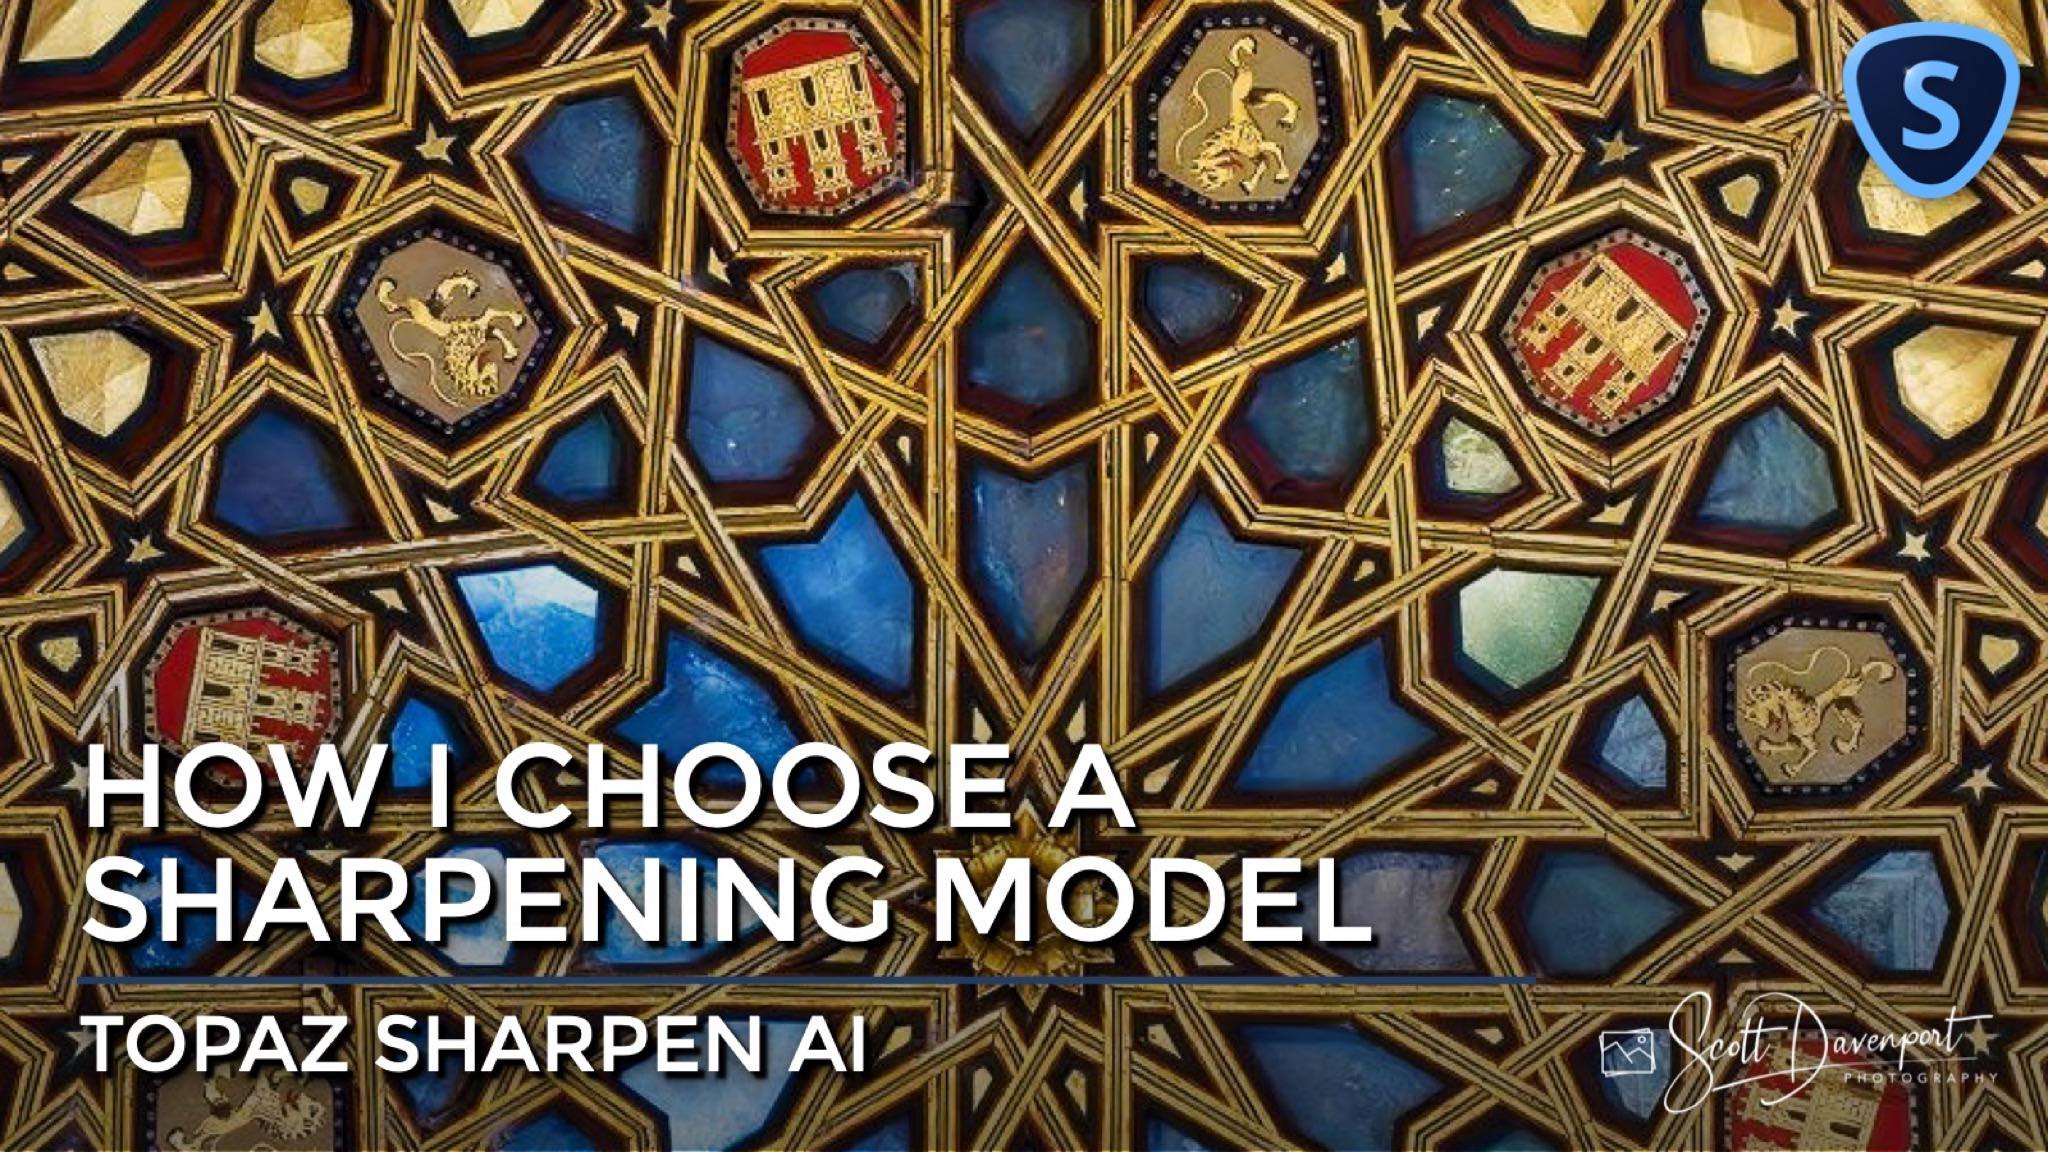
How I Choose A Sharpening Model In Topaz Sharpen AI
If you are trying Sharpen AI or other Topaz Labs products, please consider using my affiliate link. There is no extra cost to you and it helps support tutorials like this one. Ready to buy? Click my link and support my work.
I have been combing through my photo library, finding older images that for one reason or another had not processed. I have found many hidden gems in my library. I have also found photos that I really like, but suffer from technical mistakes made in the field. Some have soft focus. Others are blurry because of camera shake. I notice that second one a lot with my handheld work (I don’t have the steadiest of hands!).
To address the technical mistakes, I have been leveraging Topaz Sharpen AI - and it is working wonders. Sharpen AI has several sharpening models to choose from. There is not a one-size-fits-all approach to choosing a sharpening model. The right sharpening model all depends on the photo. In this article, I describe the method I use to choose the best sharpening model for my photos.
Step 1 - Try Out All The Models In Comparison View
Topaz Sharpen AI has three sharpening models: Motion Blur, Out of Focus, and Too Soft. My first step is to switch to the Comparison View - that’s the small grid icon in the upper right of the interface. Next, I audition each of the models by loading it into one of the quadrants of the Comparison View. I start by using the “Normal” variant of each model. It goes like this:
Click in the upper left quadrant and choose Motion Blur - Normal from the Sharpen Model panel
Click in the upper right quadrant and choose Out of Focus - Normal from the Sharpen Model panel
Click in the lower right quadrant and choose Too Soft - Normal from the Sharpen Model panel
Since there are only three sharpening models, I ignore the lower right quadrant.
Once the previews have rendered, you have an arrangement like this:
Use Comparison View to audition each sharpening model. There are three models. I like to start with the “Normal” variant of each model, one in the upper left, one in the upper right, and one in the lower right.
Next, skim around your image using the navigator in the upper right. I’ll check a few key details in the photo and make mental notes about which sharpening model is producing the best results. Sometimes it is quite obvious which model works the best. Other times, the differences can be subtle.
In the example above, I found that Motion Blur was the strongest model of the three for this image. The Out of Focus model was close second. Now I have my selected model and it’s on to the next step.
Step 2 - Try The Different Variants Of Your Selected Sharpening Model
The next pass is to try the different variants of your chosen sharpening model. The process is the same as before - select quadrants and load a model into it. I already had Motion Blur - Normal in the upper left. I loaded the other two Motion Blur variants into other quadrants:
Motion Blur - Normal in the upper left
Motion Blur - Very Noisy in the upper right
Motion Blur - Very Blurry in the lower right
My screen now looks like this:
After selecting a sharpening model, use the Comparison View to try out the variants within that model.
Again, compare the results and select the variant that looks the best. When I saw the results for Motion Blur - Very Blurry on this photo, I was blown away. It’s in the lower right quadrant. Look how much detail in the golden castles is there now. Everything is so much better. That is the right one for this photo!
Once you known which variant is best for you, click in that quadrant to select it (the background on the model name turns light blue) and return to the Single View or Split View.
Step 3 - Refine The Model Parameters (Optional)
The first two steps quickly get you to a great point with your image. You can further refine the parameters of the model as necessary. This is an optional step. For my image, I was happy with the default model parameters and did not change anything. Look how much crisper the photo is after Sharpen AI is applied.

The results from Topaz Sharpen AI are absolutely stunning. Sharpen AI enables me to create wonderful photos and recover from field mistakes like camera shake or missed focus that I made years ago.
The results are truly impressive. I’m glad I held on to those images that were slightly off. Because, as the photo industry progressed and the technology improved, I can revisit these images and evolve them from memories in my photo library to images worth sharing with others.

Ceiling In Real Alcazar Seville Spain
Contact Scott to commission a print or license this image.