5 Landscape Photo Recipes in ON1 Effects
If you are trying ON1 Photo RAW, the ON1 plug-ins like ON1 Effects or ON1 HDR, or upgrading your ON1 software to a newer version, please consider using my affiliate link. There is no extra cost to you and it helps support ON1 tutorials like this one. Ready to buy? Use the offer code SDP20 at checkout and SAVE 20%!
In this post I share 5 quick and easy recipes in ON1 Effects to boost your landscape photos. You can use these on a wide variety of images and get great results with just a few filters.
The Natural Glow
Glow looks are very popular for landscape photos because they add mystery, dreaminess, and allure. The thing about nature is… only bright things glow! For a natural glow look, do this:
Add a Glow filter and choose one of the bulit-in styles, or dial in your own settings
Click the masking icon for the Glow filter and click the Luminosity button
(Optional) Lower the Density slider of the mask to add more glow into the midtones and shadows
Using the luminosity mask targets the glow to only the brighter tones in your photo. The results are smooth and natural.
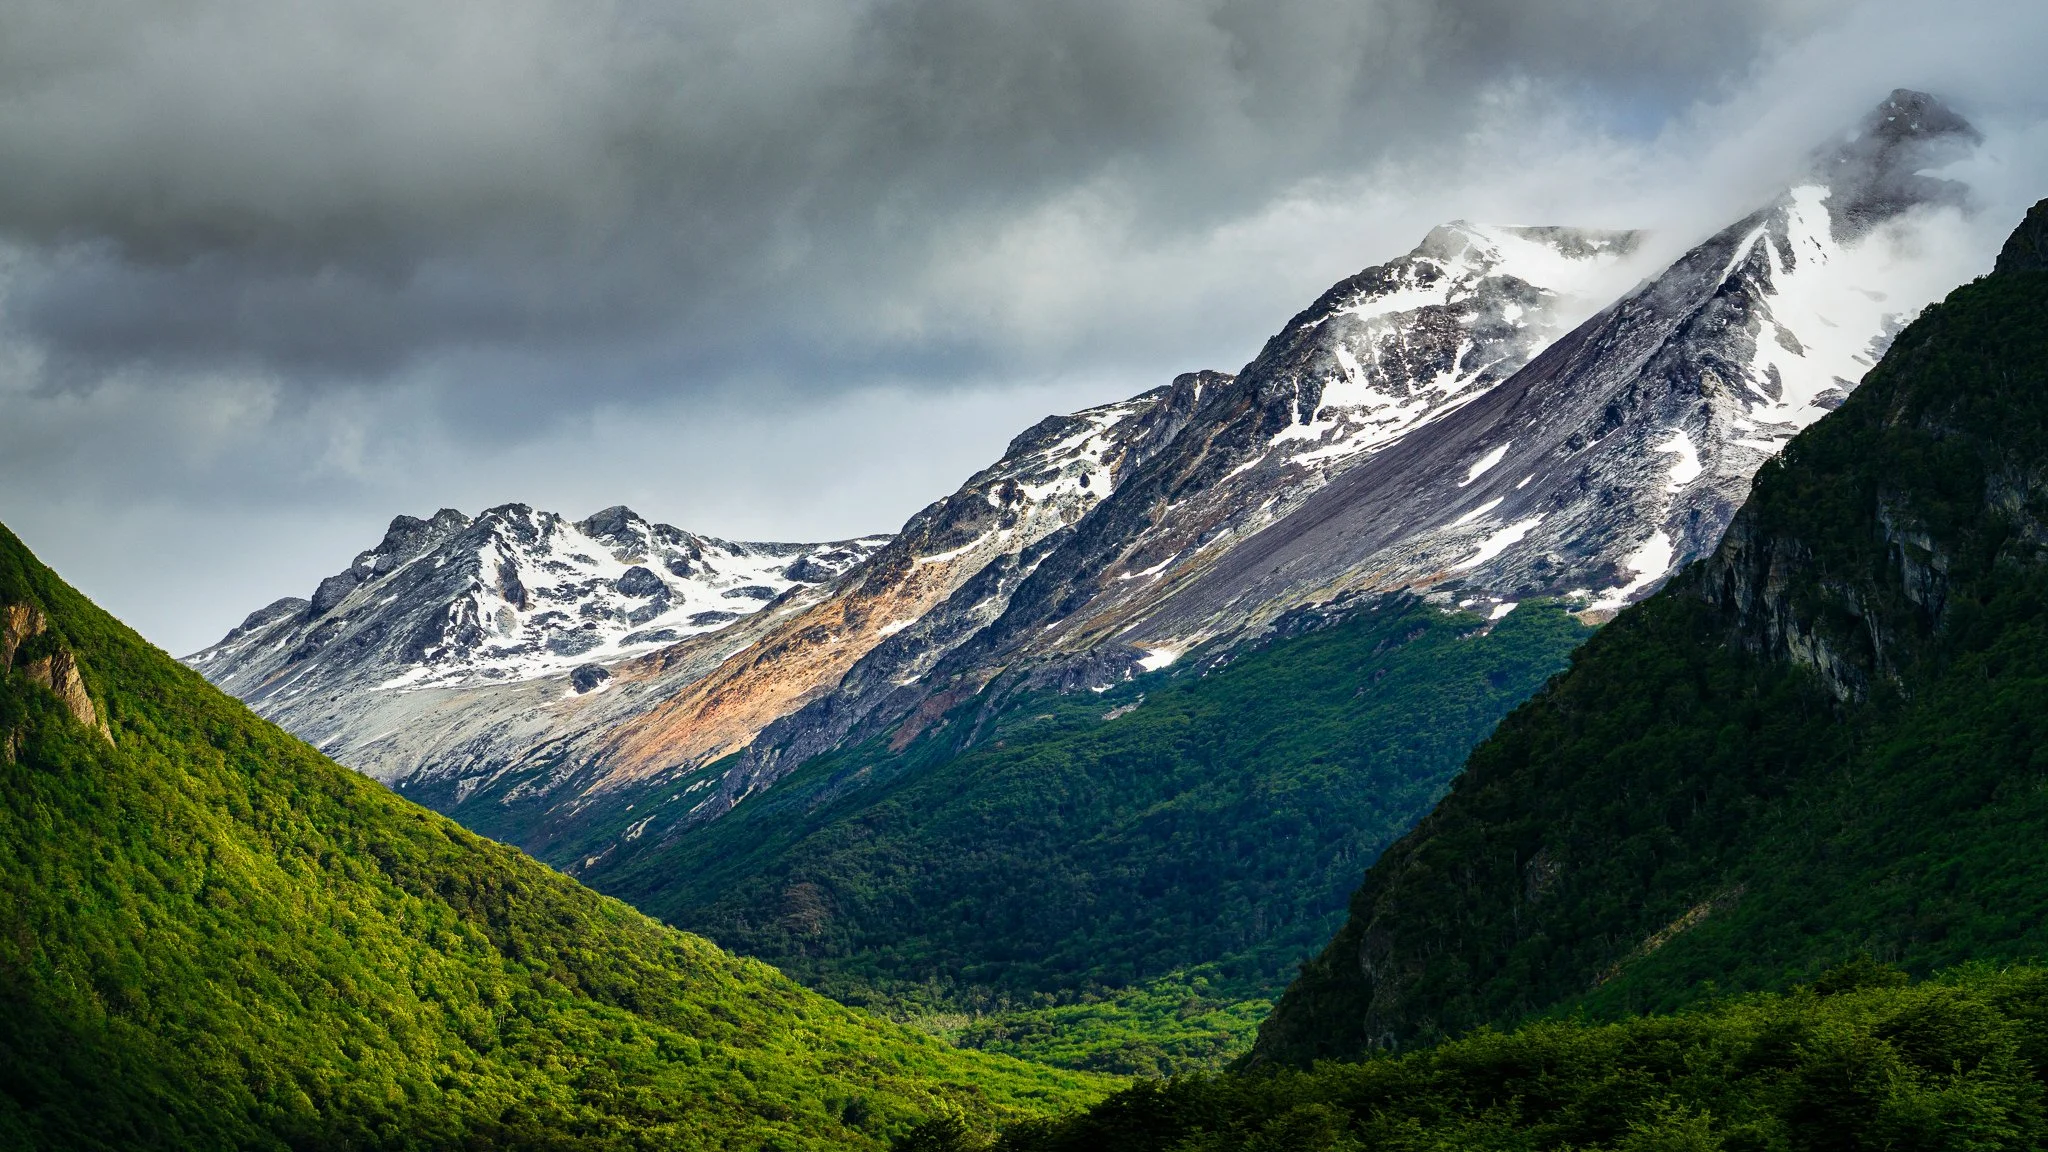
The original image
A natural glow look added for ambiance
The Color Pop
This is a counter-intuitive treatment for a photo. Use a Black & White filter to enrich the colors and depth of a photo. To get an overall color pop to your photos, do this:
Add a Black & White filter and adjust the Color Response and Tone sliders to make the image the best black & white image it can be.
Change the blending mode of the filter to Luminosity
The luminosity blend mode limits the filter’s effect to only the brightness values of the pixels. Brighter areas get brighter and darker areas get darker. It’s more nuanced than a simple contrast slider, because different color regions can be affected by different amounts. Also, using the black & white filter lets you work visually… you concentrate on making a strong monochrome image, then flip the blend mode for the color boost.
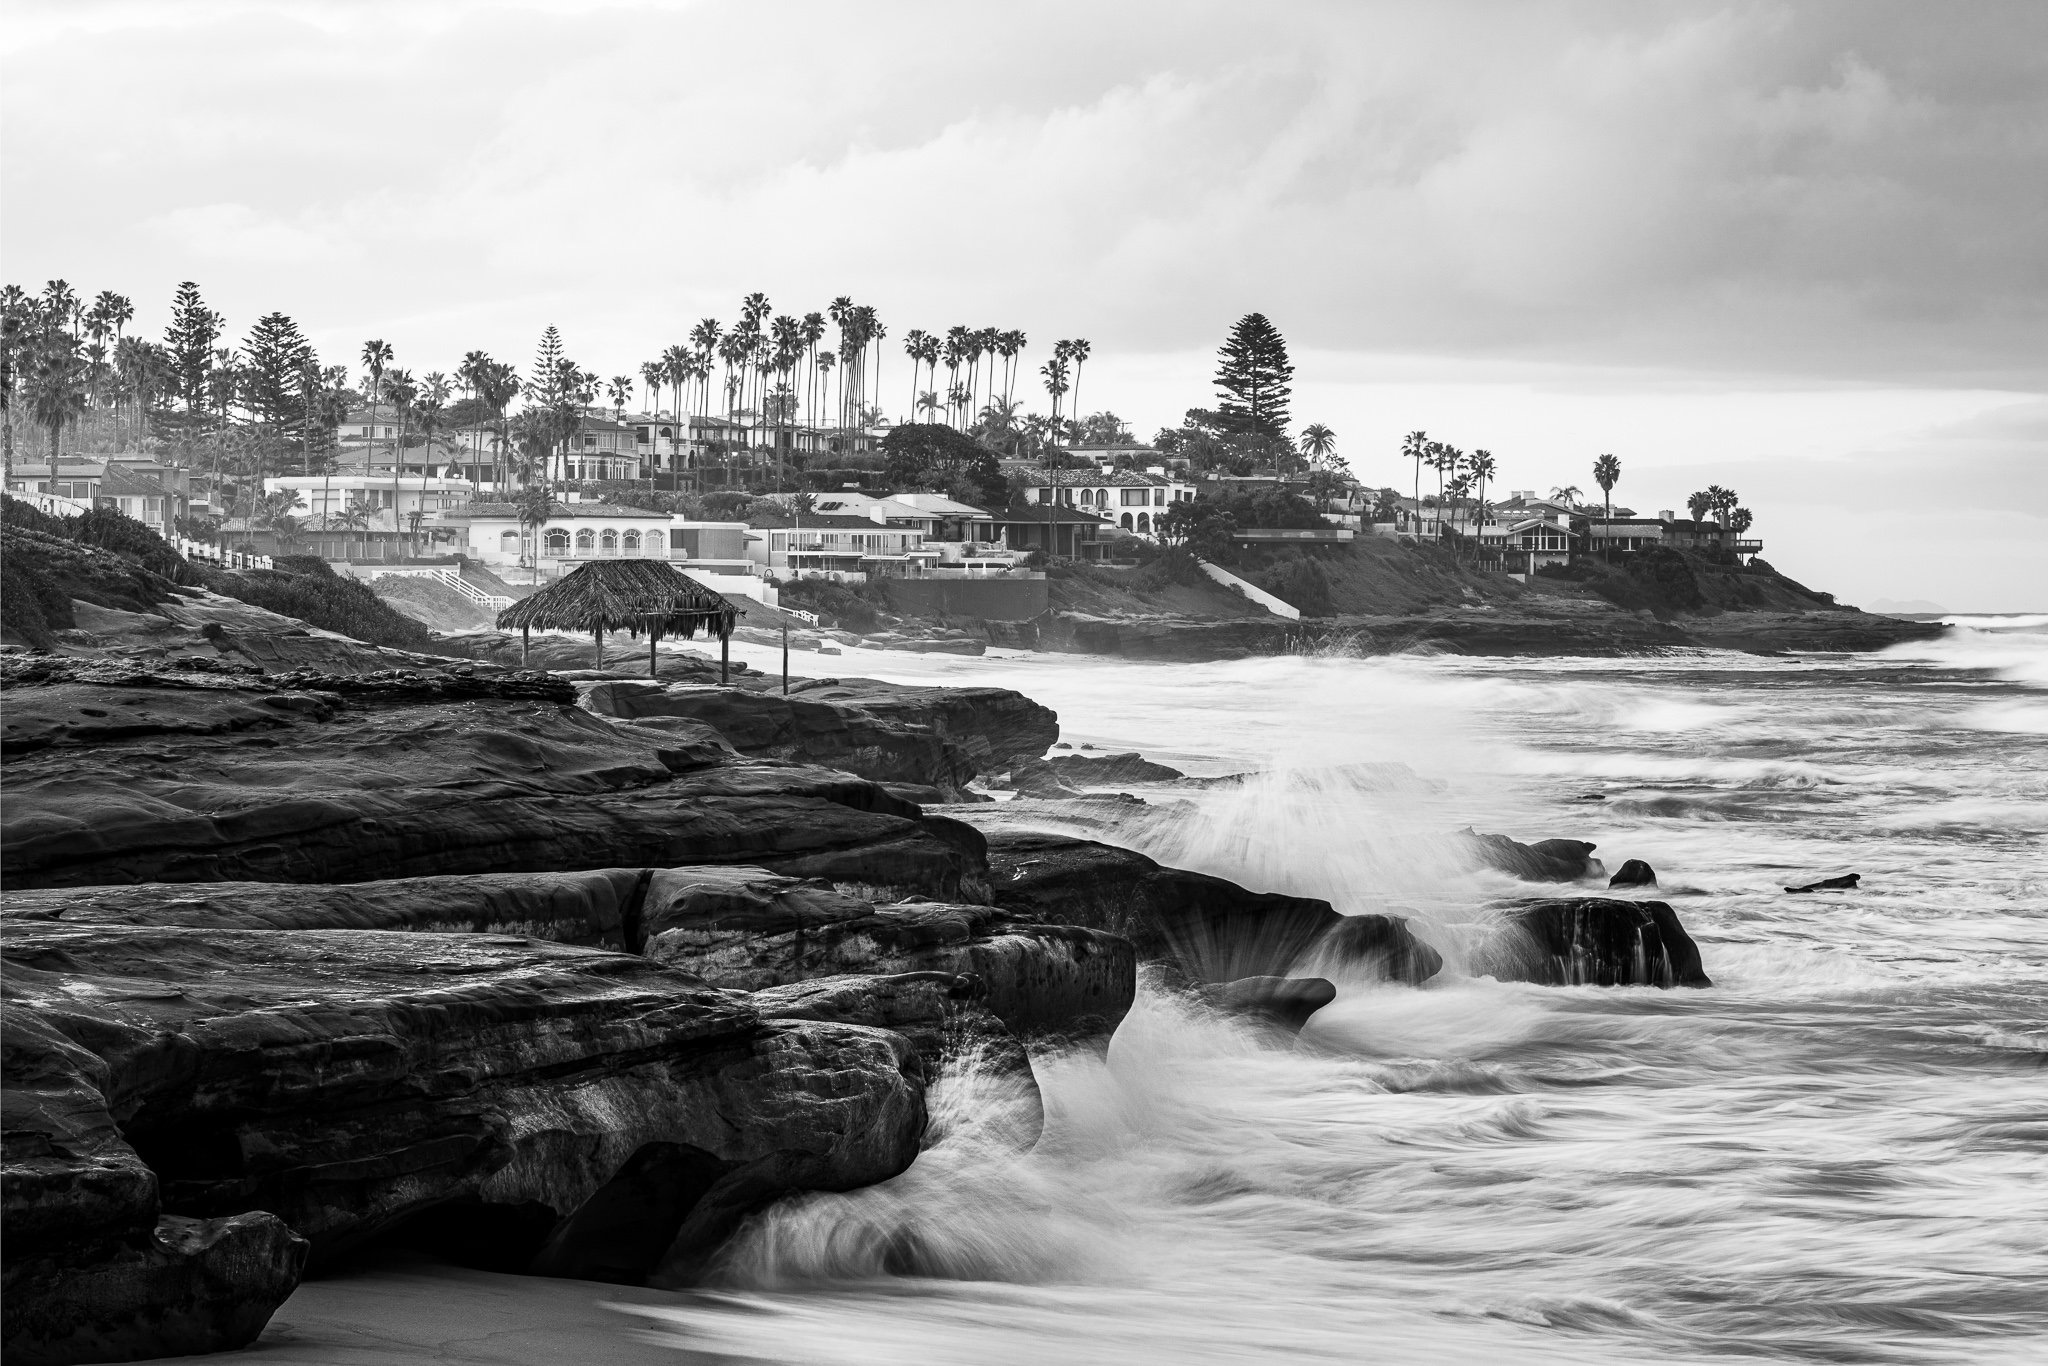
The original image
A color pop using a black & white filter with the luminosity blend mode
The Twilight Look
Twilight or blue hour is marked by cooler tones, with blue and purple hues. A single Curves filter can deliver a twilight feel for you image. It is a fantastic touch to sunrise and sunset photos. To add a twilight color grade to your photos, do this:
Add a Curves filter
In the Red channel, pull the curve up a little (adding more red)
In the Green channel, pull the curve down little (adding more magenta)
In the Blue channel, pull the curve up a little (adding more blue)
(Optional) Adjust the Opacity of the Curves filter to temper the look
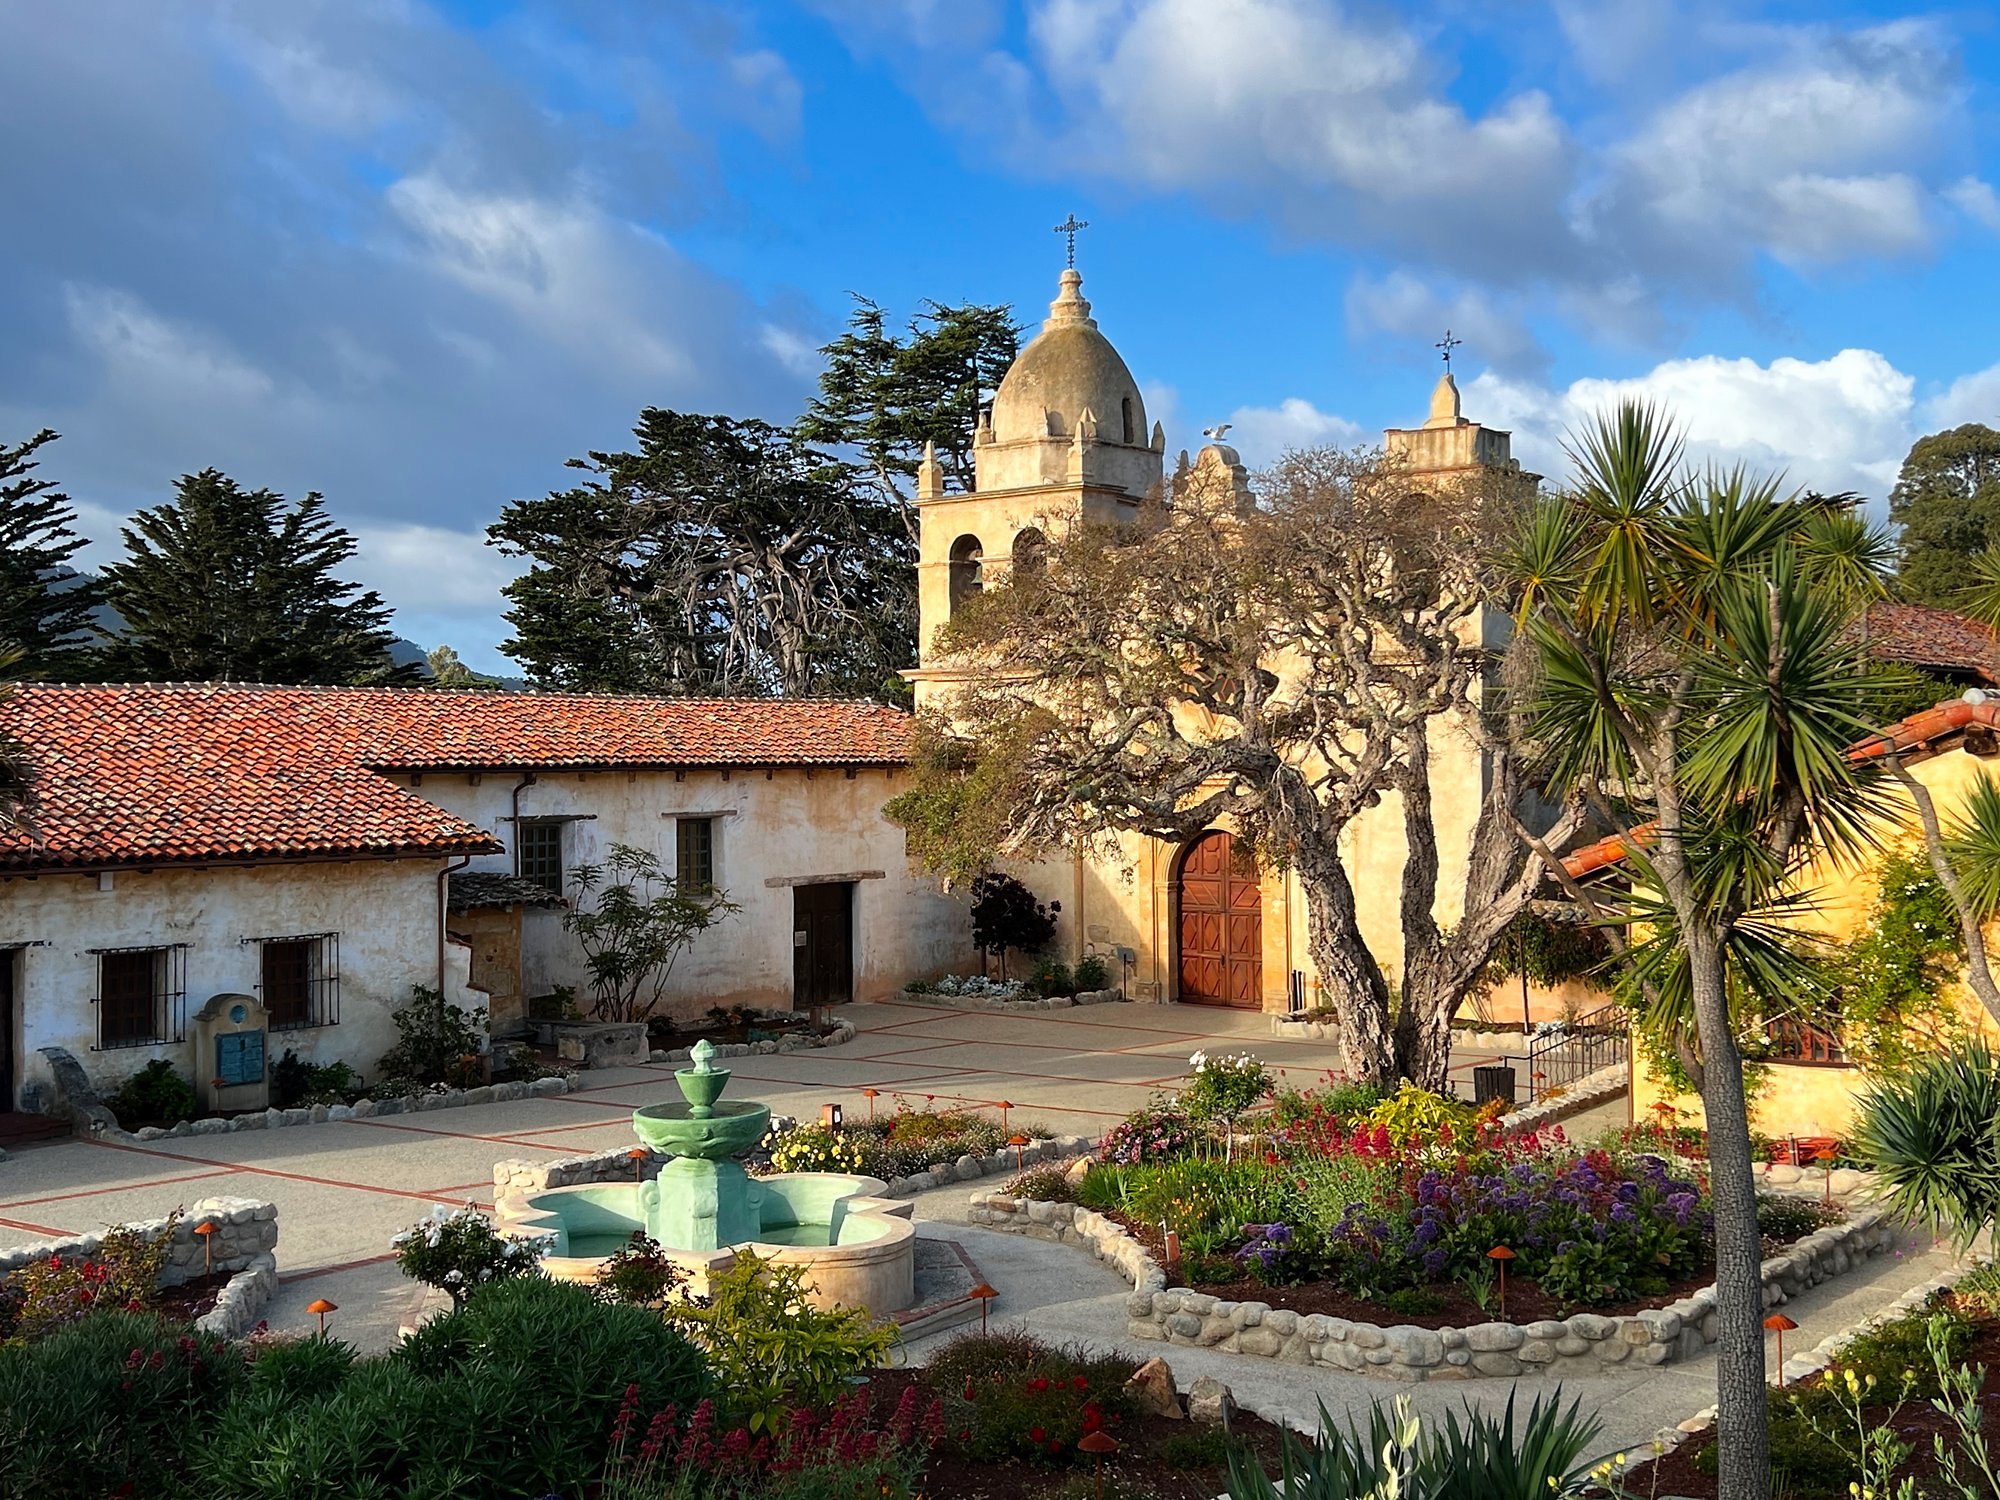
For some images, like the landscape shown here, the twilight look gives the photo a vintage look.
The original image
A twilight look using the Curves filter. This can also deliver a vintage feel to some photos.
The Impressionist Look
Impressionist paintings emphasize feeling and mood over detail. With a trio of filters in ON1 Effects, you can transform your landscape image into a painterly scene. To create an impressionist look, do this:
Add a Lens Blur filter and lower its Opacity to around 20%.
Add a Blur filter and lower its Opacity to around 20%
Add a Glow filter and choose the Lighten style.
Your photo will take on a dreamier, softer feel.
Pro tip: Try using the Motion options for the Blur filter and adjusting the Angle to simulate directional brush strokes.
The original image
An impressionist look using three filters in ON1 Effects
The Photo Pop
This recipe is a finishing touch on nearly all of my landscape photos. To give your photo a final pop, do this after you’ve added all your styling filters in Effects:
Add a Color Enhancer filter. Do not change any of the settings.
Change the blending mode of the filter to Overlay
Lower the Opacity of the Color Enhancer to 20%, or refine to taste.
This “trick” is leveraging blending modes. The Color Enhancer itself makes no changes to the colors of your photo. Instead, changing its blending mode mixes your styled photo with itself, enriching contrast in a very nuanced way.
The original image
A finishing pop using the Color Enhancer filter and an overlay blend mode
Conclusion
There you go! 5 simple recipes you can use to boost your landscape shots. And yes! You can use more than one recipe on the same photo… these can be combined.
Have fun!
Cypress Grove, Point Lobos
Contact Scott to commission a print or license this image.


